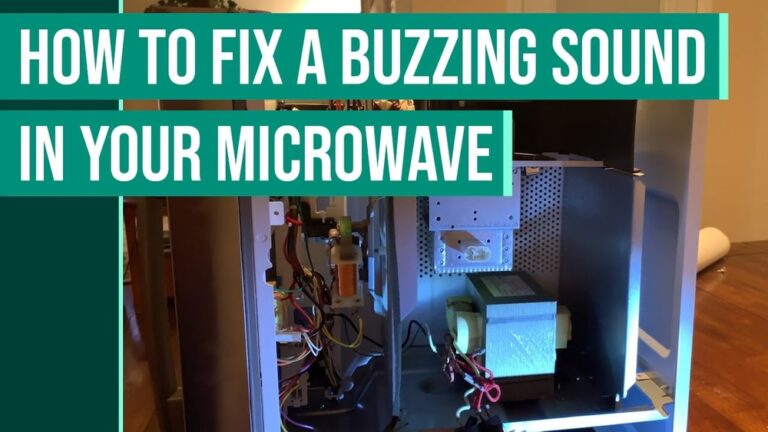
Why is My Ge Microwave Not Heating: Quick Fixes & Expert Tips
Is your GE microwave running but not heating your food? That’s frustrating, especially when you’re hungry and in a hurry.
You might wonder why it’s turning on yet failing to warm anything inside. The good news is, you don’t have to guess or panic. Understanding the common reasons behind this problem can save you time, money, and stress. Whether it’s a simple setting issue or a faulty part, you’ll learn what to check first and how to fix it.
Keep reading, and soon you’ll know exactly why your GE microwave isn’t heating—and what you can do to get it working again.
Credit: www.youtube.com
Common Microwave Issues
Microwaves can stop heating due to several common problems. These issues often cause confusion and frustration. Understanding these can help you diagnose and fix your GE microwave quickly. Most problems relate to electrical parts or user settings.
Knowing what to check first saves time and prevents unnecessary repairs. Below are the common microwave issues that cause heating failures.
No Heat But Running
Your GE microwave may run but fail to heat food. This happens when the magnetron, which creates microwaves, stops working. A faulty high-voltage diode or blown thermal fuse can cause the same problem. The microwave motor might still turn, but no heat is produced.
Testing these parts requires a multimeter and some electrical knowledge. If unsure, seek professional help to avoid electrical hazards.
Display And Settings Errors
Sometimes, the microwave runs but does not heat due to wrong settings. Using the “Timer” instead of the “Cook” function is a common mistake. Also, activating “Demo Mode” disables heating to show the display features.
Check the control panel for error messages or locked buttons. Resetting the microwave by unplugging it can clear minor glitches. Always confirm the correct cooking mode is selected before starting.
Door And Power Problems
The microwave door must be fully closed and latched to start heating. A broken door switch stops power to the magnetron for safety. Inspect the door latch and switches for damage or misalignment.
Power issues like blown fuses or faulty circuit boards also prevent heating. If the microwave does not turn on at all, check the power source and internal fuses. Repairs on electrical parts should be done by qualified technicians.
Simple Troubleshooting Steps
Simple troubleshooting steps can help you find why your GE microwave is not heating. These easy checks require no special tools and take just a few minutes. Start with basic settings and move to simple hardware tests. Follow these steps to quickly identify common issues.
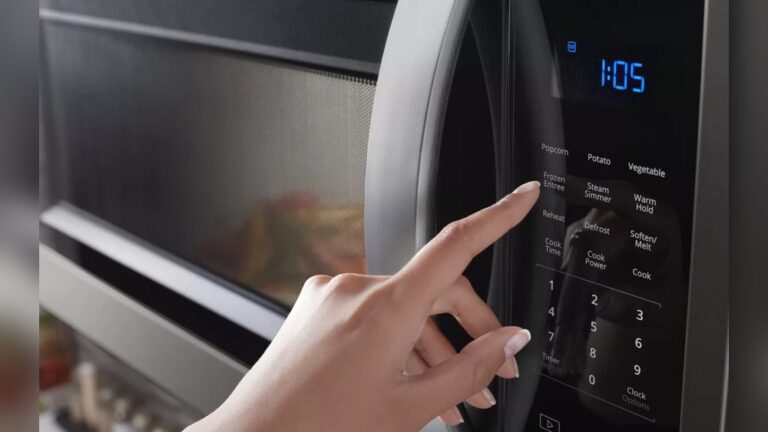
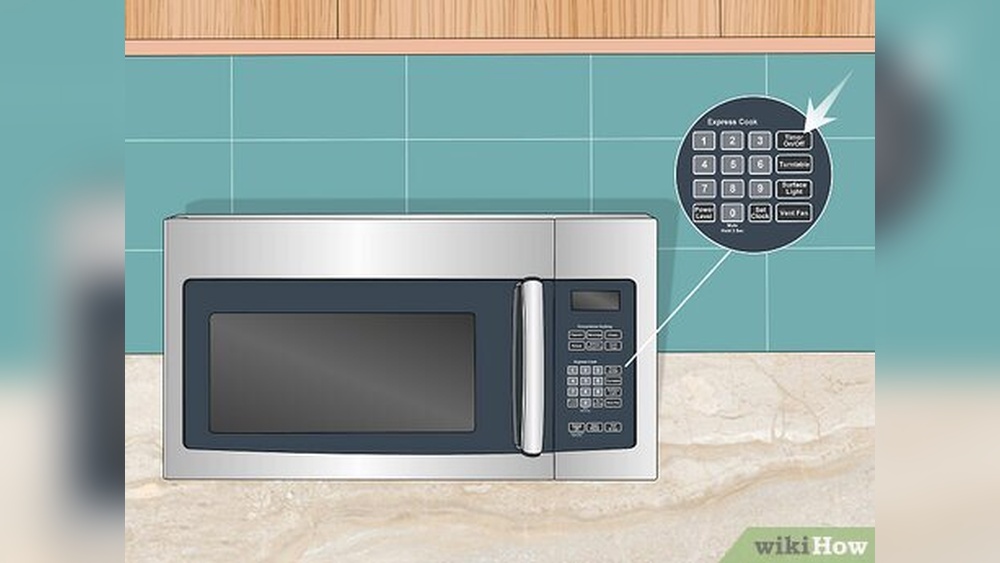
Check Cooking Mode And Timer
Ensure the microwave is set to a cooking mode, not just the timer. The timer only counts down but does not activate heating. Look at the control panel to confirm you selected “Cook” or a power level. Reset the mode if needed and try again.
Secure Door Latch
The microwave will not heat if the door latch is not fully closed. Open and close the door firmly until you hear a click. A loose or broken latch stops the microwave from working properly. Inspect the latch for damage and clean any dirt blocking it.
Test Power Outlet
Check the power outlet by plugging in another device. If the outlet has no power, the microwave will not heat. Try a different socket or reset the circuit breaker. A stable power supply is essential for the microwave to work well.
Reset Microwave Controls
Unplug the microwave from the power source for about one minute. This resets the internal controls and clears minor errors. Plug it back in and try starting the microwave again. This step often fixes simple control panel glitches.
Component Failures To Inspect
When a GE microwave runs but does not heat, certain parts may have failed. These components work together to produce heat and cook food. Checking each one can help find the problem quickly. Some parts wear out or break over time. Identifying which component failed saves time and money on repairs.
Below are key parts to inspect if your microwave is not heating. Each part plays a crucial role in the heating process. Testing them is essential for a proper fix.
Door Switch Malfunctions
The door switch ensures the microwave only runs when closed. A broken or stuck switch stops power flow to the magnetron. This prevents the microwave from heating. A faulty door switch can cause the microwave to run without heating. Testing the switch with a multimeter shows if it works properly.
Thermal Fuse Blown
The thermal fuse protects the microwave from overheating. If it blows, the microwave stops heating to avoid damage. A blown fuse interrupts power to key parts. Replacing the thermal fuse restores heating function. Checking it with a continuity tester confirms its condition.
High-voltage Diode Issues
The high-voltage diode converts electricity to power the magnetron. A bad diode blocks this flow, causing no heat. Diode failure is a common reason for heating problems. Testing it with a multimeter helps find faults. Replacing a bad diode often fixes the heating issue.
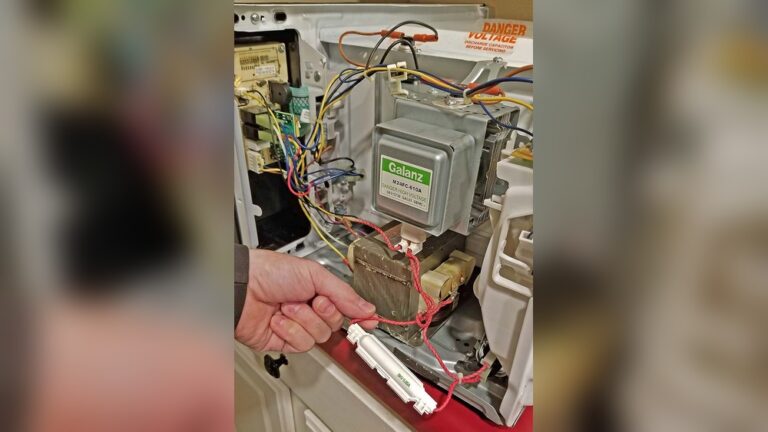
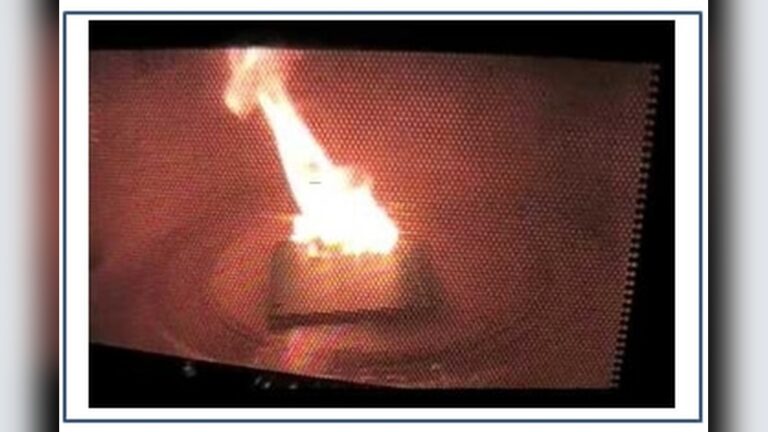
Magnetron Breakdown
The magnetron creates the microwaves that heat food. When the magnetron breaks, no heat is produced. Signs include strange noises or no heat despite power. Magnetron failure usually requires replacement. Testing with proper tools ensures accurate diagnosis.
High-voltage Capacitor Or Transformer Faults
The high-voltage capacitor and transformer supply power to the magnetron. If either part fails, the magnetron won’t get enough power to heat. Faulty capacitors or transformers cause no heating or weak heat. Testing these components is critical before replacement.
Testing Microwave Parts Safely
Testing microwave parts safely is crucial when your GE microwave stops heating. It helps find the faulty components without risking injury. Microwaves contain high-voltage parts that can store dangerous energy even when unplugged. Proper care and tools are necessary to avoid shocks and damage.
Before testing, unplug the microwave and wait for a few minutes. This allows capacitors to discharge. Use insulated tools and wear rubber gloves for extra safety. Never touch parts inside the microwave with bare hands. Follow step-by-step instructions and handle parts carefully.
Using A Multimeter
A multimeter checks electrical parts for continuity and resistance. Set the multimeter to the correct setting before testing. Test the door switches, thermal fuse, magnetron, and diode for proper function. If a part shows no continuity or abnormal resistance, it may need replacement. Always refer to the microwave’s manual for exact values.
Safety Precautions
Unplug the microwave before opening its cover. Use one hand to avoid creating a path for electric current. Do not test components if you feel unsure or uncomfortable. Keep children and pets away during testing. Avoid metal tools near the high-voltage capacitor until it is fully discharged.
When To Call A Professional
Call a repair technician if you cannot identify the problem. Complex parts like the magnetron need expert handling. Professionals have the right tools and knowledge to fix microwaves safely. Avoid attempting repairs if you lack experience. This prevents further damage and ensures your safety.
Preventive Care Tips
Taking good care of your GE microwave helps avoid heating problems. Preventive care keeps the appliance running smoothly and lasts longer. Simple steps can protect internal parts and keep it safe to use.
Proper Ventilation
Keep the microwave in a well-ventilated area. Avoid placing it in tight spaces or near walls. Proper airflow prevents overheating and damage to internal parts. Make sure vents are not blocked by objects or dust.
Regular Cleaning
Clean the microwave regularly to remove food spills and grease. Use a soft cloth and mild cleaner inside and outside. Avoid harsh chemicals that can harm the surface or internal components. Clean vents and filters to maintain airflow.
Avoiding Overuse
Do not run the microwave for long, continuous periods. Give it breaks between uses to cool down. Overuse can wear out the magnetron and other key parts. Follow the manufacturer’s recommended usage to prevent damage.

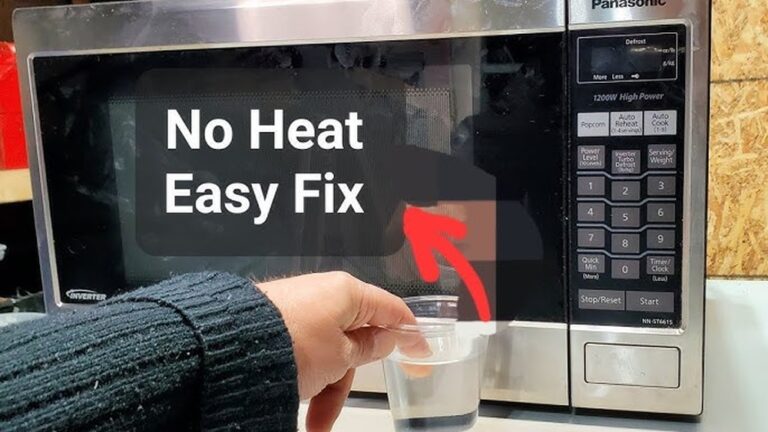
Credit: d3appliance.com

Credit: www.youtube.com
Frequently Asked Questions
Is There A Reset Button On A Ge Microwave?
Most GE microwaves do not have a dedicated reset button. To reset, unplug the unit for a few minutes, then plug it back in. This restores default settings and clears errors. Some models allow resetting by pressing the “Clear” or “Off” button on the control panel.
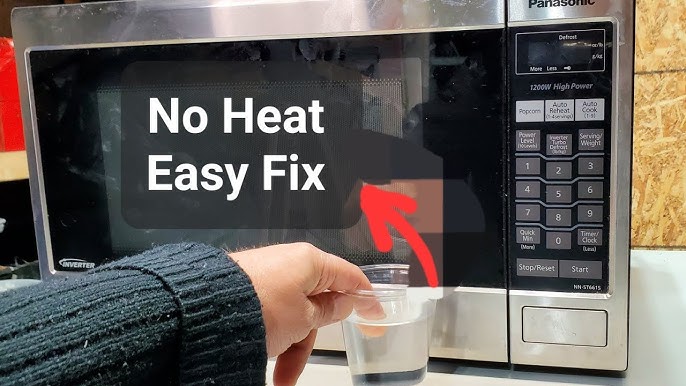
How To Fix Microwave Not Heating But Runs?
Unplug and reset the microwave first. Check door switches, thermal fuse, magnetron, and high-voltage diode for faults. Replace defective parts. Ensure correct cooking settings and a securely closed door. Test the power outlet to confirm proper supply.
How To Know If A Microwave Magnetron Is Broken?
A broken microwave magnetron causes no heating despite running. Test it with a multimeter for continuity or unusual readings. Other signs include strange noises or a burning smell. Check door switches and thermal fuse too, as they can also stop heating.
Replace the magnetron if faulty.
Why Is My Lg Microwave Running But Not Heating?
Your LG microwave may run but not heat due to a faulty magnetron, high-voltage diode, door switch, or blown thermal fuse. Unplug and reset it first. Test door switches and thermal fuse for continuity. Replace defective parts to restore heating function.
Conclusion
A GE microwave not heating usually signals a simple or complex issue. Start by checking the settings and door latch carefully. Testing power and resetting the microwave often solves common problems. If these steps fail, faulty parts like the magnetron or door switch may need replacing.
Regular maintenance helps prevent future issues. Remember, safety first—unplug the microwave before any repair attempts. Understanding these basics saves time and money. Keep your microwave working well with quick checks and timely fixes.