How to Set Time on Panasonic Microwave: Quick & Easy Steps
Setting the correct time on your Panasonic microwave might seem simple, but if you’ve ever struggled with blinking clocks or confusing buttons, you’re not alone. Getting the clock right ensures your microwave works smoothly and helps you keep track of cooking times accurately.
Whether your model has a dial or a number pad, this guide will walk you through the exact steps to set the time quickly and without frustration. Keep reading, and you’ll master your microwave’s clock in no time—making your kitchen routine easier and more efficient.
Locate Clock Button
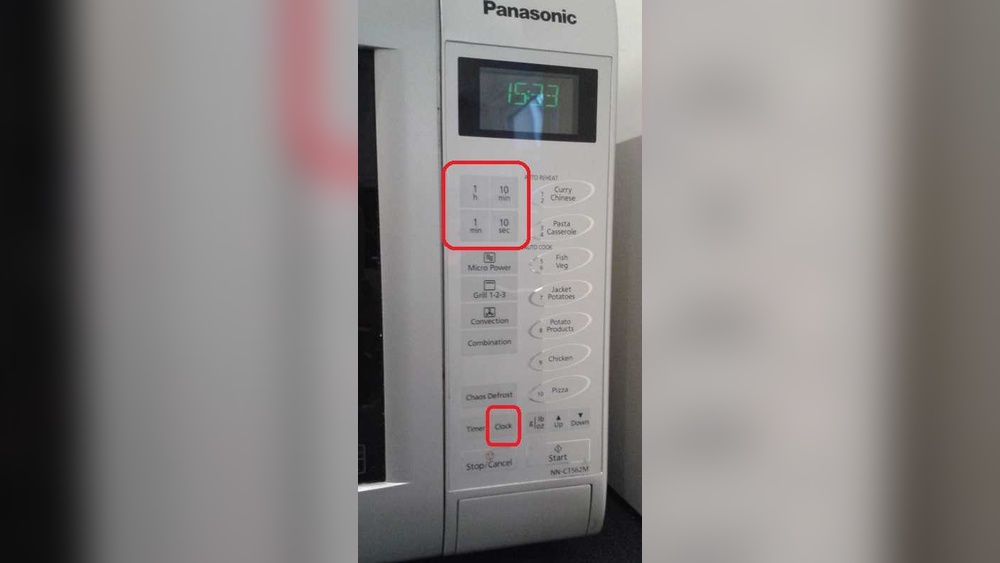
Finding the clock button on your Panasonic microwave is the first step to setting the time. This button controls the clock settings and starts the process. It usually has clear labels to make it easy to find.
The clock button may be named differently depending on your microwave model. Common labels include “Clock,” “Timer/Clock,” or “Clock/Set.” Check the control panel carefully for these words.
Most Panasonic microwaves place the clock button near the number pad or the timer controls. It often looks like a small button among other function keys.
Check The Control Panel
Look closely at the front panel of your microwave. The clock button stands out by its label. It is usually near the top or center of the panel.
Identify The Clock Button Label
Labels vary by model but often read “Clock,” “Timer/Clock,” or “Clock/Set.” Find the one that matches these words. This button activates the clock setting mode.
Use The Clock Button To Start Setting
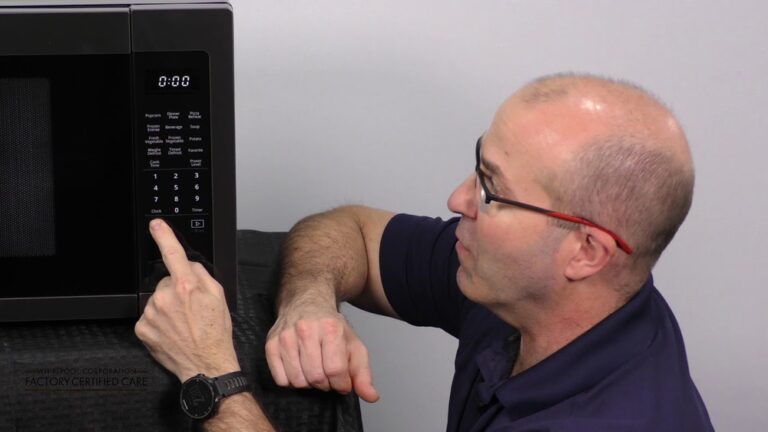
Press the clock button twice. The display will show a blinking colon (:). This means the microwave is ready for you to enter the time.

Credit: www.youtube.com
Start Clock Setting
Setting the clock on your Panasonic microwave is simple and quick. The first step is to start the clock setting mode. This process lets you enter the correct time easily. Follow the steps below to begin setting the clock accurately.
Press Button Twice
Locate the button labeled “Clock” or “Timer/Clock” on your microwave. Press this button twice in a row. Doing this action activates the clock setting mode. You will notice a change on the microwave display after pressing it twice.
Watch For Blinking Colon
After pressing the button twice, look closely at the display screen. The colon (:) between the hour and minute digits will start blinking. This blinking colon means the microwave is ready for you to set the correct time. Once you see the blinking colon, you can proceed to enter the time.
Enter Time
Entering the correct time on your Panasonic microwave is simple and quick. The process starts after activating the clock setting mode. You can set the time either by using the number pad or by adjusting with the dial or +/- buttons. Both methods guide you to input the exact hour and minutes clearly on the display. This step is important for the microwave to show the correct clock time and function properly.
Using Number Pad
After pressing the clock button twice, the colon on the display will blink. Use the number pad to type in the current time. For example, to set 1:23, press 1, then 2, then 3. Make sure to enter the time in a 12-hour format if your microwave requires it. Once the time is entered, press the clock button one more time to confirm. The blinking colon will stop, showing the time is set.
Using Dial Or +/- Buttons
Press the clock button twice to activate the clock setting mode. Instead of typing numbers, turn the dial or press the +/- buttons to change the time. Move slowly to adjust hours and minutes until the display shows the correct time. When finished, press the clock button again to save the setting. The colon will stop blinking, confirming the time is set and ready to use.
Confirm Time
Confirming the time on your Panasonic microwave is the final step in setting the clock. This step makes sure your microwave displays the correct time for daily use. The confirmation process is simple and quick.
Press Clock Button Again
After entering the correct time, press the “Clock” or “Timer/Clock” button again. This action saves the time you just set. Pressing the button twice starts the clock setting mode. Pressing it the third time confirms and saves the new time.
Stop Blinking Colon
When the time is ready to save, the colon (:) on the display blinks. This blinking shows the microwave is in clock setting mode. After confirmation, the blinking stops. A steady colon means the time is set correctly. If the colon keeps blinking, the time is not confirmed yet.
Troubleshoot Clock Setting
Setting the clock on your Panasonic microwave may seem simple. Sometimes, the clock does not set correctly or stops working. Troubleshooting helps fix these issues fast. Follow easy steps to get the clock working again.
Check the display for any blinking or error signs. This shows the microwave is ready to set time. If the clock does not respond, try the next steps to solve the problem.
Press Clock Twice If Needed
Start by pressing the “Clock” or “Timer/Clock” button twice. This action makes the colon on the display blink. The blinking colon means you can now enter the time. If the colon does not blink, press the button again. Sometimes, the microwave needs the button pressed twice to enter time-setting mode.
After the colon blinks, use the number pad to type in the current time. Finally, press the “Clock” or “Timer/Clock” button once more to save the time. The blinking colon will stop, showing the clock is set.
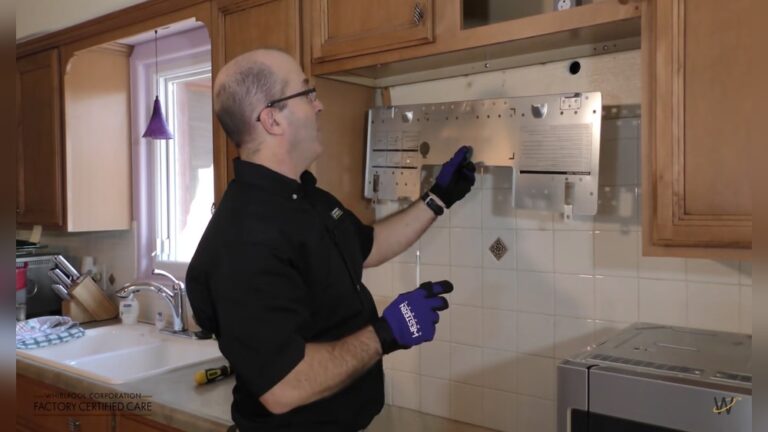
Check Model Specific Instructions
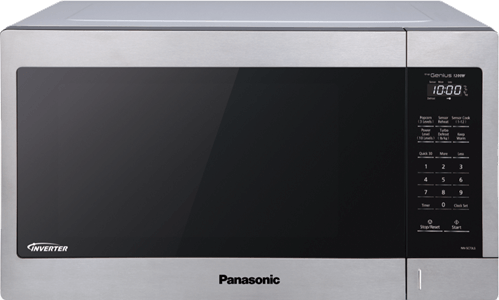
Panasonic microwaves have different models and controls. Some use buttons, others use dials or touchpads. The exact steps to set the clock can vary by model. Look for the user manual that came with your microwave. It has clear instructions for your model.
If you do not have a manual, visit Panasonic’s official website. Enter your microwave model number to find the correct guide. Following model-specific steps ensures the clock sets properly. This reduces frustration and saves time.

Credit: www.youtube.com
Tips For Accurate Time
Setting the correct time on your Panasonic microwave ensures accurate cooking and timer functions. Small mistakes in time settings can cause confusion or incorrect cooking times. Use these tips to set the time precisely and avoid errors.
Use 12-hour Format
Most Panasonic microwaves use a 12-hour clock format. Always enter the time in this format for correct display. For example, use 3:00 instead of 15:00. This helps the microwave show the right time clearly on the screen.
Switch Between Am And Pm
Make sure to select AM or PM correctly after setting the hour and minutes. This step is important to avoid a 12-hour error. Some models require pressing a button to toggle between AM and PM. Check your microwave’s display to confirm the correct period is set.
Credit: help.na.panasonic.com
Frequently Asked Questions
How Do I Set My Clock On My Panasonic Microwave?
Press the “Clock” or “Timer/Clock” button twice until the colon blinks. Enter the correct time using the number pad or dial. Press the button again to confirm and stop the blinking.
How Do I Change The Time On My Panasonic?
Press the “Clock” or “Timer/Clock” button twice until the colon blinks. Enter the correct time using the keypad or dial. Press the button again to confirm and stop the blinking.
How Do I Set The Clock On A Panasonic Microwave Model Nn Sb658s?
Press the “Clock” or “Timer/Clock” button twice until the colon blinks. Enter the correct time using the number pad or dial. Press the button once more to confirm and set the clock on your Panasonic NN SB658s microwave.
Conclusion
Setting the time on your Panasonic microwave is simple and quick. Just find the clock button, press it twice, and enter the correct time. Use the dial or number pad, depending on your model, to adjust the hours and minutes.
Finish by pressing the clock button again to save the time. Now your microwave clock will always show the right time. This small step helps you cook and heat food more efficiently. Keep this guide handy for easy reference anytime you need to reset your microwave clock.