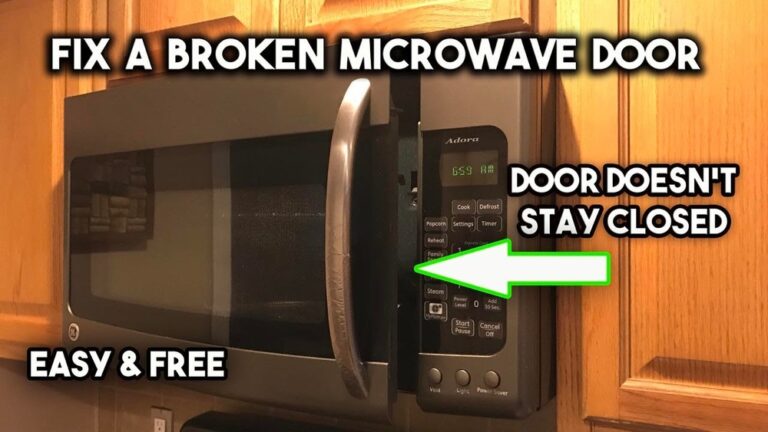
How to Replace Charcoal Filter in Ge Microwave: Easy Step-by-Step Guide
If you’ve noticed your GE microwave’s vent isn’t working as well as it used to, it might be time to replace the charcoal filter. This small but essential part helps trap odors and grease, keeping your kitchen air fresh.
Changing the filter might sound tricky, but with the right steps, you can do it yourself quickly and easily. In this guide, you’ll learn exactly where to find the charcoal filter in your GE microwave and how to replace it safely.
Keep reading to breathe new life into your microwave and enjoy a cleaner kitchen environment!
Credit: www.homedepot.com
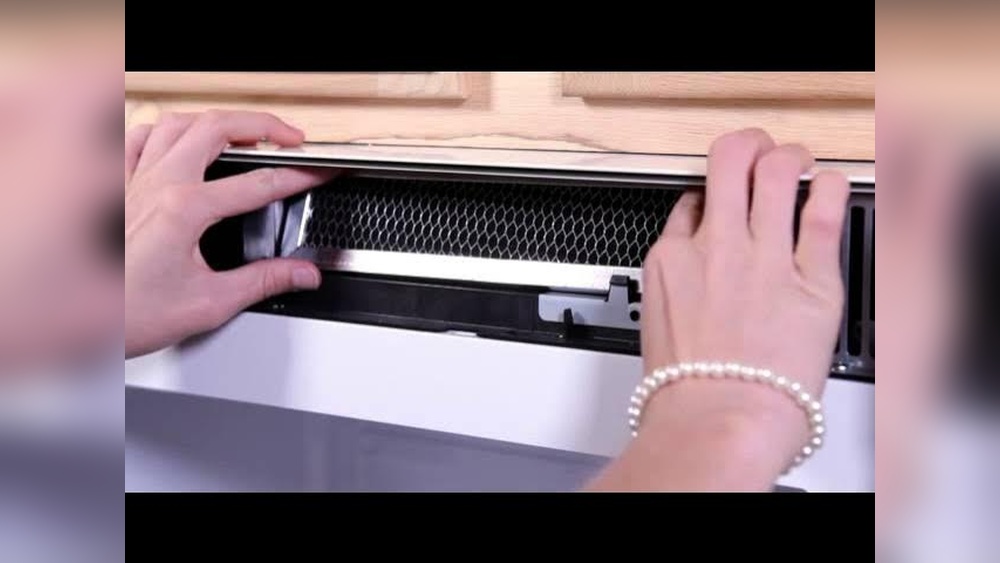
Locate The Charcoal Filter
Locating the charcoal filter in your GE microwave is the first step to replacing it. The filter usually sits behind the vent grille at the top front of the microwave. Knowing exactly where to find it makes the replacement process easier and safer.
Some models may have the filter in a different spot. Checking carefully helps avoid damage and speeds up the task.
Unplug The Microwave
Always unplug the microwave before starting. This step ensures your safety by cutting power to the appliance. Never work on the microwave while it is plugged in.
Find The Vent Grille
Look at the top front area of the microwave. You will see a vent grille covering the filter. This grille allows air to flow while keeping the filter hidden.
Remove The Grille Screws
Use a Phillips-head screwdriver to remove screws holding the grille. Keep the screws safe for reassembly. Removing these screws gives you access to the filter compartment.
Access The Filter Compartment
Gently pull the vent grille away from the microwave. Behind it, you will find the charcoal filter. It usually looks like a flat, rectangular piece. Handle it carefully to avoid damage.
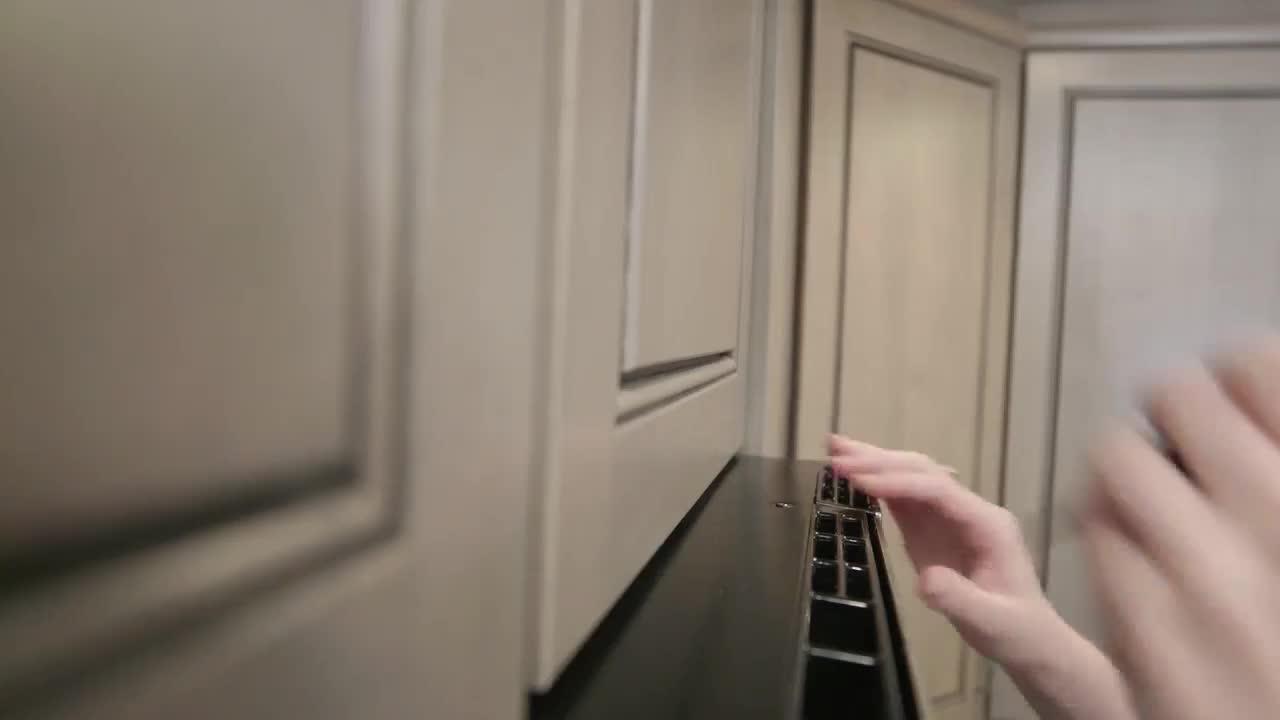
Check Alternate Filter Locations
Some GE microwave models place the charcoal filter in other spots. Check for a separate filter door on the front panel. The filter might also be inside the top vent duct. Confirm your model’s design before removing parts.
Credit: www.lowes.com
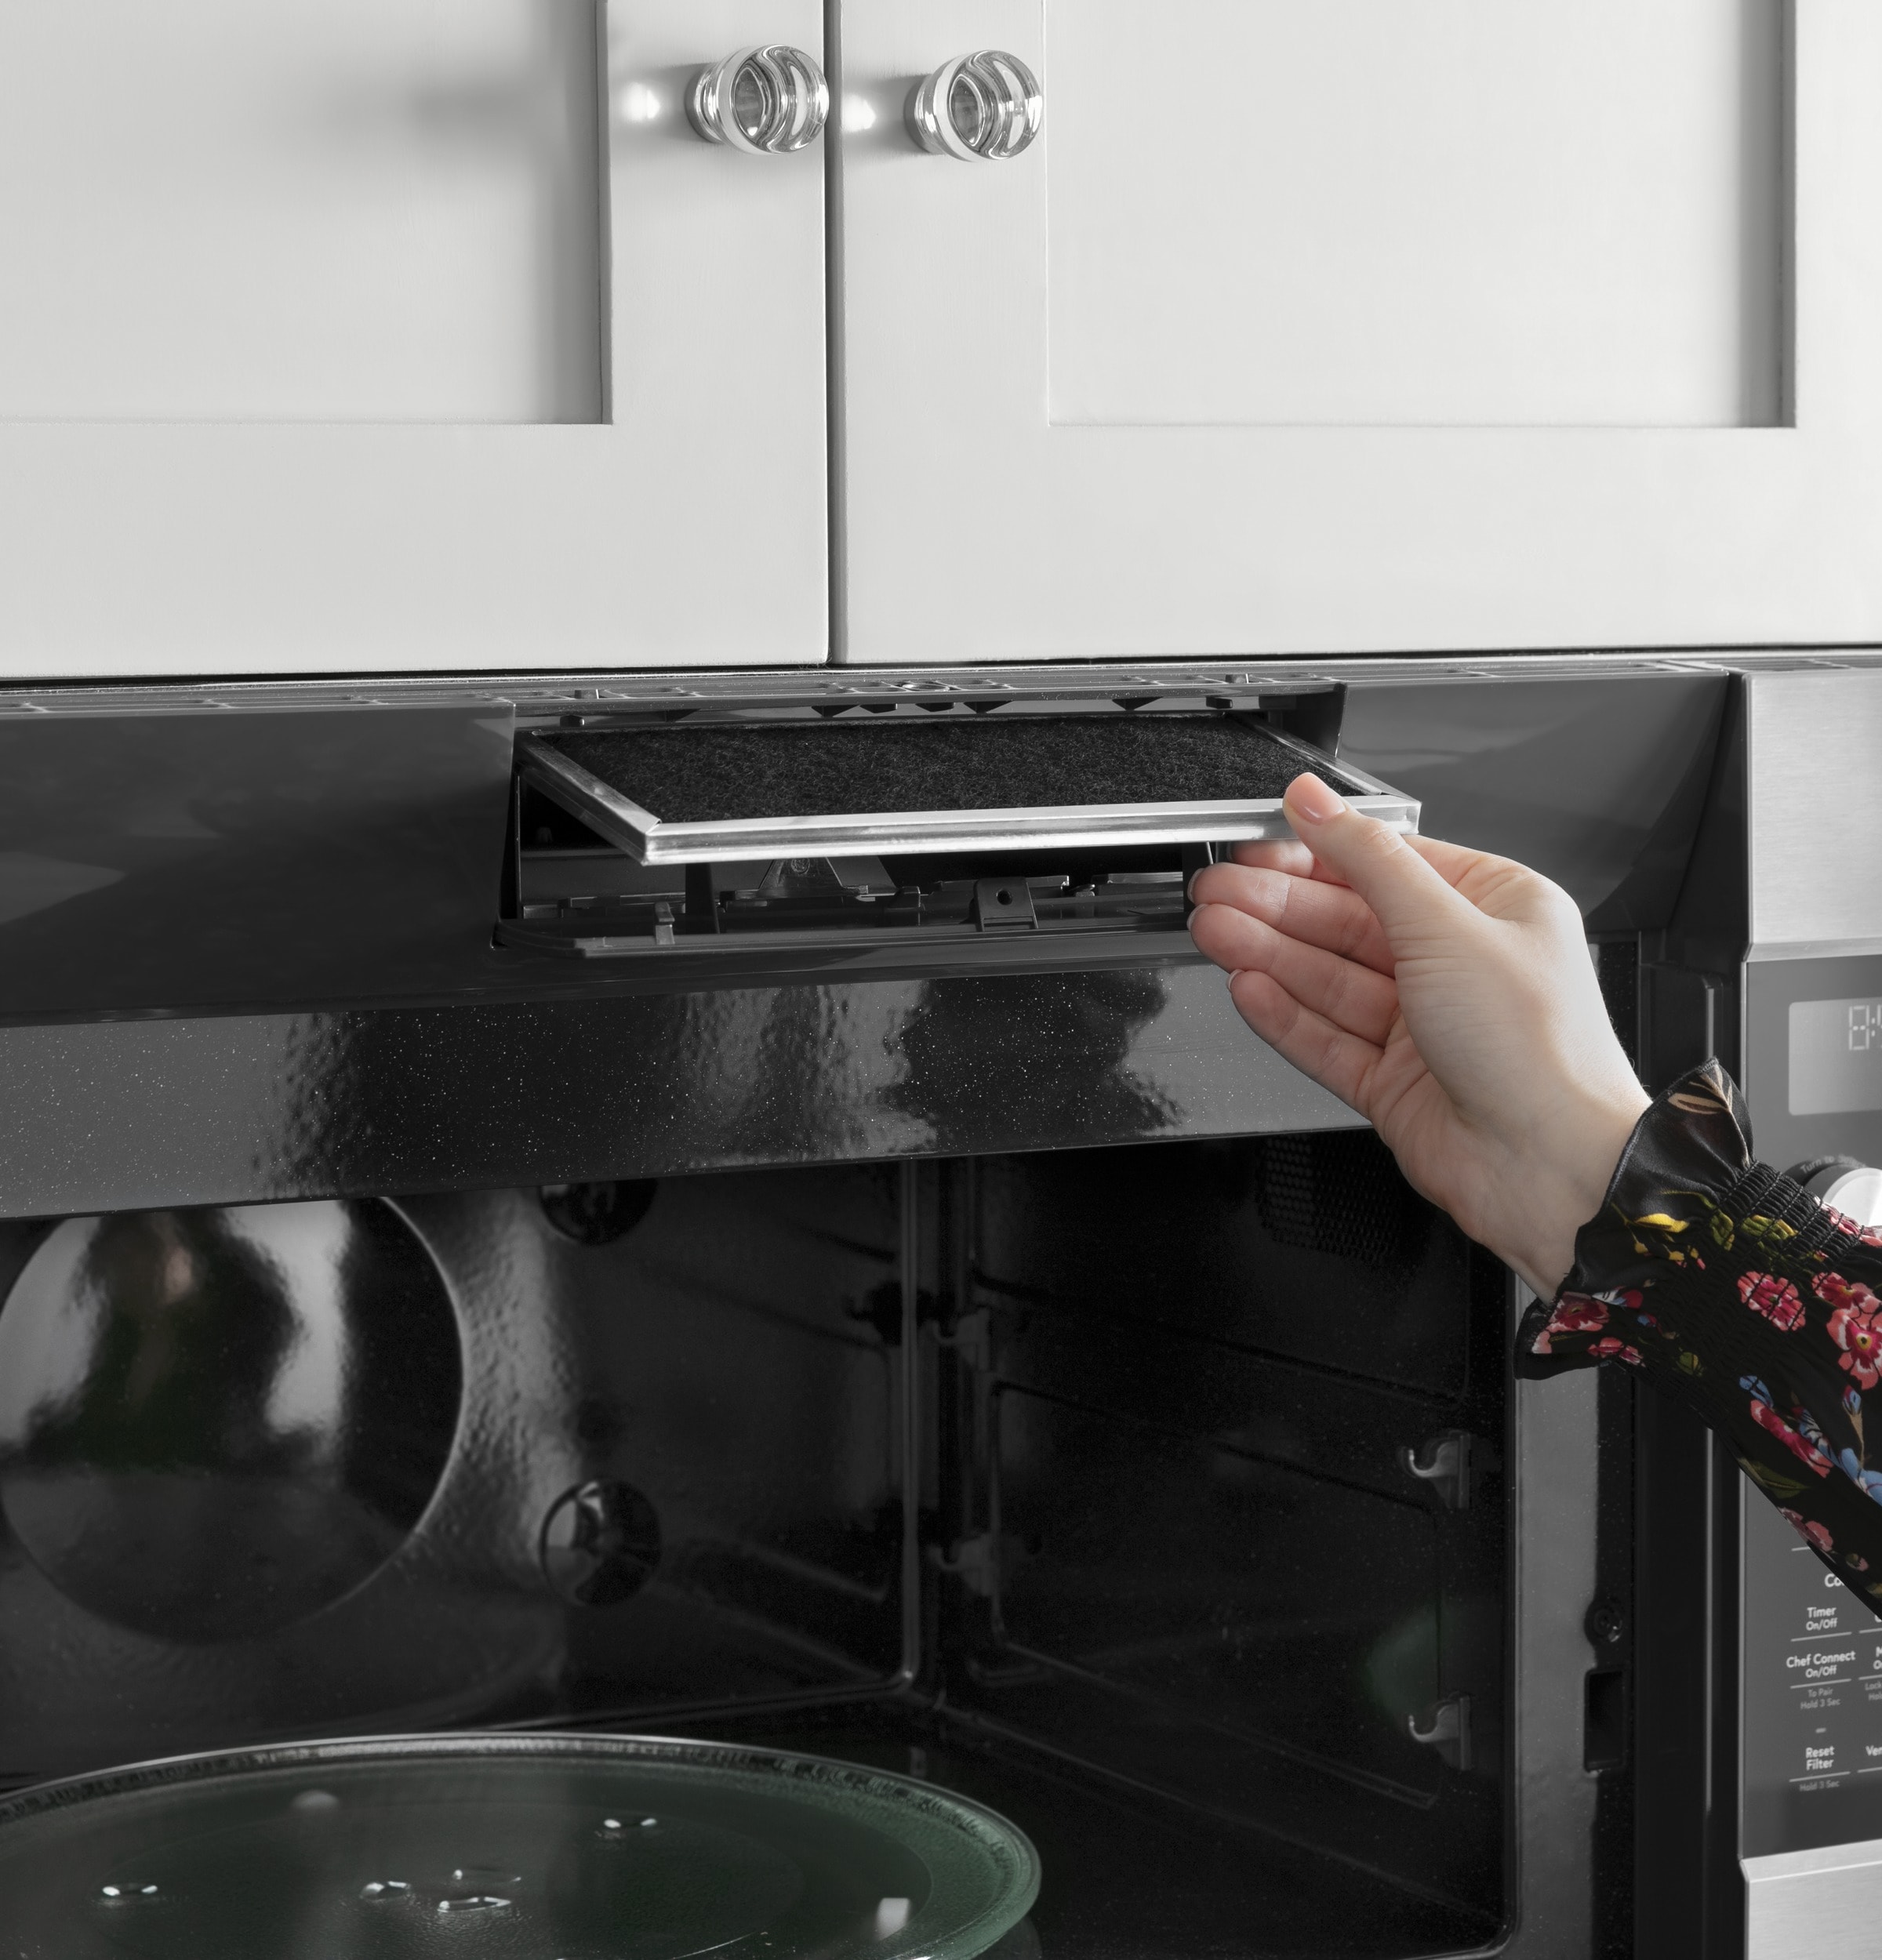
Remove The Old Filter
Removing the old charcoal filter is the first step in replacing it in your GE microwave. This process helps maintain your microwave’s ventilation and keeps odors under control. Take your time to avoid damaging any parts.
Access the filter by removing the vent grille or filter door. Keep the screws safe for reassembly. Now, you are ready to take out the old filter carefully.
Gently Pull Out The Filter
Hold the edges of the filter firmly. Slowly pull it straight out from its compartment. Avoid using force to prevent breaking the filter or the holder. If it feels stuck, wiggle it slightly while pulling.
Handle Loose Fitting Filters
Some filters may fit loosely in their slots. Check for any clips or tabs holding it in place. If the filter moves too freely, be careful not to drop it. Use both hands to keep a good grip during removal.
Choose The Right Replacement Filter
Choosing the right replacement charcoal filter for your GE microwave is important. The correct filter keeps your microwave working well and helps clean the air. Using the wrong filter can reduce the microwave’s performance and cause bad smells. Follow simple steps to find the best filter for your model.
Verify Model Compatibility
Check your microwave’s model number before buying a filter. The model number is usually on a label inside the microwave door or on the back. Use this number to find filters made for your specific model. A compatible filter fits well and works correctly. Avoid generic filters as they may not fit or work properly.
Order From Trusted Sources
Buy replacement filters from reliable sellers or the official GE website. Trusted sources offer genuine filters that last longer and perform better. Avoid very cheap or unknown sellers, as their products may be low quality. Genuine filters come with instructions and warranty for your safety and peace of mind.

Credit: www.youtube.com
Install The New Charcoal Filter
Installing the new charcoal filter in your GE microwave is a simple step that restores its air-cleaning function. This process keeps your kitchen smelling fresh and prevents smoke build-up. Follow these clear instructions to fit the new filter correctly and securely.
Position The Filter Correctly
First, take the new charcoal filter out of its packaging. Check its shape and size to match the old filter. Hold the filter so the flat side faces the vent opening. Align the filter’s edges with the compartment slots. Make sure the filter fits snugly without forcing it in. Proper positioning ensures the microwave works efficiently.
Secure The Filter In Place
Once the filter is positioned, press it gently but firmly into the compartment. Some filters click or lock into place. If your model uses screws or clips, fasten them now. Double-check the filter does not move or fall out. A secure filter keeps dirt and odors from escaping. After securing, replace the vent grille and tighten any screws removed earlier.
Reattach The Vent Grille
Reattaching the vent grille is the final step after replacing the charcoal filter in your GE microwave. This part covers the filter and keeps the microwave’s appearance neat. Proper reattachment ensures the microwave works safely and vents air correctly. Take your time to align and secure the grille properly.
Align The Grille Properly
Hold the vent grille close to the microwave. Match the screw holes on the grille with those on the microwave frame. The grille should sit flush without gaps. Check that the vents line up evenly to allow airflow. Proper alignment prevents rattling and ensures a secure fit.
Tighten The Screws Securely
Use a Phillips-head screwdriver to tighten the screws. Turn each screw clockwise until snug. Avoid overtightening to prevent cracking the grille or stripping the screws. Tight screws keep the grille stable during microwave use. Double-check each screw to confirm a firm hold.
Maintain Your Microwave Filter
Maintaining your microwave filter is essential for keeping your GE microwave running efficiently. The charcoal filter traps odors and grease, preventing them from circulating in your kitchen. Regular care helps extend the filter’s life and keeps your microwave fresh and clean. Neglecting the filter may reduce your microwave’s performance and cause unpleasant smells.
Regular Cleaning Tips
Remove the filter carefully before cleaning. Use warm, soapy water to wash the filter gently. Avoid harsh scrubbing, which can damage the filter material. Let the filter dry completely before reinstalling it. Clean the vent grille and surrounding areas to remove dust and grease. Keeping these parts clean improves air flow and filter effectiveness.
Recommended Replacement Frequency
Replace your charcoal filter every 6 to 12 months for best results. The exact time depends on how often you use the microwave. Heavy use may require more frequent replacement. Check the filter for signs of wear or damage regularly. A worn filter cannot trap odors and grease properly. Follow your microwave’s manual for specific replacement instructions and part numbers.
Frequently Asked Questions
How Do I Replace The Charcoal Filter In Ge Microwave?
Unplug the microwave first. Remove the vent grille by unscrewing it. Take out the charcoal filter. Clean it gently with warm, soapy water. Let it dry completely before reinstalling. Replace the grille and screws securely. Regular cleaning keeps the filter effective and your microwave fresh.
How To Clean A Charcoal Filter On A Ge Microwave?
Yes, replace your microwave charcoal filter every 6 to 12 months to maintain air quality and ventilation efficiency.
Do I Need To Replace My Microwave Charcoal Filter?
The charcoal filter sits behind the vent grille on the microwave’s top front. Remove the grille screws to access and replace it. Some models hide the filter behind a front panel or inside the top vent duct. Always unplug before replacing the filter.
Conclusion
Replacing the charcoal filter in your GE microwave keeps the air clean and fresh. Regular replacement ensures your microwave works well. Follow the simple steps to remove and install the new filter safely. Always unplug the microwave before starting the process.
Check the filter location carefully, as it may vary by model. Clean and replace the filter every few months for best results. This small task helps maintain your microwave’s performance and your kitchen’s air quality. Easy to do and important to keep your microwave in good shape.