How to Remove Ge Over the Range Microwave: Easy Step-by-Step Guide

Removing your GE over-the-range microwave might seem tricky at first, but with the right steps, you can do it safely and efficiently. Whether you’re upgrading to a new model or just need to fix something behind it, knowing how to remove your microwave will save you time and hassle.
In this guide, you’ll discover clear, simple instructions that anyone can follow—even if you’re not a DIY expert. Stick with me, and by the end, you’ll have the confidence to take down your GE over-the-range microwave without stress or damage.
Let’s get started!

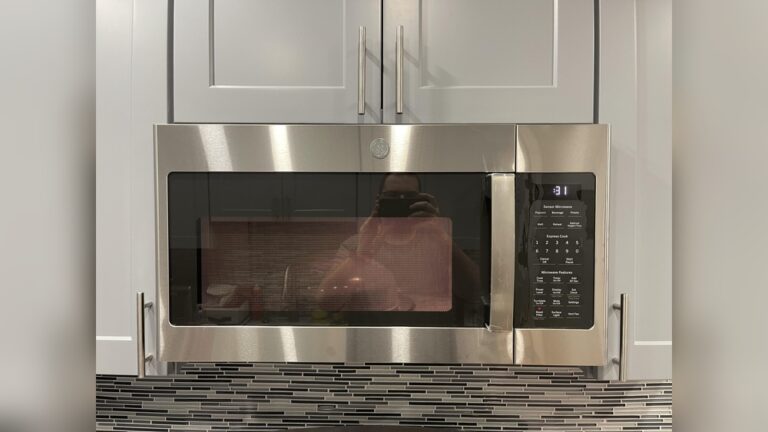
Credit: www.wikihow.com
Tools Needed
Basic tools include a screwdriver, a step ladder, and gloves for safety. A socket wrench may also help loosen bolts. Having these ready makes the removal process smoother and safer.
Removing a GE over the range microwave requires a few simple tools. Having the right tools ensures a smooth and safe removal process. Prepare these tools before starting.
Using improper tools can damage your microwave or kitchen. The tools listed here are common and easy to find at hardware stores.
Phillips Head Screwdriver
This screwdriver removes the screws holding the microwave in place. Most GE microwaves use Phillips head screws. A medium size screwdriver works best for better grip and control.
Flat Head Screwdriver
A flat head screwdriver helps to pry and loosen clips or tabs. It also assists in lifting the microwave off the mounting bracket carefully without damage.
Socket Wrench Set
Some models use bolts instead of screws. A socket wrench set helps to remove these bolts quickly and safely. Choose the socket size that matches the bolt heads.
Step Ladder Or Sturdy Stool
A step ladder or sturdy stool provides easy access to the microwave. It helps you reach screws and bolts without straining or risking a fall. Safety first.
Work Gloves
Wear work gloves to protect your hands from sharp edges and heat. Removing a microwave involves handling metal parts that can cause cuts or scrapes.
Flashlight
A flashlight helps you see screws and bolts in tight or dark spaces. It makes the removal process easier, especially if your kitchen lighting is dim.

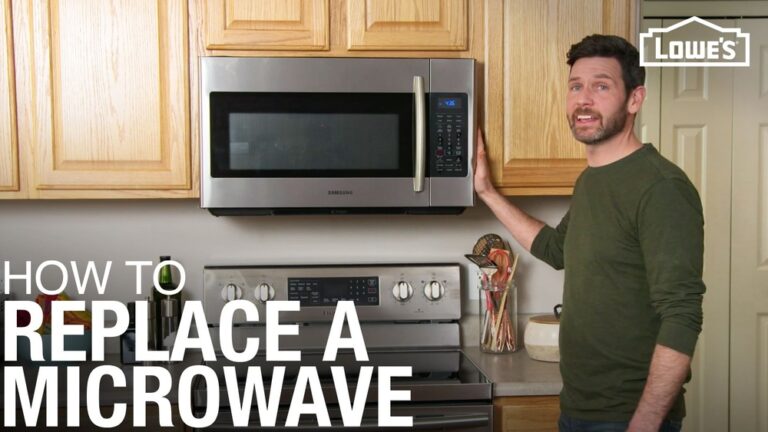
Credit: www.youtube.com
Safety Precautions
Always disconnect the microwave from power before starting removal. Use a sturdy ladder and ask for help to avoid injury. Handle screws and heavy parts carefully to prevent accidents.
Removing a GE over the range microwave requires careful attention to safety. Electrical appliances can be dangerous if handled incorrectly. Following safety steps protects you and your home during removal.
Turn off the power supply before starting. This prevents electric shocks or short circuits. Use a voltage tester to confirm the power is off.
Wear Protective Gear
Wear gloves to protect your hands from sharp edges. Safety glasses shield your eyes from dust and debris. Closed-toe shoes help protect your feet from falling objects.
Use Proper Tools
Gather the right tools before you begin. A screwdriver set, voltage tester, and step ladder are essential. Using the correct tools makes the job safer and easier.
Secure The Microwave
Support the microwave with one hand while loosening bolts. This prevents it from falling and causing injury. Ask for help if the microwave is heavy or awkward to handle.
Handle Electrical Connections Carefully
Unplug the microwave only after it is free from the mounting bracket. Do not pull the cord forcefully. Check for any damaged wires and avoid contact with live wires.
Locate Mounting Hardware
To remove your GE over the range microwave, start by locating the mounting hardware. This step is essential for a safe and smooth removal process. The mounting hardware holds the microwave firmly in place. Identifying these parts helps you know exactly where to loosen screws and brackets.
Begin by opening the cabinet above the microwave. This space usually hides important screws. Also, check the wall area behind the microwave for any brackets. These components work together to secure the microwave to the wall and cabinet.
Check Cabinet Screws
Look inside the cabinet above the microwave. You will find screws attached to the cabinet floor. These screws hold the front of the microwave. Use a screwdriver to remove them carefully. Support the microwave with one hand while removing screws. Removing these screws frees the microwave’s front edge.
Find Wall Bracket
Next, locate the wall bracket that holds the microwave’s back. This bracket is usually fixed to the wall studs. It supports the microwave’s weight and keeps it steady. Slide your hand behind the microwave to feel for the bracket. Unhook the microwave from this bracket once the screws are removed. This step allows you to pull the microwave free from the wall.
Disconnect Power Supply
Removing a GE over-the-range microwave starts with disconnecting its power. Safety is the top priority. Cutting off electricity prevents shocks and accidents.
There are two main ways to disconnect the power. Both are simple and effective. Follow these steps carefully before removing the microwave.
Unplug Microwave
Locate the microwave’s power cord behind the unit. Gently pull the plug from the wall outlet. Avoid yanking the cord to protect it from damage. This step ensures the microwave no longer receives power.
Some microwaves may have hardwired connections. If so, unplugging is not an option. Proceed to turn off the circuit breaker instead.
Turn Off Circuit Breaker
Find the home’s electrical panel. Open the panel door to access the breakers. Identify the breaker for the microwave. It is often labeled or found near kitchen circuits.
Flip the breaker switch to the “off” position. This cuts power to the microwave safely. Double-check by trying to turn on the microwave or using a voltage tester if available.
Remove Cabinet Screws
Start by opening the cabinet above the microwave to access the screws. Remove the large bolts securing the microwave to the cabinet floor. Support the microwave’s front, then lean it forward, unplug, and lift it off the mounting bracket for safe removal.
Start by opening the cabinet above the microwave. This step is important to access the screws holding the microwave in place.
Locate the cabinet floor inside the cabinet. Look for large screws or bolts near the front edge.
Use a screwdriver or a drill with the correct bit to remove these screws. Unscrew them carefully to avoid damaging the cabinet or microwave.
These screws support the microwave’s front. Removing them lets you tilt the microwave forward safely.
Keep the screws in a safe place. You might need them later if you plan to reinstall the microwave.
Support Microwave Front
Supporting the front of your GE over-the-range microwave is a critical step during removal. This prevents the microwave from falling forward once the mounting screws are loose. Holding the microwave steady protects both you and the appliance from damage.
Before you start unscrewing, position your hands firmly under the microwave’s front edge. This grip gives control and balance as you work. It also helps you gently tilt the microwave forward when needed.
Use Both Hands For Stability
Place one hand under each side of the microwave’s front. This spreads the weight evenly. Avoid using just one hand, which can cause the microwave to slip.
Ask For Help If The Microwave Is Heavy
Some models weigh over 50 pounds. Get another person to help support the front. Two people make the process safer and easier.
Keep The Microwave Tilted While Removing Screws
After supporting the front, gently tilt the microwave forward. This exposes the mounting screws. Keep holding the microwave to prevent sudden drops.
Slowly Lower The Microwave After Releasing Screws
Once all screws are removed, carefully lower the microwave. Do not let go until it is fully detached. Keep the front supported to avoid accidents.
Detach Microwave From Wall Bracket
Detaching the GE over the range microwave from its wall bracket is a careful process. It involves loosening and lifting steps to safely remove the unit. This section explains how to detach the microwave without damage.
Tilt Microwave Forward
Start by supporting the front of the microwave. Use one hand or ask for help to hold it steady. Next, gently loosen the bolts securing the microwave to the cabinet above. These bolts are usually near the front edge. Once loose, carefully tilt the microwave forward. This action frees the rear from the wall bracket. Keep the microwave stable to avoid any sudden falls.
Lift Off Mounting Plate
With the microwave tilted forward, locate the mounting plate on the wall. The back of the microwave hooks onto this plate. Slowly lift the microwave upward to unhook it from the mounting plate. Make sure you have a firm grip to prevent dropping. After lifting it off, move the microwave away from the wall. This step completes detaching the microwave from the bracket.

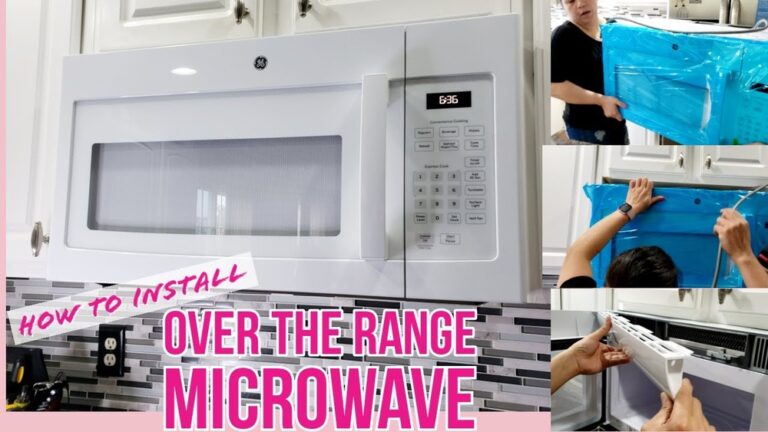
Credit: www.wikihow.com
Lower Microwave Carefully
Lowering the GE over-the-range microwave carefully is key to a safe removal. This step requires steady hands and attention to avoid damage or injury. The microwave is heavy and awkward to handle alone. Have a helper assist you for best results.
Start by supporting the microwave from the front. Hold it firmly but gently. Slowly tilt the microwave forward. This motion will free the back hooks from the mounting bracket on the wall.
Support The Microwave Front
Place your hands under the microwave’s front edge. Ensure a solid grip to prevent slipping. Keep your arms steady as you prepare to lower the unit.
Tilt Microwave Forward Gently
Lean the microwave slowly forward. This action detaches the rear hooks from the wall bracket. Avoid sudden movements to keep control of the unit.
Lower The Microwave Downward
Once free from the bracket, begin lowering the microwave down. Keep it close to your body for balance. Move slowly to avoid dropping or hitting nearby surfaces.
Have A Helper Assist
Ask someone to help hold the microwave. Two people make the task safer and easier. Coordinate your movements to lower the unit smoothly.
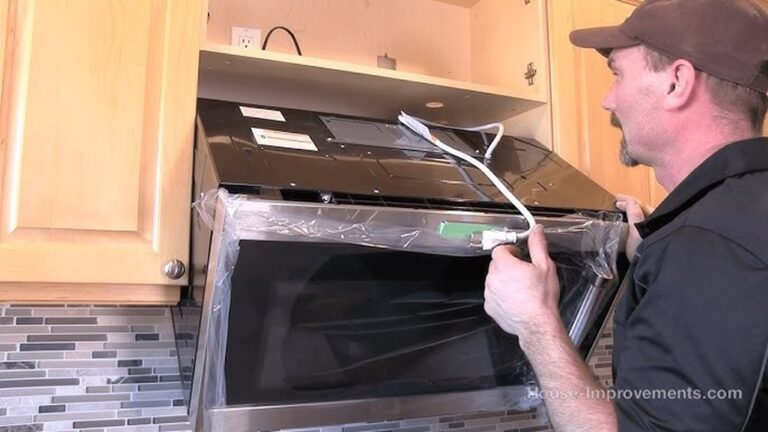
Handle Venting Connections
Handling the venting connections is a key step in removing your GE over the range microwave. These connections secure the microwave’s vent to your home’s ventilation system. Properly managing these parts ensures a smooth removal process and avoids damage to the venting setup. Take your time to carefully disconnect each component.
Disconnect Vent Hose
Locate the vent hose attached to the back of the microwave. This hose channels air from the microwave to your home’s exhaust system. Gently pull the hose away from the microwave’s vent outlet. Some models have clamps; loosen these with a screwdriver. Keep the hose intact for reuse or replacement later.
Remove Filters
Filters are inside the microwave’s venting system. They trap grease and dust to keep the air clean. Open the microwave door and find the filter covers under the unit. Slide or press the filters out carefully. Clean or replace them if needed before reinstalling or discarding the microwave.
Clean Installation Area
Cleaning the installation area is a vital step after removing your GE over-the-range microwave. This process ensures a smooth setup for your new appliance. Dirt, grease, and old mounting hardware can block proper installation. A clean and clear space protects your kitchen walls and cabinets.
Removing all debris prevents damage and allows you to inspect the area. Check for any signs of wear or damage that may need repair before installation. A tidy workspace makes the job safer and easier.
Remove Old Mounting Hardware
Start by taking out all screws, bolts, and brackets left from the old microwave. Use a screwdriver or drill for this task. Dispose of these parts properly to avoid clutter.
Clean Grease And Dirt
Use a mild cleaner or soapy water to wipe down the wall and cabinet surfaces. Pay attention to greasy spots, as they can affect new adhesive or paint. Dry the area thoroughly with a clean cloth.
Inspect Wall And Cabinet Condition
Look for holes, cracks, or water damage in the wall or cabinet. Fix any issues with spackle or wood filler. Sand the surface smooth once dry for a perfect finish.
Prepare Surface For New Installation
Ensure the wall is flat and clean. Remove any wallpaper or paint flakes that may peel off later. Mark the mounting points clearly to guide the new microwave setup.
Tips For Reinstalling Or Replacing
After removing your GE over the range microwave, you might want to reinstall it or replace it with a new model. Proper steps help ensure safety and functionality. Follow clear tips to avoid common mistakes and secure the microwave correctly.
Preparing The Mounting Area
Check the wall and cabinet area for damage or dirt. Clean the surface thoroughly to ensure good contact. Inspect the mounting bracket for rust or bends. Replace the bracket if it shows signs of wear. Make sure the wall studs are strong and properly aligned.
Aligning The Microwave Correctly
Use a level tool to mark where the microwave will hang. Position the mounting plate at the right height and center. Double-check the marks before drilling or screwing. Proper alignment prevents the microwave from tilting or falling.
Reconnecting Electrical Components Safely
Turn off the power supply before working on electrical parts. Plug the microwave into a grounded outlet designed for kitchen appliances. Avoid using extension cords or adapters. Ensure the power cord is not pinched or damaged during installation.
Securing The Microwave Firmly
Attach the microwave to the mounting bracket securely. Tighten all screws and bolts without over-tightening. Support the microwave as you fasten the top bolts under the cabinet. Check stability by gently shaking the microwave after installation.
Testing The Microwave After Installation
Restore power and test all microwave functions. Use basic settings like heating and ventilation. Listen for unusual noises or vibrations. Confirm the microwave door closes properly and seals tightly.
Frequently Asked Questions
How To Detach An Over-the-range Microwave?
Open the cabinet above the microwave. Support the front, remove three bolts through the cabinet floor. Tilt microwave forward, unplug, lift back off wall tabs, and pull away.
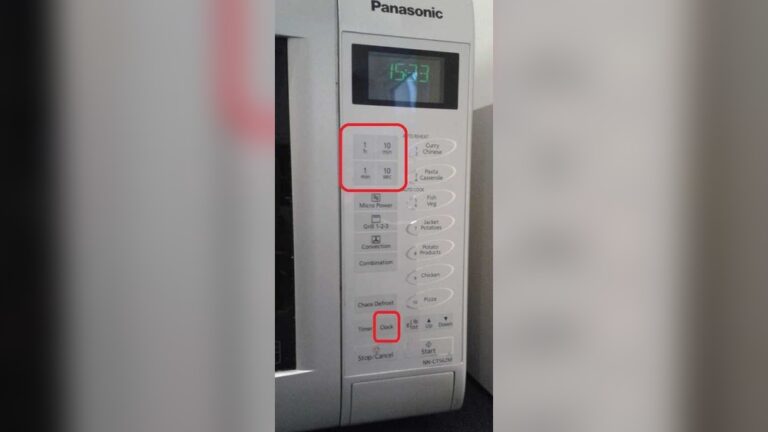
How To Unlock A Ge Over-the-range Microwave?
Press and hold the “Clear/Off” or “Stop/Reset” button for 3-5 seconds. This unlocks the GE microwave control panel.
What Holds An Over-the-range Microwave In Place?
An over-the-range microwave stays secure with a mounting bracket attached to wall studs. Screws fasten it to the cabinet above. The bracket supports the microwave’s weight, ensuring stability above the stove. Proper installation uses at least one stud for strong, safe mounting.
Conclusion
Removing a GE over-the-range microwave is simple with the right steps. Always unplug the microwave first for safety. Support the front while loosening bolts to prevent falls. Tilt the microwave forward to release it from the wall bracket. Lift it carefully away once free from the mounting plate.
Taking your time helps avoid damage or injury. Follow these tips, and the process will be smooth and stress-free. Now, you can replace or clean your microwave with confidence.