How to Remove an Above Range Microwave: Easy Step-by-Step Guide
Removing an above range microwave might seem tricky, but with the right steps, you can do it yourself without stress. Whether you’re upgrading your kitchen or fixing an issue, knowing how to safely take down your microwave is essential.
In this guide, you’ll learn clear, simple instructions to remove your above range microwave quickly and securely. Stick with me, and you’ll have it off the wall in no time—no need to call a professional or struggle with confusing manuals.
Ready to get started? Let’s dive in!

Credit: www.wikihow.com
Tools And Preparation
Locating the mounting components is the first step to safely remove an above range microwave. These parts secure the microwave to the wall and cabinet. Knowing their position helps avoid damage and eases removal. Take time to identify each component clearly before proceeding.
Find The Mounting Bracket
The mounting bracket holds the microwave firmly to the wall. It is usually a metal plate attached behind the microwave. Look above the microwave or inside the cabinet for this bracket. The microwave hooks onto it for support. Spotting this bracket helps you understand how the microwave stays in place.
Identify Cabinet Bolts
Cabinet bolts secure the microwave to the bottom of the cabinet. These bolts pass through the cabinet floor into the microwave frame. Open the cabinet door above the microwave to find them. Typically, there are three or more bolts near the microwave’s front edge. Removing these bolts is necessary to release the microwave.
Check Electrical Connections
Above range microwaves require power, so check the electrical plug and wiring. The microwave may be plugged into an outlet inside the cabinet or hardwired to the wall. Before removing the microwave, unplug it or switch off the circuit breaker. Ensure all electrical connections are disconnected safely to avoid shocks or damage.

Credit: www.wikihow.com
Locate Mounting Components
Disconnecting the power and vent is a crucial step before removing an above range microwave. This ensures safety and prevents damage to the appliance or surrounding areas. Follow these steps carefully to prepare your microwave for removal.
Unplug The Microwave
Locate the microwave’s power cord. It is often behind the appliance or inside the cabinet above. Pull the plug gently from the outlet. Avoid yanking the cord to prevent damage. Make sure the microwave is completely disconnected from electricity before proceeding.
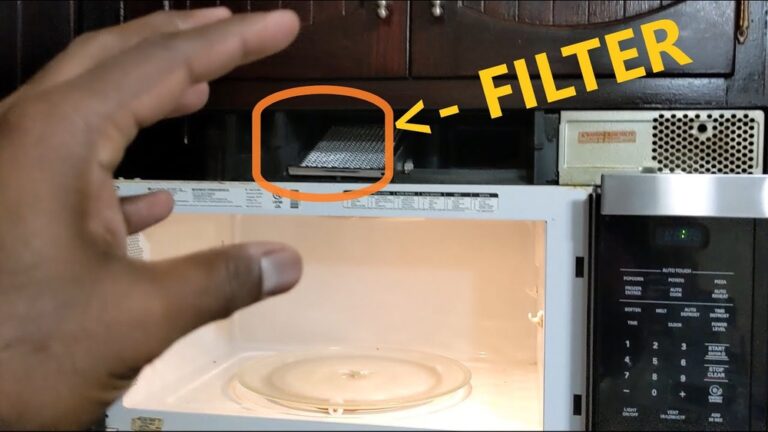
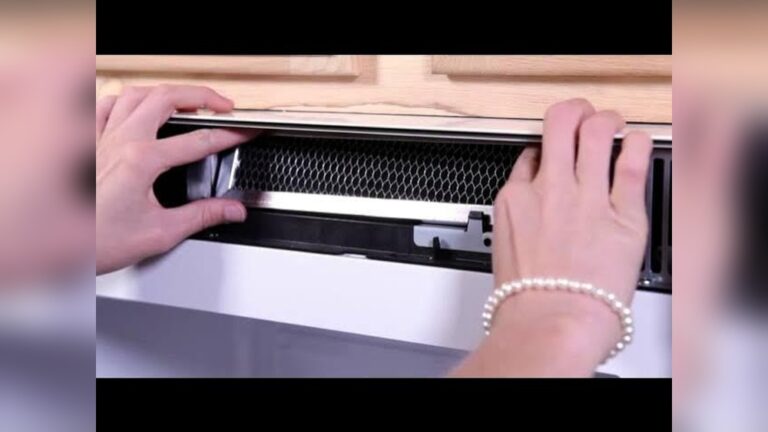
Detach Ventilation Duct
Find the ventilation duct connected to the microwave’s vent. This duct carries air outside or recirculates it through filters. Use a screwdriver to loosen the screws or clamps holding the duct. Carefully pull the duct away from the microwave. Set the duct aside without bending or crushing it.
Remove Exhaust Filters
Look under the microwave to find the exhaust filters. These filters catch grease and smoke during cooking. Slide or press the release tabs to remove the filters. Clean or replace them if needed. Removing the filters makes the microwave lighter and easier to handle.
Disconnect Power And Vent
Removing the securing bolts is a key step in taking down an above range microwave. These bolts hold the microwave firmly in place. Removing them carefully will allow you to detach the microwave safely and without damage. Follow the steps below to remove these bolts with ease.
Unscrew Cabinet Bolts
First, open the cabinet above the microwave. Locate the large bolts near the front edge of the cabinet floor. Use a suitable screwdriver or drill to unscrew these bolts. Keep the bolts in a safe place for reinstallation or disposal. Support the microwave’s front as you remove the bolts to prevent it from falling.
Detach Microwave From Bracket
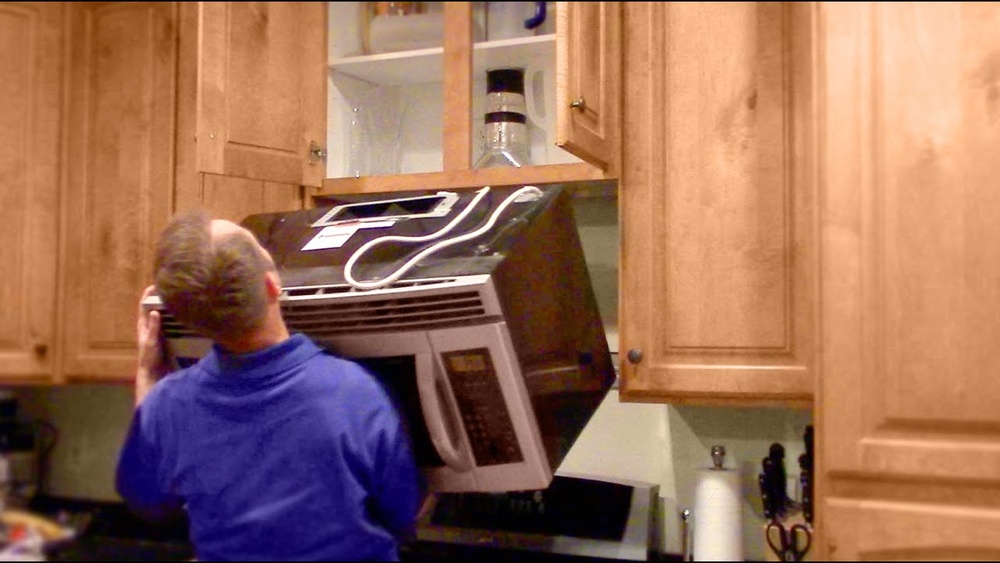
After removing the cabinet bolts, the microwave is still attached to the wall bracket. Carefully lean the microwave forward to access the back. Unplug the microwave from the power outlet. Lift the back of the microwave off the mounting tabs on the bracket. Gently pull the microwave away from the wall to complete removal.
Remove Securing Bolts
Removing an above range microwave requires careful steps to avoid damage. This process involves supporting the microwave, detaching it from the wall plate, and lowering it safely. Follow each step closely to ensure a smooth removal.
Support Microwave Front
Start by placing your hands under the microwave’s front edge. Hold it firmly to prevent it from falling. This support is crucial before loosening any screws or bolts. Keep a steady grip throughout this step.
Tilt And Lift Off Wall Plate
Once the front is supported, tilt the microwave slightly forward. This movement releases the back hooks from the wall plate. Carefully lift the microwave up and away from the wall plate. Avoid sudden jerks to prevent damage.
Safely Lower And Set Aside
After detaching, slowly lower the microwave to a stable surface. Set it aside gently to avoid scratches or dents. Check for any remaining wires or plugs connected before fully removing the unit.
Remove The Microwave
After removing an above range microwave, focus shifts to post-removal steps. These steps ensure safety and prepare the space for the next phase. Proper care here avoids damage and makes future work easier.
Inspect Mounting Area
Check the wall and cabinet for any signs of damage. Look for holes, cracks, or loose screws. Verify the mounting bracket is still secure if you plan to reuse it. Ensure there is no electrical damage or exposed wires. Address any issues before proceeding.
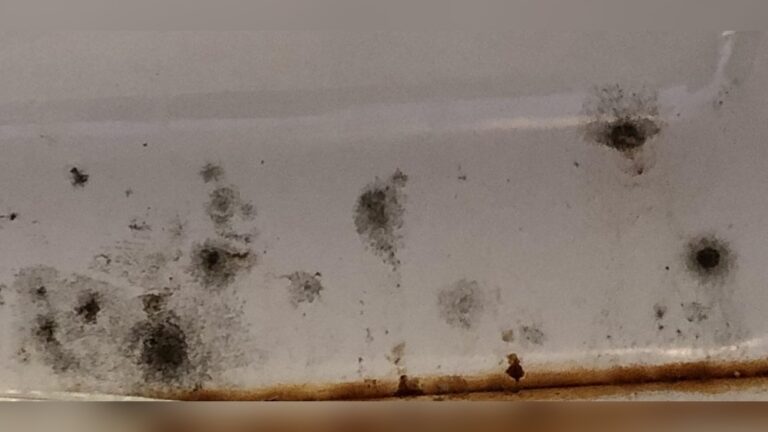
Clean Surrounding Surfaces
Remove dust, grease, and debris from the wall, cabinets, and vent area. Use a mild cleaner and a soft cloth to avoid damage. Cleaning prevents mold and keeps the kitchen fresh. It also helps the new microwave fit properly.
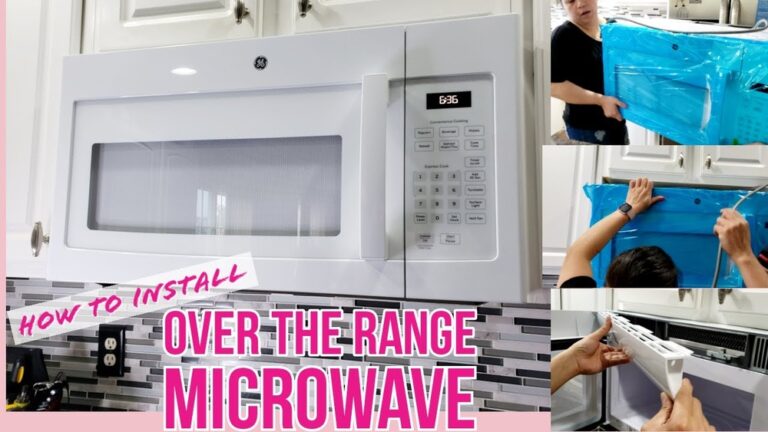
Prepare For New Installation Or Repair
Gather all necessary tools and parts for the next step. Confirm the electrical outlet is working and accessible. Plan the position of the new microwave or repairs needed. Double-check measurements to ensure a good fit. Proper preparation saves time and effort later.

Credit: www.youtube.com
Frequently Asked Questions
How To Detach An Over-the-range Microwave?
Open the cabinet above the microwave. Support the microwave front, remove the front bolts. Lean microwave forward, unplug it, lift the back off the wall plate tabs, and pull it free.
What Holds An Over-the-range Microwave In Place?
An over-the-range microwave stays in place with a sturdy mounting bracket secured to wall studs. Cabinet bolts also hold it firmly.
How To Take Out A Microwave On Top Of A Stove?
Turn off power and unplug the microwave. Remove louvers on top front to find the latch. Pull latch to release microwave from the bracket. Unscrew bolts holding it to the cabinet. Carefully lift and detach the microwave from the wall bracket.
Conclusion
Removing an above range microwave is doable with the right steps. Always ensure power is off before starting. Support the microwave while unscrewing bolts for safety. Carefully detach the unit from the wall bracket. Take your time to avoid damage or injury.
Following these tips helps make the process smooth. Now, you can replace or clean the space easily. Simple tools and patience make this task manageable. You’ve got this!