How to Remove a Ge Over the Range Microwave: Easy Step-by-Step Guide
Are you ready to remove your GE over-the-range microwave but not sure where to start? Removing this type of microwave might seem tricky, but with the right steps, you can do it safely and efficiently on your own.
Whether you’re upgrading to a new model or just need to take it down for repairs, understanding the process will save you time and frustration. In this guide, you’ll find clear, simple instructions that walk you through every step—no jargon, no guesswork.
Keep reading, and you’ll be removing your GE microwave like a pro in no time.

Credit: www.wikihow.com
Tools And Safety
Removing a GE over the range microwave requires the right tools and careful attention to safety. Preparing properly makes the job easier and prevents accidents. This section covers the essential tools and safety steps you need before starting the removal.
Essential Tools Needed
Gathering the correct tools saves time and effort. You will need a drill or screwdriver to remove screws. A socket wrench helps with bolts securing the microwave. A step ladder allows easy access to the microwave. Have a flashlight handy to see dark areas. Safety gloves protect your hands from sharp edges. Finally, use a helper to support the microwave during removal.
Safety Precautions
Turn off the microwave’s power at the circuit breaker to avoid electric shock. Unplug the microwave from the wall outlet before starting work. Use the step ladder carefully and do not overreach. Wear safety gloves to protect against cuts from metal parts. Keep your work area clear of obstacles to avoid tripping. Always have a helper hold the microwave steady while you remove it. Follow these steps to ensure a safe removal process.
Prepare The Microwave
Preparing the microwave is the first step to a smooth removal process. This stage ensures safety and gives you enough space to work comfortably. Taking these precautions helps avoid accidents and damage to your kitchen.
Unplugging The Unit
Before starting, always unplug the microwave from the power source. This action stops electricity from flowing. It reduces the risk of electric shock. Locate the plug behind or above the microwave. Pull the plug out gently. Do not yank the cord. This simple step protects you and the appliance.
Clearing The Surrounding Area
Clear the area around the microwave. Remove items from the stovetop and countertop. This space helps you move freely. It prevents objects from falling or breaking. Also, protect nearby surfaces with a cloth or paper. This caution avoids scratches or stains. A tidy workspace makes the removal easier and safer.
Access Mounting Hardware
Accessing the mounting hardware is the first step to remove a GE over the range microwave. This step allows you to safely detach the microwave from its secured position. You will need to open the cabinet above the microwave and find the screws that hold it in place. Doing this carefully prevents damage to your kitchen and the appliance.
Opening The Cabinet Above
Start by opening the cabinet directly above the microwave. This cabinet floor usually hides the mounting screws. Use a sturdy stool or ladder to reach it comfortably. Remove any items stored inside to give yourself space. Clear visibility helps you spot the screws quickly. Carefully open the cabinet doors wide for full access.
Locating Mounting Screws
Look inside the cabinet floor for large screws near the front edge. These screws secure the microwave to the cabinet above. Use a screwdriver to check if they are loose or tight. There are typically three screws holding the microwave in place. Take note of their size and position. Removing these screws is key to freeing the microwave safely.

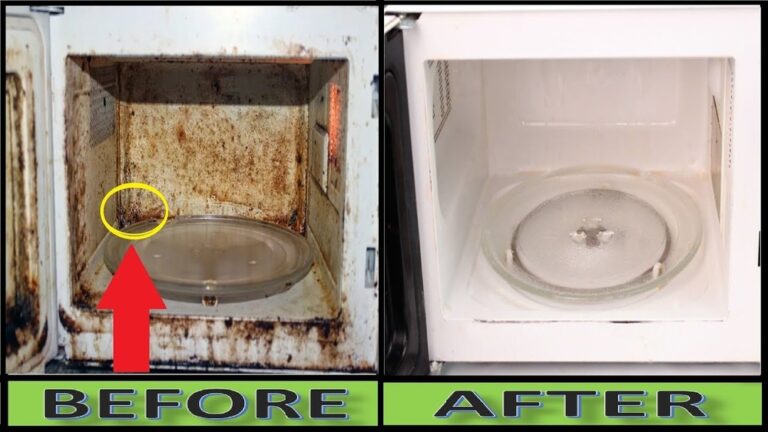
Credit: www.wikihow.com
Remove Mounting Screws
Removing the mounting screws is a key step to take out your GE over-the-range microwave safely. These screws hold the microwave firmly in place under your cabinet. Removing them carefully prevents damage to both the appliance and the surrounding area.
Take your time and make sure the microwave is supported before unscrewing. This helps avoid any sudden falls or injuries. Follow these detailed steps to remove the mounting screws correctly.
Unscrewing Front Bolts
Locate the front bolts that secure the microwave to the cabinet above. These bolts usually run through the bottom of the cabinet into the microwave’s top front edge.
Use a proper screwdriver or drill to unscrew these bolts slowly. Keep hold of the microwave as you remove the last bolts to stop it from dropping forward. Set the bolts aside safely for reuse or disposal.
Supporting The Microwave
Before fully removing the screws, support the microwave with one hand or have a helper hold it. This support prevents the microwave from tipping or falling.
Once the front bolts are loose, gently lean the microwave forward slightly. This movement helps you reach the back tabs or mounting bracket.
Keep the microwave steady while you disconnect any power cords or release the back mounting points. Proper support ensures a smooth and safe removal process.
Detach Microwave From Wall
Detaching a GE over-the-range microwave from the wall involves careful steps. This process ensures safety and prevents damage. Start by supporting the microwave’s front. Then, remove the bolts securing it to the cabinet above. Next, use the tilting forward technique to access the mounting bracket. Finally, lift the microwave off the bracket to free it from the wall.
Tilting Forward Technique
Hold the microwave’s bottom edge firmly. Slowly tilt it forward towards you. This angle gives access to the back and mounting plate. Be cautious to avoid dropping the unit. Keep the microwave steady as you work.
Lifting Off The Mounting Bracket
With the microwave tilted, locate the mounting bracket tabs. Slide the back of the microwave upward to release it from these tabs. Use both hands for balance. After lifting off, carefully pull the microwave away from the wall. Set it down gently to avoid damage.
Final Removal Steps
The final removal steps are crucial to safely detach your GE over-the-range microwave. These steps ensure no damage to your kitchen or injury to you. Follow them carefully to complete the removal process smoothly. Start by disconnecting the power source, then remove the microwave from its mounting.
Disconnecting Power Cord
Locate the microwave’s power cord inside the cabinet above. Unplug the power cord from the outlet gently. Do not pull on the cord itself to avoid damage. Ensure the microwave is fully disconnected from electricity before proceeding. This step prevents any risk of electric shock during removal.
Safely Removing Microwave
Support the front of the microwave with one hand. Remove the mounting bolts holding the microwave to the cabinet. These bolts are usually near the front edge of the microwave. Once bolts are removed, carefully tilt the microwave forward. Lift the back off the wall bracket tabs slowly. Keep a firm grip to avoid dropping the microwave. Remove the microwave completely and set it aside carefully.
Post-removal Tips
After removing your GE over the range microwave, take time to check the space carefully. This step helps ensure safety and prepares you for the next installation or repair. Proper inspection and preparation save time and avoid damage later.
Inspecting Wall And Bracket
Look closely at the wall behind the microwave. Check for holes, cracks, or signs of water damage. The mounting bracket should be sturdy and firmly attached to the wall. If it is loose or rusted, plan to replace it. Clean the area to remove dust and grease. This makes the next steps easier and safer.
Preparing For Replacement
Measure the space carefully to fit your new microwave. Compare the size with the old unit to avoid surprises. Gather all tools and parts before you start. Check the power outlet and wiring for any issues. Fix any problems before installing the new microwave. This preparation ensures a smooth and safe installation process.

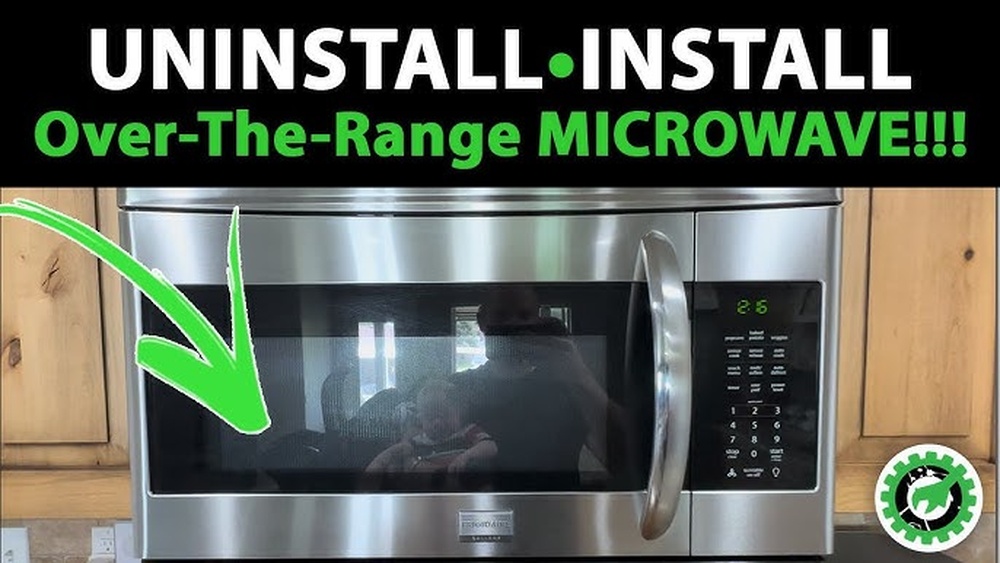
Credit: www.youtube.com
Frequently Asked Questions
How To Detach An Over-the-range Microwave?
Open the cabinet above. Support the microwave front and remove the three front bolts. Lean microwave forward, unplug it, then lift the back off the wall plate tabs. Pull it free for removal.
What Holds An Over-the-range Microwave In Place?
An over-the-range microwave stays in place using a sturdy wall mounting bracket. The bracket attaches to wall studs for strong support. The microwave hooks onto this bracket and secures with bolts under the cabinet above. This setup ensures stability above the stovetop during use.
How To Get A Microwave Off The Bracket?
Support the microwave front, remove the mounting bolts under the cabinet, tilt it forward, unplug, then lift off the wall bracket.
Conclusion
Removing a GE over-the-range microwave is easier than it seems. Follow each step carefully and take your time. Always unplug the microwave before starting any work. Support the microwave as you remove the mounting bolts. Gently lift the microwave off the wall bracket once bolts are out.
This simple process helps you avoid damage and stay safe. With patience, you can complete the task without professional help. Now, you are ready to replace or clean your microwave easily.