How to Install Over the Range Microwave Whirlpool: Easy Step-by-Step Guide
If you’ve just bought a Whirlpool over-the-range microwave and are ready to upgrade your kitchen, you might be wondering how to install it properly. Installing your microwave the right way is crucial—not only for safety but also to make sure it functions perfectly above your stove.
You don’t need to be a professional to handle this project, and with the right guidance, you can save time and money by doing it yourself. This article will walk you through simple, clear steps to install your Whirlpool over-the-range microwave securely and efficiently, so you can enjoy cooking with convenience and confidence.
Keep reading to get all the tips and tricks you need to complete this installation with ease!
Tools And Materials Needed
Gathering the right tools and materials is the first step in installing your Whirlpool over-the-range microwave. Having everything ready makes the installation smooth and safe. Here is a clear list of what you will need to complete the job efficiently.
Essential Tools
- Power drill with drill bits
- Screwdrivers (both Phillips and flathead)
- Stud finder to locate wall studs
- Measuring tape for precise alignment
- Level to ensure the microwave is straight
- Socket wrench or adjustable wrench
- Pencil for marking drill points
- Utility knife for opening packaging
Microwave Components
- Whirlpool over-the-range microwave unit
- Mounting bracket included with the microwave
- Mounting screws and bolts
- Ventilation ducting, if your model requires it
- Power cord or wiring harness
- Template guide for mounting locations
Safety Equipment
- Safety goggles to protect your eyes
- Work gloves for hand protection
- Dust mask to avoid inhaling dust
- Step ladder or sturdy stool
Credit: www.whirlpool.com
Preparing The Installation Area
Preparing the installation area is a key step before mounting your Whirlpool over-the-range microwave. This process ensures a smooth setup and safe placement. Proper preparation helps avoid damage and guarantees the microwave fits perfectly in the designated space.
Start by creating a clean and organized workspace. Clear the kitchen area around the stove. This makes measuring easier and prevents accidents during installation.
Measuring And Marking
Measure the height and width of the microwave carefully. Check the distance between the stove and the bottom of the cabinet above. Mark the center point on the wall where the microwave will hang. Use a pencil to make light, visible marks. These marks guide the placement of mounting brackets and screws.
Locating Wall Studs
Use a stud finder to locate wall studs behind the installation area. Mark the studs with a pencil. Mounting brackets must attach to studs for strong support. Avoid installing on drywall alone. Studs hold the microwave’s weight and prevent it from falling.
Clearing The Space
Remove any items stored above the stove or in the cabinets near the microwave area. Ensure there is enough room to work safely. Clear the stove surface and surrounding counters. This prevents damage to your belongings and gives you easy access for installation. Also, switch off power to the microwave circuit to stay safe.
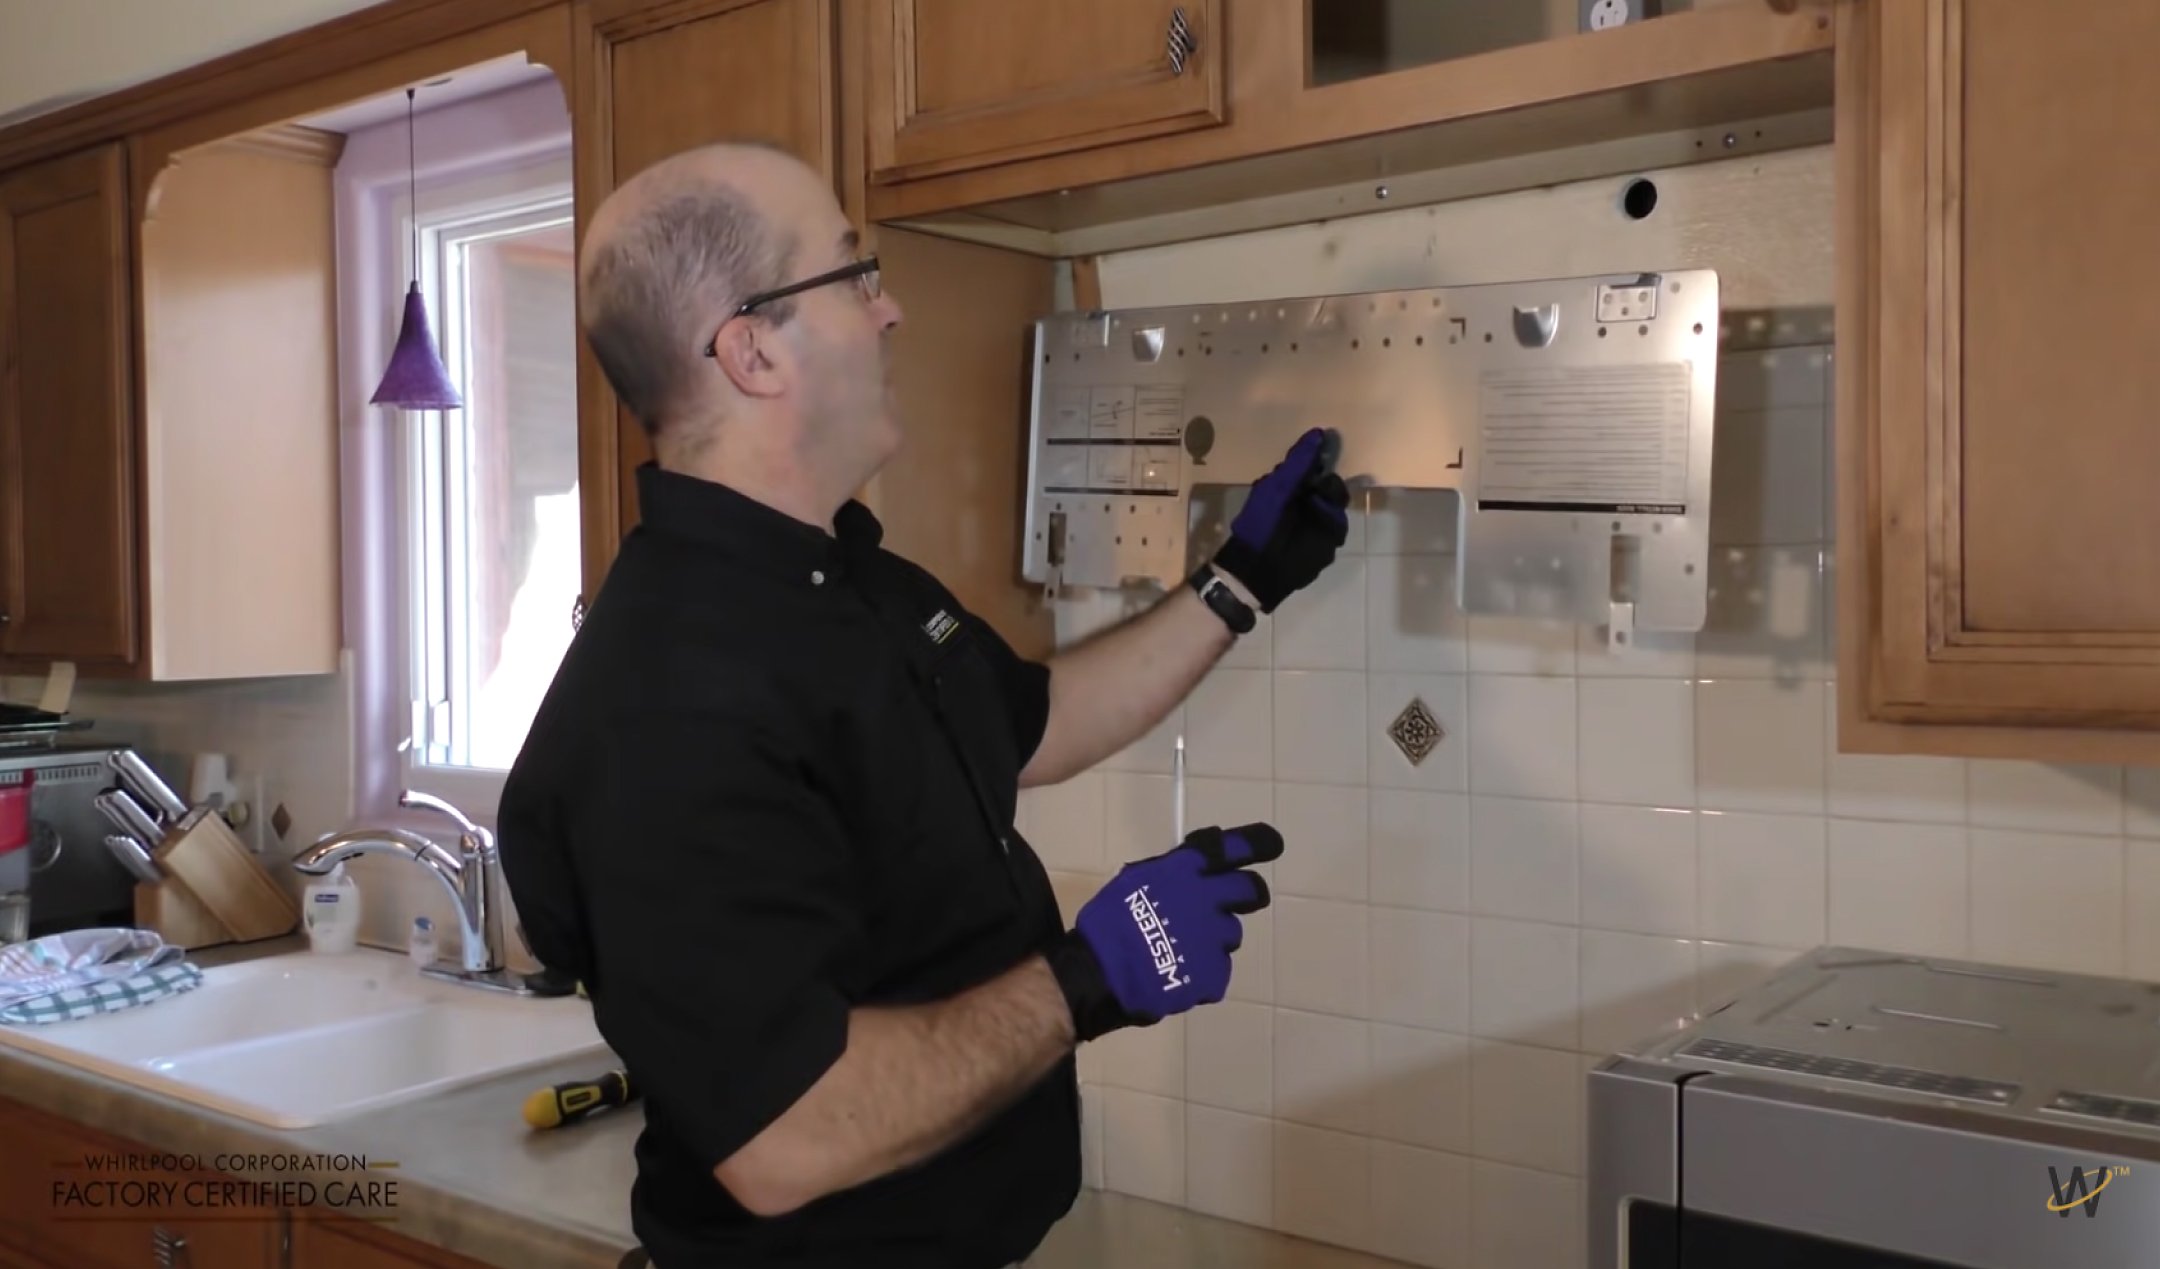
Mounting Bracket Installation
Installing the mounting bracket is a key step in setting up your Whirlpool over-the-range microwave. The bracket holds the microwave firmly above your stove. Proper installation ensures safety and stability. Follow these steps carefully to mount the bracket correctly.
Positioning The Bracket
Start by measuring the height for the bracket. It should align with the microwave’s installation guide. Mark the wall at the designated height. Place the bracket against the wall and mark the screw holes. Make sure the bracket is centered over the stove area. This ensures the microwave fits properly.
Securing To Wall Studs
Use a stud finder to locate the studs behind the wall. The bracket must be anchored to these studs for strong support. Drill pilot holes into the studs at the marked points. Attach the bracket using heavy-duty screws provided in the kit. Tighten screws firmly to prevent any movement.
Checking Level Alignment
Use a spirit level to check the bracket’s alignment. Place the level on top of the bracket. Adjust the bracket until it is perfectly horizontal. Level alignment prevents the microwave from tilting. Confirm the bracket is stable and securely fastened before hanging the microwave.

Credit: www.whirlpool.com
Electrical Setup
Setting up the electrical system is a key step in installing your Whirlpool over the range microwave. This step ensures the microwave works safely and efficiently. Proper electrical setup helps avoid hazards and appliance damage.
Follow the guidelines closely. Check your kitchen’s existing electrical setup. You might need to make changes to meet the microwave’s requirements.
Power Source Requirements
Whirlpool over the range microwaves need a dedicated 120-volt, 60 Hz electrical circuit. This circuit should support 15 or 20 amps. Avoid sharing this circuit with other appliances. A dedicated circuit prevents overloads and tripped breakers.
The microwave must plug into a grounded, three-prong outlet. The outlet should be easily accessible behind the microwave. Using the correct power source reduces fire and shock risks.
Wiring And Outlet Placement
Place the electrical outlet inside the cabinet above the microwave. This placement keeps the cord hidden and neat. Ensure the outlet is within reach of the microwave’s power cord length.
Use proper wiring methods following local electrical codes. The wire gauge must match the circuit breaker size. Usually, 14-gauge wire is for 15 amps, and 12-gauge wire is for 20 amps. Secure wires properly to prevent strain or damage.
Safety Precautions
Turn off power at the circuit breaker before starting any wiring work. Use a voltage tester to confirm no electricity flows. Wear insulated gloves and use tools with insulated handles.
Do not use extension cords or adapters. These can cause overheating and fire. If unsure about electrical work, hire a licensed electrician. Safety is the top priority for any electrical setup.
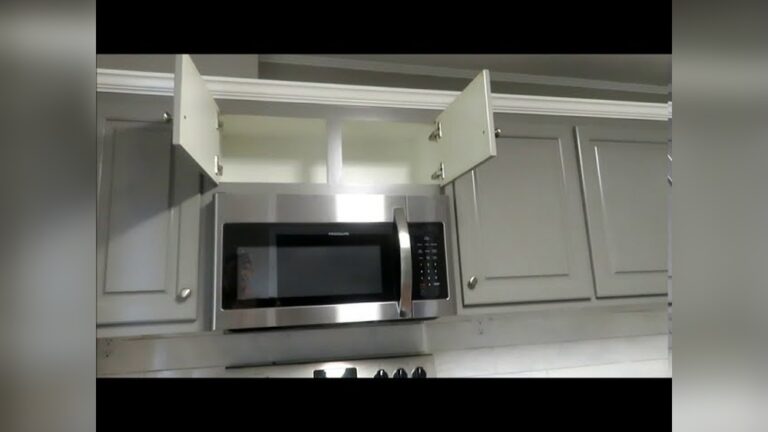
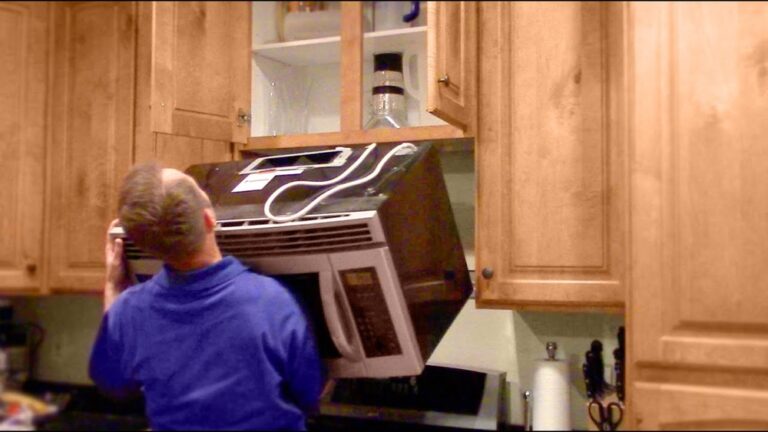
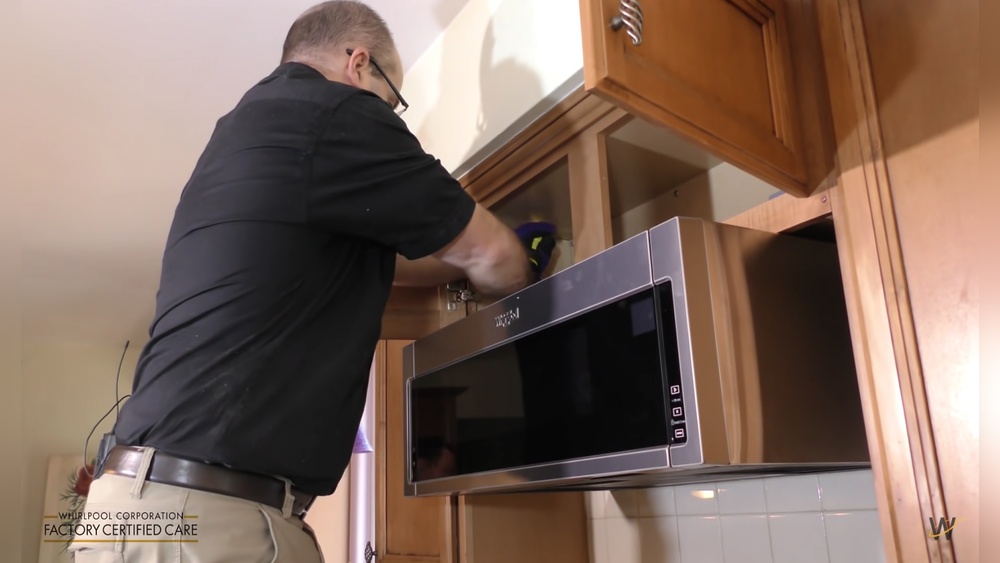
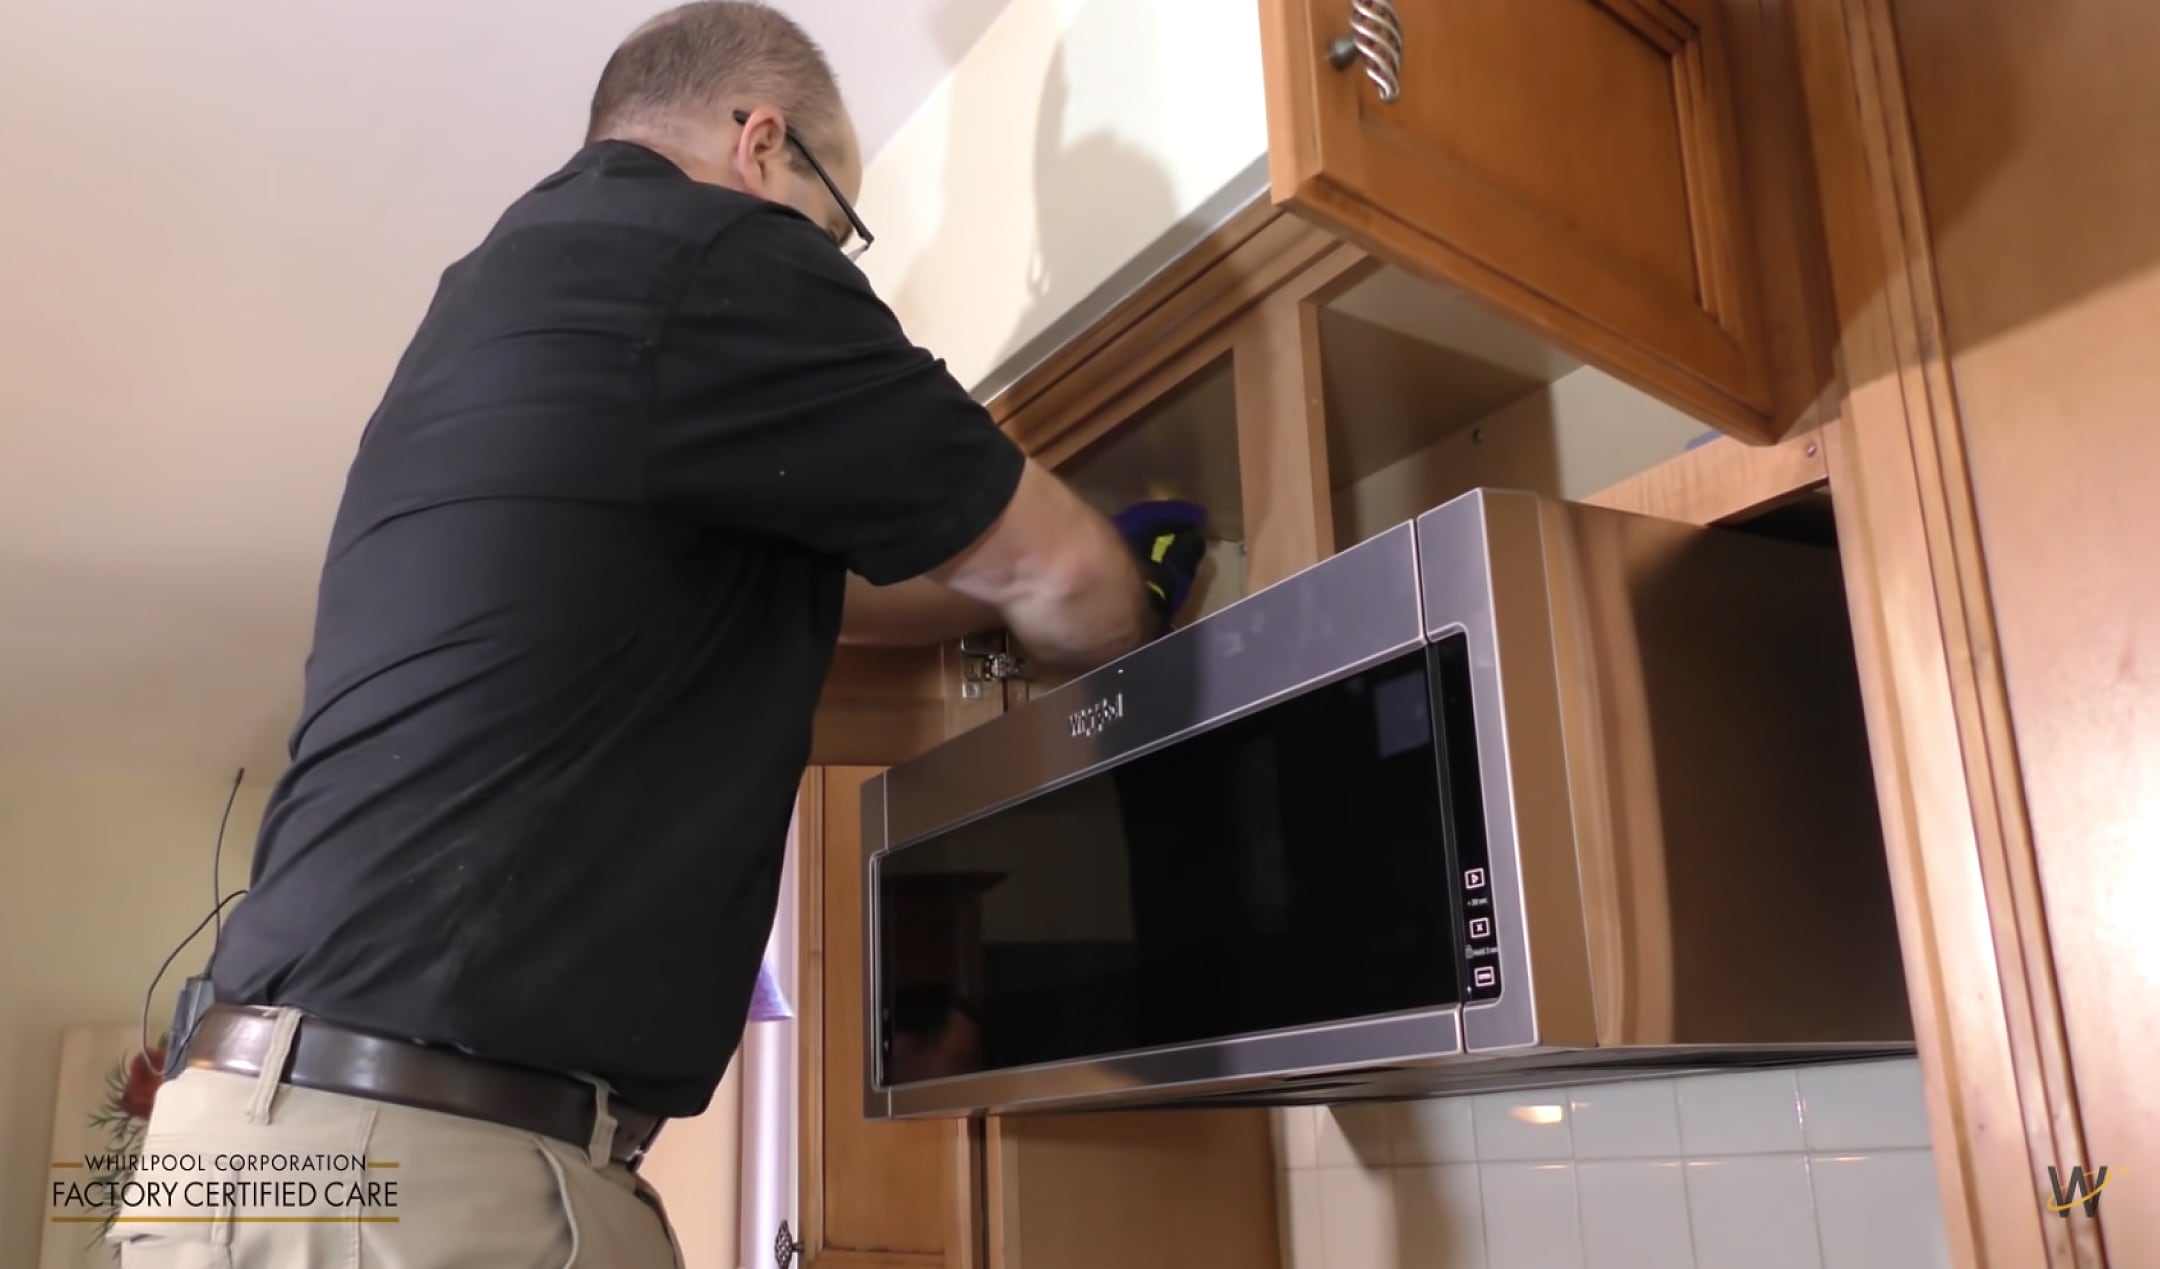
Microwave Mounting Process
The microwave mounting process is a key step in installing your Whirlpool over-the-range microwave. This part ensures the appliance sits securely and safely above your stove. Proper mounting prevents accidents and keeps the microwave stable during use.
Follow each step carefully for a smooth and safe installation. This guide breaks down the mounting into three simple stages for easy understanding and execution.
Lifting And Aligning Microwave
Lift the microwave with help. It is heavy and awkward to handle alone. Hold it firmly at both sides. Align the microwave’s mounting holes with the wall bracket slots. Make sure it is level and centered over the stove. Proper alignment ensures the microwave fits perfectly and functions well.
Securing Microwave To Bracket
Once aligned, slide the microwave onto the bracket. The bracket supports most of the microwave’s weight. Insert screws into the mounting holes on top of the microwave. Use a screwdriver to tighten them lightly. This step holds the microwave in place but allows small adjustments if needed.
Final Tightening
Check the microwave’s position again. It should not tilt or wobble. Tighten all screws fully to secure the microwave. Use a level to confirm it is perfectly horizontal. Tightening prevents the microwave from shifting or falling. Your Whirlpool microwave is now safely mounted and ready for use.
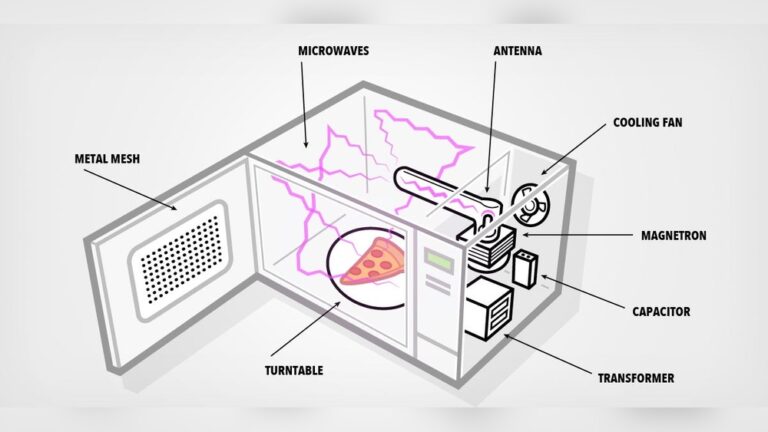
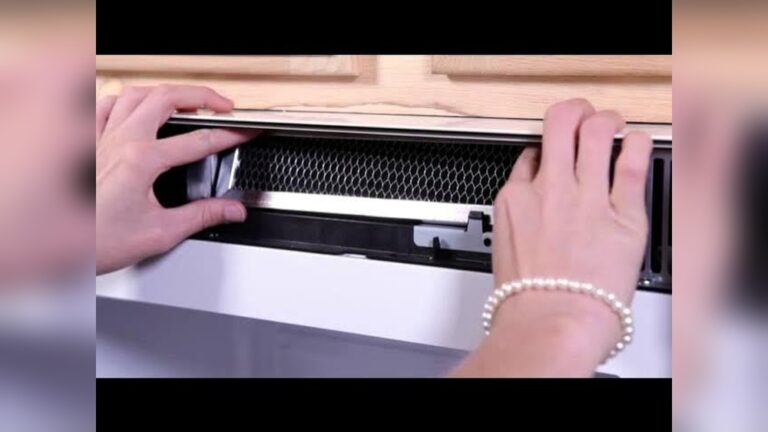
Ventilation Options
Ventilation is key when installing an over-the-range microwave. It helps remove smoke, steam, and odors from your kitchen. Choosing the right ventilation option improves air quality and keeps your kitchen fresh.
Whirlpool microwaves offer different venting setups. Understanding these options helps you pick the best one for your kitchen layout. Proper installation of the vent system is essential for safety and efficiency.
Internal Recirculation Setup
This setup uses filters to clean air inside the microwave. It does not need a duct to the outside. The microwave pulls in air, removes odors and grease, then sends clean air back into the kitchen.
Charcoal filters are needed for this method. They capture smells and smoke effectively. This option suits kitchens without access to outside walls or ceilings. It is easier to install but less powerful than external venting.
External Ducted Vent Installation
This method vents air outside your home through ducts. It removes heat, smoke, and odors completely from the kitchen. The vent duct can go through the wall or ceiling, depending on your kitchen’s design.
Installing an external duct requires careful measuring and cutting. Use metal ducts for safety and better airflow. This system is more efficient in keeping air fresh and reducing moisture.
Choosing The Best Venting Method
Choose internal recirculation for easy installation and limited venting needs. Select external ducting for stronger ventilation and cleaner air. Consider your kitchen layout and where vents can be installed.
Think about noise level and maintenance. External vents need duct cleaning but work better. Internal filters need replacing regularly but do not require ductwork. Match your choice with your cooking habits and kitchen space.
Testing And Adjustments
After installing your Whirlpool over-the-range microwave, testing and adjustments are essential. This step ensures the microwave works correctly and safely. It also confirms the ventilation system functions well. Proper testing avoids future problems and keeps your kitchen safe.
Follow these simple tests to check power, functions, and ventilation. Learn how to spot and fix common issues quickly. This guide makes sure your microwave runs smoothly and lasts longer.
Power On And Function Check
Plug in the microwave and turn on the power switch. Test basic functions like cooking and timer settings. Use the keypad to set a short cooking time. Listen for the microwave’s sound and watch the display. Check if the turntable rotates properly. Confirm the light inside the microwave turns on. Make sure the door closes tightly and stops the microwave when opened.
Ventilation Performance Test
Switch on the microwave’s ventilation fan. Check if the fan runs at all speed settings. Place a small piece of tissue paper near the vent. It should move slightly, showing good airflow. Smell for any unusual odors coming from the vent. Ensure the vent is not blocked and air moves freely. Proper ventilation helps remove cooking smoke and steam.
Troubleshooting Common Issues
If the microwave does not start, verify the power connection. Make sure the circuit breaker is not tripped. If the turntable does not spin, check if it is seated correctly. Clean the microwave door seal if it does not close well. For weak ventilation, clean or replace the vent filter. If the fan is noisy, inspect for loose parts or debris. Reset the microwave by unplugging it for a minute, then plug it back in.
Maintenance Tips
Proper maintenance keeps your Whirlpool over-the-range microwave working well. Regular care prevents problems and extends its life. Simple checks and cleaning ensure safety and efficiency. Follow these maintenance tips to keep your microwave in top shape.
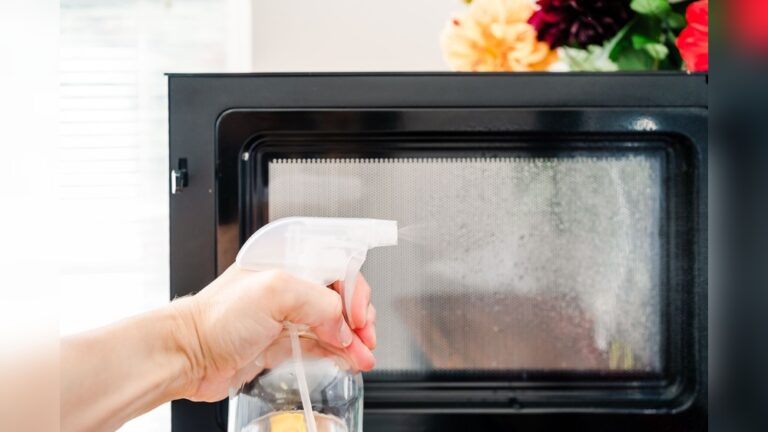
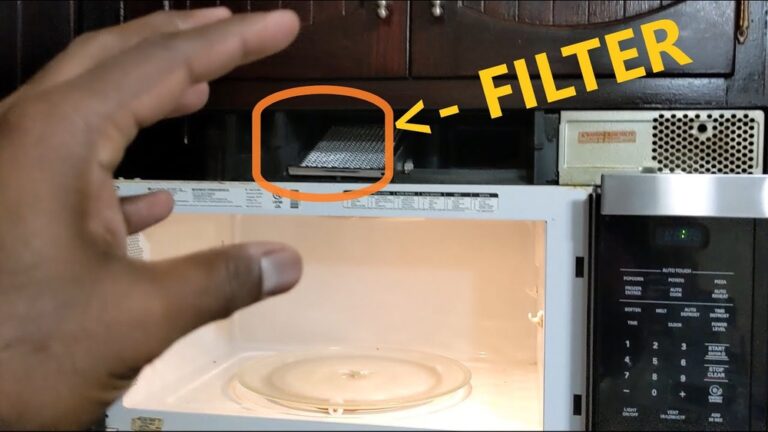
Cleaning Filters
Filters trap grease and smoke during cooking. Clean them every month to avoid buildup. Remove filters gently and wash with warm, soapy water. Let them dry completely before reinstalling. Clean filters improve air flow and reduce odors.
Inspecting Mounting Hardware
Check mounting brackets and screws regularly. Tighten any loose parts to keep the microwave stable. Look for rust or damage that could weaken support. Secure mounting prevents accidents and damage to your appliance.
Regular Safety Checks
Test the microwave’s door seal for cracks or gaps. Make sure the light and fan work correctly. Listen for unusual noises during operation. Safety checks help catch issues early and keep your kitchen safe.
Credit: www.whirlpool.com
Frequently Asked Questions
Can I Install An Over The Range Microwave Myself?
Yes, you can install an over-the-range microwave yourself. Use mounting brackets, secure them to wall studs, and follow the manufacturer’s instructions carefully. Ensure proper venting or recirculation setup for safety and efficiency.
Do Whirlpool Over The Range Microwaves Come With Mounting Brackets?
Yes, Whirlpool over-the-range microwaves include mounting brackets for secure and proper installation above your stove.
What Holds An Over The Range Microwave In Place?
An over-the-range microwave stays in place using a mounting bracket secured to wall studs. A support bracket attaches underneath for stability.
Conclusion
Installing your Whirlpool over-the-range microwave is simple with clear steps. Secure the mounting bracket firmly to the wall studs. Connect the electrical wiring carefully, following safety guidelines. Attach the microwave to the bracket and ensure it fits snugly. Test the microwave to confirm it works correctly.
With patience and attention, you can complete this project yourself. Enjoy the extra space and convenience in your kitchen!