How to Install Charcoal Filter Ge Microwave: Quick & Easy Guide
If you have a GE microwave that recirculates air instead of venting outside, you know how important the charcoal filter is. It traps odors and grease, keeping your kitchen smelling fresh and your microwave working efficiently.
But when was the last time you checked or replaced your charcoal filter? Installing a new charcoal filter may seem tricky, but it’s actually a simple task you can do yourself in just a few minutes. In this guide, you’ll learn exactly how to install a charcoal filter in your GE microwave step-by-step, so you can enjoy cleaner air and better performance without any hassle.
Keep reading to find out how to make this quick fix and breathe easier in your kitchen.

Credit: www.youtube.com
Charcoal Filter Purpose
Finding the right charcoal filter for your GE microwave is the first step to proper installation. Knowing where the filter is and which type fits your model saves time and effort. This guide helps you locate the filter compartment and identify the correct filter for your microwave.
Understanding these details makes the replacement process smoother. It ensures your microwave works efficiently and keeps your kitchen air fresh.
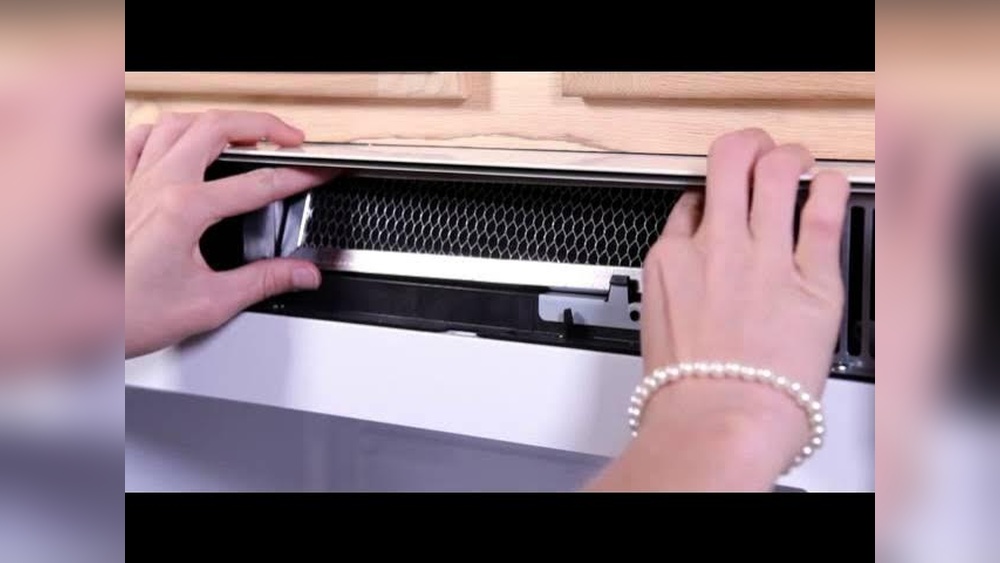
Locating The Filter Compartment
The filter compartment is usually behind the microwave’s grille or vent. Open the microwave door and check above it. Some models have a removable panel or grille that hides the filter.
Use your hands or a screwdriver to remove the grille carefully. The charcoal filter sits inside this space. It may be held by clips or tabs. Gently pull out the old filter once you find it.
Identifying Model-specific Filters
Each GE microwave model uses a specific charcoal filter. Check the model number on your microwave’s label. It is often found inside the door frame or on the back of the unit.
Search for filters using this model number. Using the wrong filter can reduce performance. Always buy the filter designed for your microwave. This ensures proper fit and efficient odor removal.

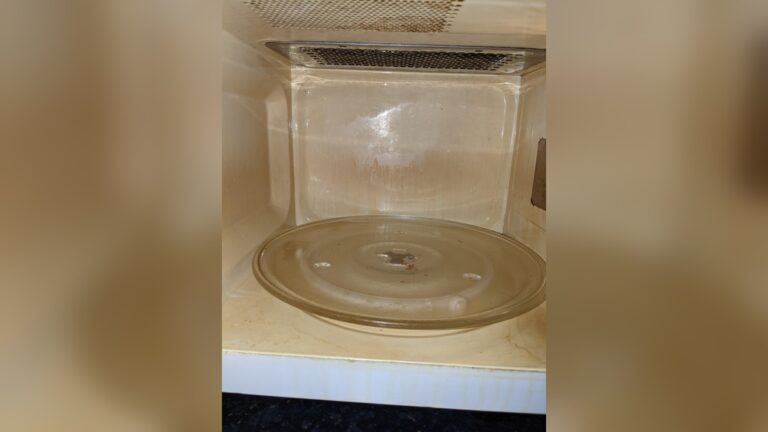
Credit: www.warnersstellian.com
Signs To Replace Filter
The removal process of a charcoal filter in a GE microwave is simple but requires care. Removing the old filter properly prepares your microwave for the new one. Follow these steps carefully to avoid damage and ensure safety.
Opening The Filter Compartment
First, locate the filter compartment on your microwave. It is usually behind the vent grille or under the microwave door. Use your fingers or a flat tool to gently pull or lift the grille. This opens the filter area and gives access to the old charcoal filter. Avoid using too much force to prevent breaking the grille.
Taking Out The Old Filter Safely
Once the compartment is open, carefully grasp the old charcoal filter. Pull it straight out without twisting to avoid damage. The filter may be loose or tight, so apply steady pressure. Dispose of the old filter properly as it contains absorbed grease and odors. Avoid touching the filter surface to keep your hands clean.

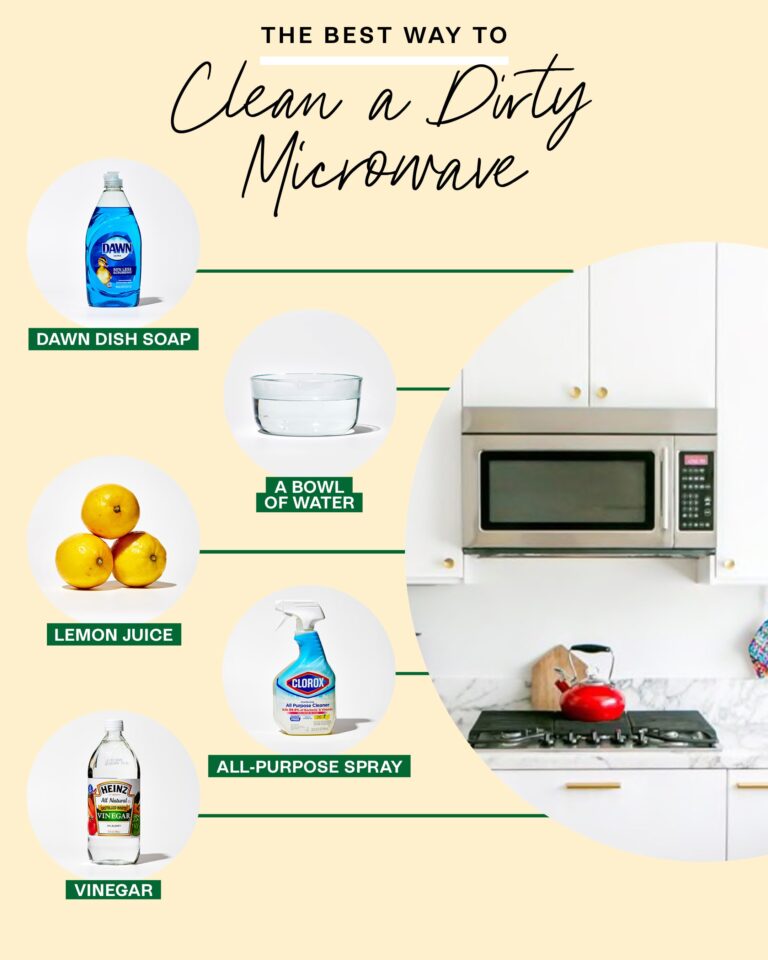
Credit: www.reddit.com
Frequently Asked Questions
How To Install A Charcoal Filter In A Ge Microwave?
Open the microwave grille. Remove the old charcoal filter by pulling it out. Insert the new filter with tabs aligned. Push firmly until it fits snugly. Close the grille securely. Replace every 6 months or as needed for optimal odor control.
Which Way Does The Charcoal Filter Go?
Insert the charcoal filter with the tabs aligned, then angle the front edge down to fit snugly in the compartment. Pull firmly if needed.
Is The Charcoal Filter In A Microwave Necessary?
A charcoal filter is necessary in microwaves that recirculate air to absorb odors and grease. Replace it regularly to maintain effectiveness.
Conclusion
Installing a charcoal filter in your GE microwave is simple and quick. Removing the old filter carefully makes room for the new one. Always ensure the filter fits snugly in the compartment. This filter helps reduce cooking odors and keeps your kitchen fresh.
Remember to replace the filter regularly for best results. A clean filter means better air quality and microwave performance. Follow these easy steps to maintain your microwave’s efficiency. Enjoy cooking without unwanted smells lingering in your kitchen.