How to Install an Over Range Microwave: Easy Step-by-Step Guide
Thinking about upgrading your kitchen with a sleek over-the-range microwave? You might wonder if installing it yourself is too tricky or time-consuming.
The good news is, you can handle this project on your own—and save money in the process. With just a few basic tools and clear instructions, you’ll have your new microwave mounted securely above your stove in no time. In this guide, you’ll discover simple, step-by-step directions that make installation straightforward, even if you’re not a seasoned DIYer.
Ready to transform your kitchen and enjoy the convenience of an over-the-range microwave? Let’s get started!
Credit: www.whirlpool.com
Tools And Materials
Gathering the right tools and materials is the first step to install an over range microwave. Proper preparation saves time and avoids frustration. The right equipment ensures a safe and secure installation. Below are the key items you need to have ready before starting.
Microwave And Mounting Hardware
Choose an over range microwave that fits your space and needs. Check if it comes with a mounting bracket and screws. These parts are essential for securing the microwave above your stove. If the hardware is missing, buy a compatible mounting kit. Make sure the screws match the wall type for a strong hold.
Essential Tools
Drills and screwdrivers are necessary for drilling holes and fixing screws. Use a stud finder to locate wall studs for proper support. A level keeps the microwave straight during mounting. Measuring tape helps mark exact positions. Have drill bits ready, including pilot holes and wood bits. A pencil is useful for marking spots on the wall.
Safety Equipment
Protect your eyes with safety goggles during drilling. Wear gloves to avoid cuts from sharp edges. Use a dust mask if drilling creates dust. A sturdy ladder or step stool helps reach high spots safely. Always unplug power sources before installation to prevent electric shock.
Prepare The Space
Preparing the space is the first step in installing an over range microwave. This ensures safety and makes the process smooth. Taking time to organize and protect the area helps avoid damage and accidents. Clear and ready the space before starting the installation.
Clear The Area
Remove all items from above the range and nearby counters. Make sure the area is free from clutter and obstacles. This gives you enough room to work comfortably. Clearing the space prevents accidents and damage to your kitchen items.
Protect The Range
Place a drop cloth or old towel over the stove. This protects the surface from scratches and dust. Covering the range keeps it clean from any falling debris. It also prevents damage during the removal of the old microwave.
Unplug Old Microwave
Turn off the power by unplugging the old microwave. Check that the cord is fully disconnected from the outlet. This step is important for your safety. Never work on electrical appliances while they are plugged in.
Remove Old Microwave
Removing the old microwave is the first step in installing your new over-range microwave. This step requires care to avoid damage to your kitchen or injury. Make sure the microwave is unplugged before starting. Have a helper ready to support the microwave during removal because it can be heavy and awkward to handle.
Follow these steps to safely and effectively remove your old microwave and prepare the space for the new one.
Unscrew And Support
Open the cabinet above the microwave. Find and remove the screws that hold the microwave to the cabinet. Keep one hand or have a helper support the microwave’s weight. This prevents it from falling when the screws are removed.
Detach From Bracket
Locate the mounting bracket behind the microwave. Carefully lift the microwave off the bracket. Pull the microwave away from the wall slowly. Keep supporting its weight until it is free and can be safely set down.
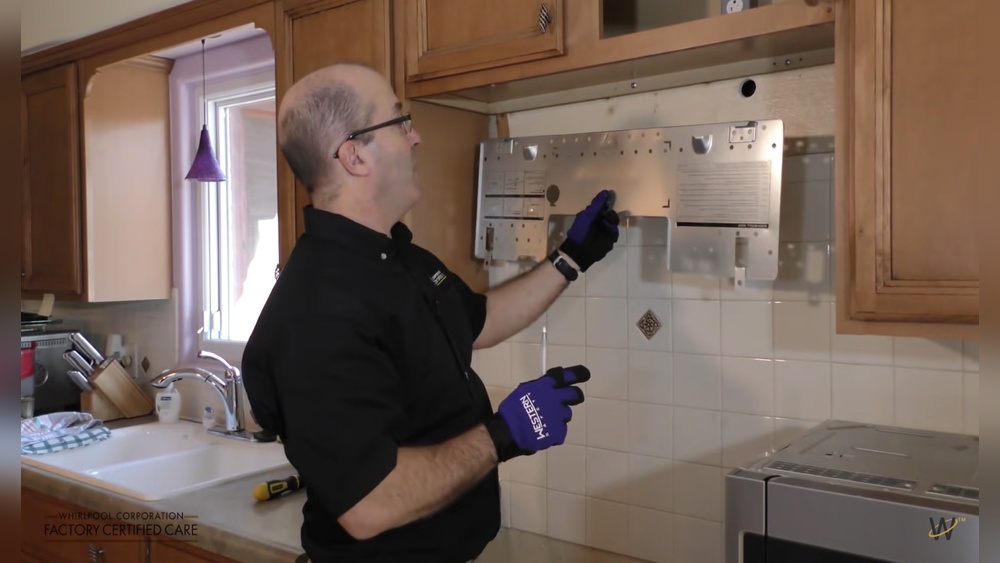
Remove Mounting Bracket
The mounting bracket is attached to the wall. Use a screwdriver or drill to remove the screws holding the bracket in place. Take down the bracket to clear the space for the new microwave. Check the wall for any damage or marks before installing the new bracket.
Prep The New Microwave
Preparing your new over-range microwave is a key step before installation. Proper preparation ensures a smooth setup and avoids problems later. Take time to carefully handle your microwave and check all parts.
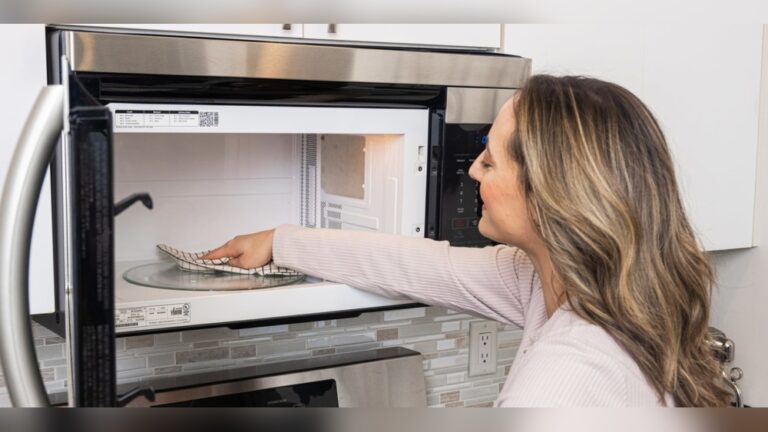
Unbox And Inspect
Remove the microwave from its box gently. Check for any visible damage on the surface or control panel. Make sure all included accessories and mounting hardware are present. Read the user manual for specific installation details. Keep the packaging until the installation is complete.
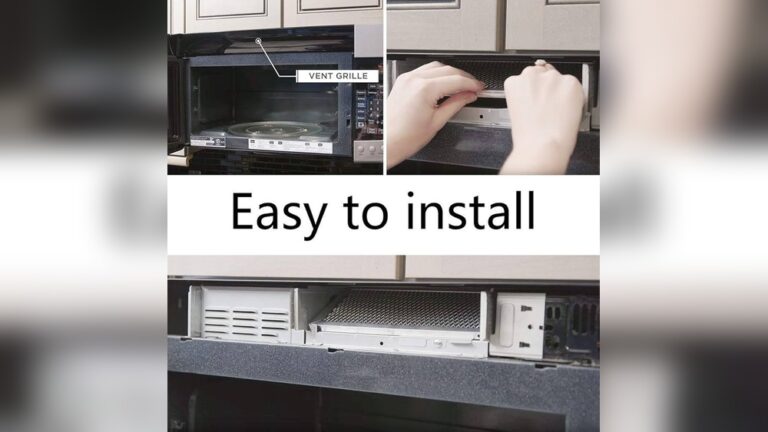
Adjust Exhaust Settings
Most over-range microwaves offer different exhaust options. Identify whether you will vent outside or recirculate air inside. Set the exhaust vent on the microwave accordingly. Some models have adjustable vents or filters that must be installed correctly. This step helps your microwave work efficiently and keeps your kitchen fresh.
Install Mounting Bracket
Installing the mounting bracket is the first critical step to hang your over range microwave safely. This bracket supports the entire weight of the microwave. Proper installation ensures stability and prevents accidents. Follow these simple steps carefully for a secure fit.
Locate Studs
Use a stud finder to find wall studs above your range. Studs provide the strongest support for the bracket. Mark the stud locations clearly with a pencil. Avoid mounting the bracket only on drywall. This could cause the microwave to fall.
Mark And Level Bracket
Hold the mounting bracket against the wall at the desired height. Use a level to make sure the bracket is perfectly horizontal. Mark the screw holes on the wall with a pencil. Accurate marking helps keep the microwave straight and balanced.
Drill Pilot Holes
Choose a drill bit slightly smaller than your mounting screws. Drill pilot holes at the marked spots. Pilot holes make it easier to insert screws and reduce wall damage. Drill carefully into the studs only.
Secure Bracket
Align the bracket with the pilot holes. Drive the mounting screws into the wall studs tightly. Use a screwdriver or drill to ensure the bracket is firmly attached. Double-check the bracket is stable before hanging the microwave.
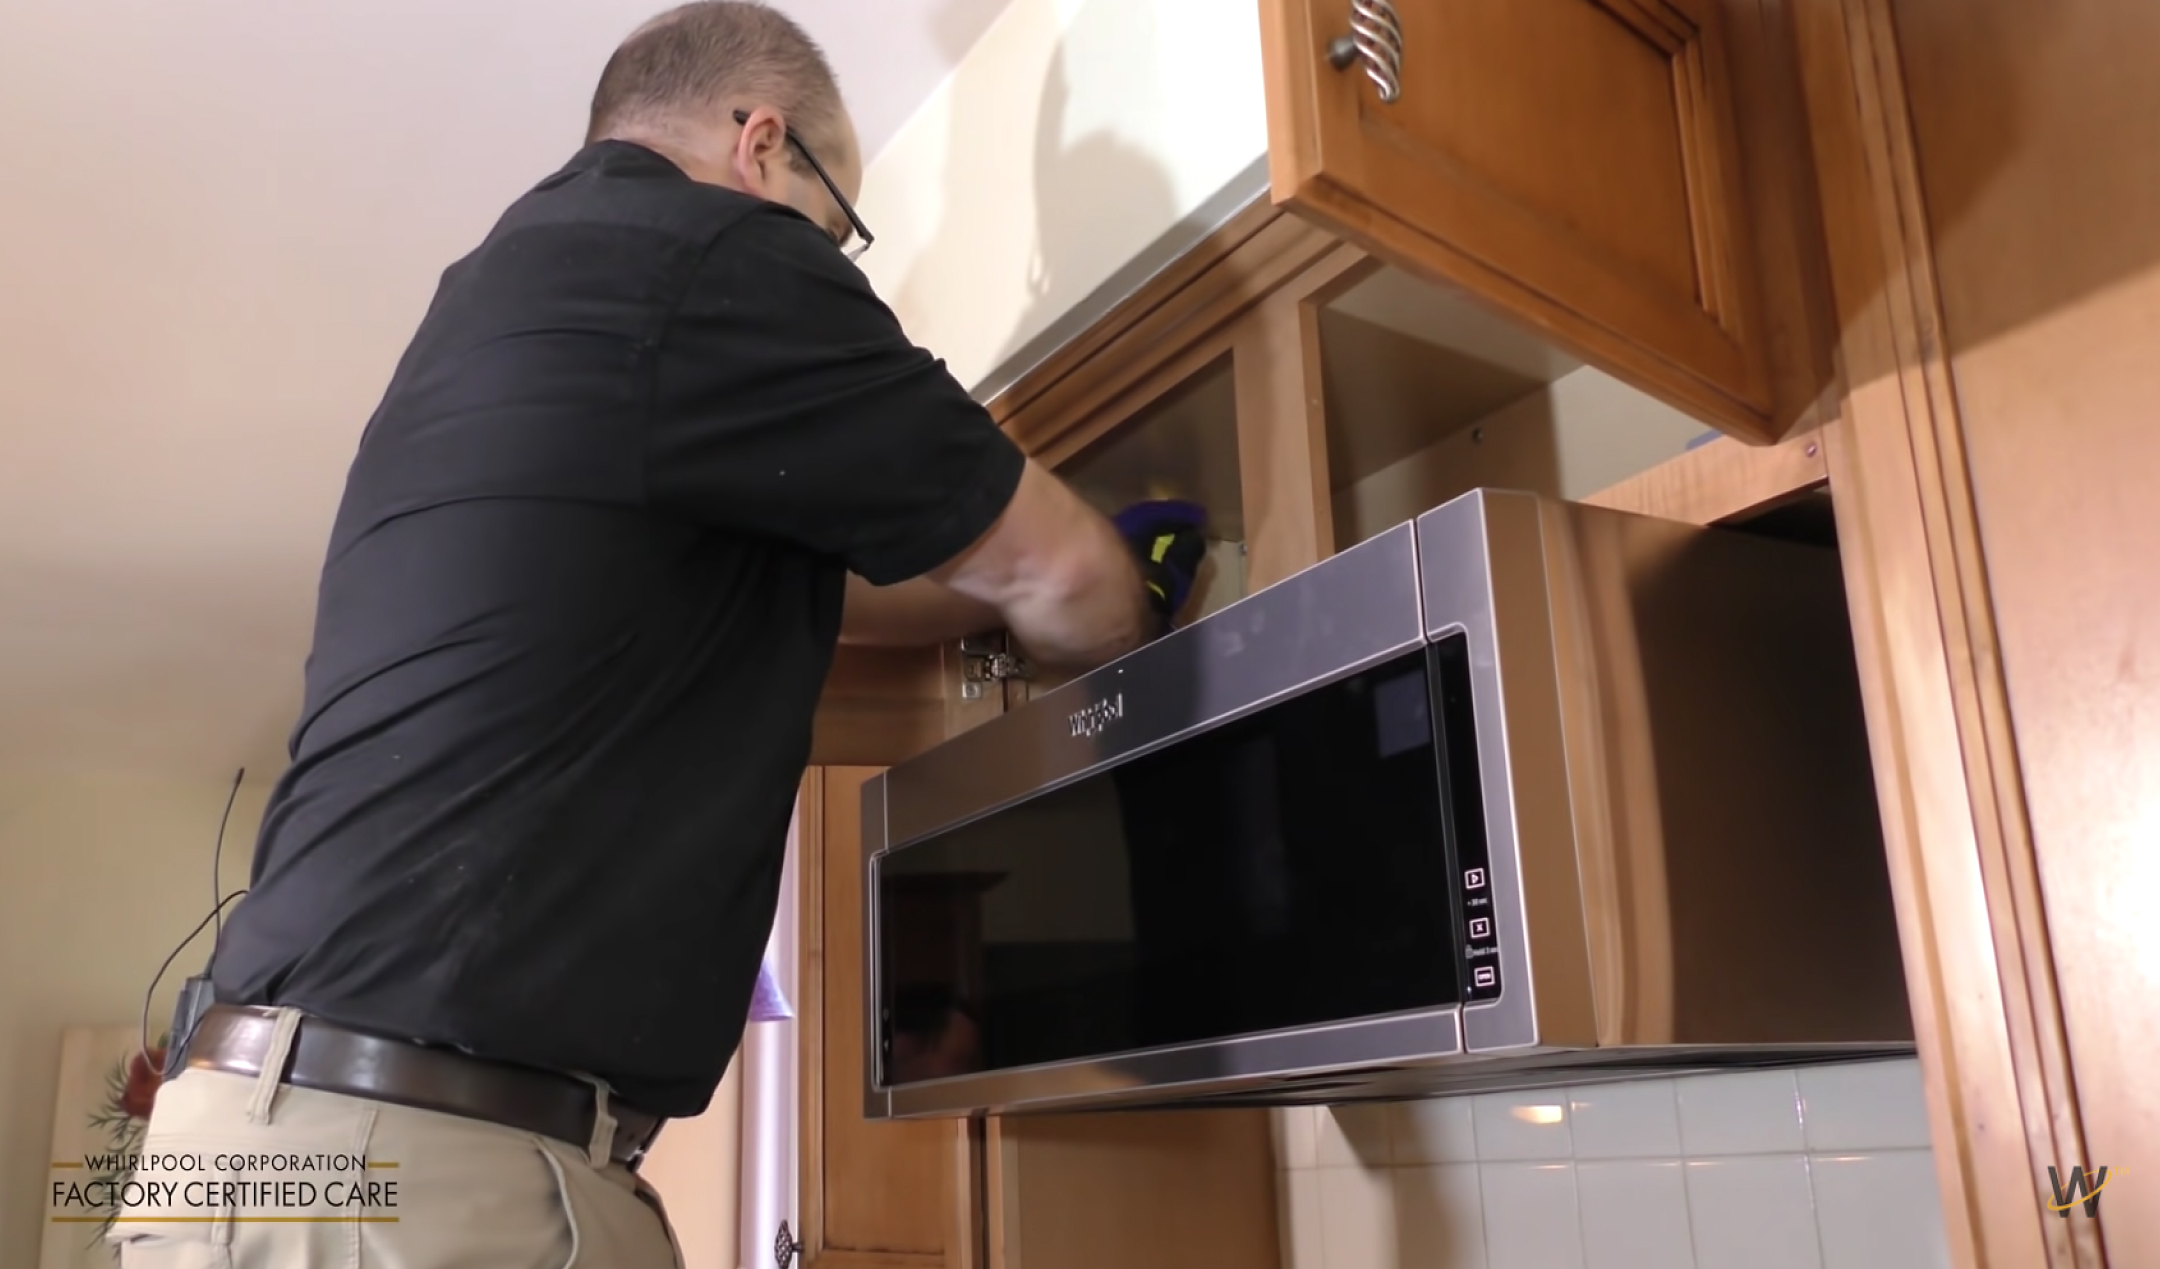
Mount The Microwave
Mounting the microwave is a crucial step in the installation process. It secures the unit above your range and ensures safe use. This step requires careful handling due to the microwave’s weight. Having a helper is highly recommended for safety and ease.
Lift And Hook
Begin by lifting the microwave with your helper. Align the microwave’s mounting slots with the wall bracket. Hook the microwave onto the bracket carefully. Make sure it sits firmly and evenly. This prevents any wobbling or falling later. Check that the microwave is stable before moving to the next step.
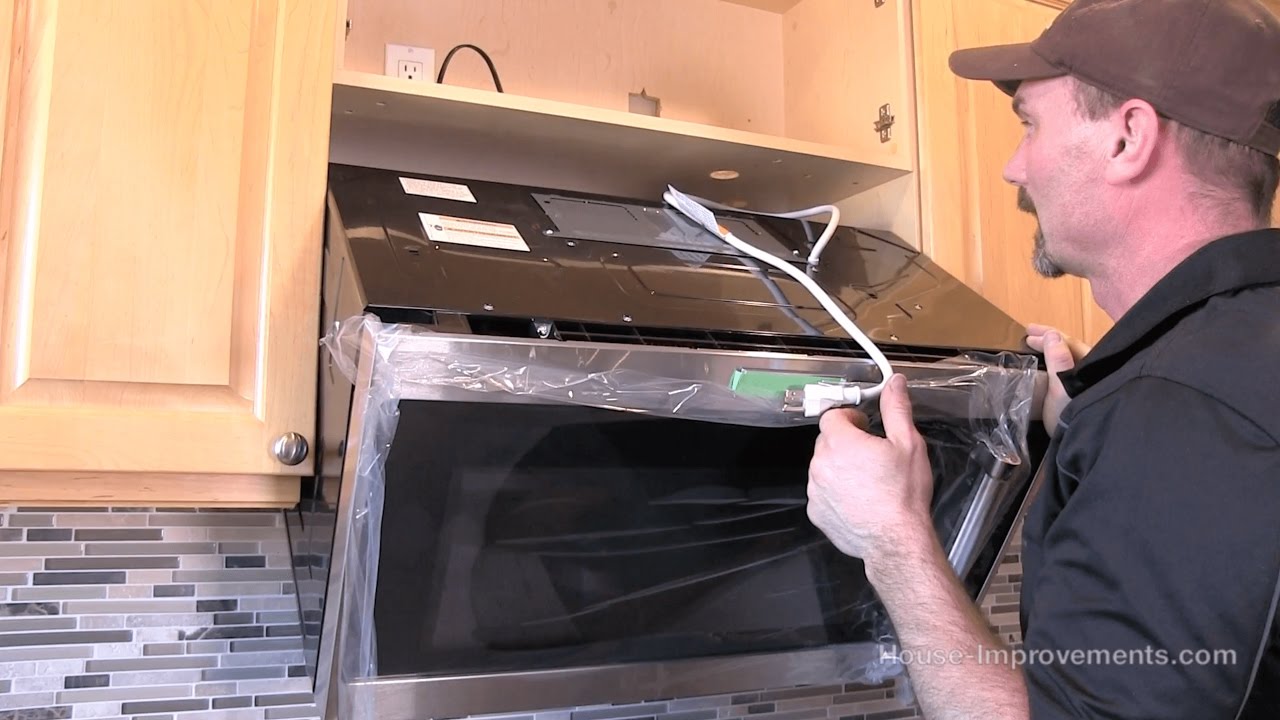
Feed Power Cord
Next, feed the microwave’s power cord through the cabinet or wall opening. Avoid sharp bends or pinches that can damage the cord. Pull enough cord length to reach the power outlet easily. Secure the cord to prevent it from dangling or touching hot surfaces. Proper cord management helps avoid hazards and keeps the area neat.
Secure Microwave To Cabinet
Securing the microwave to the cabinet is a crucial step. It keeps the microwave stable and safe during use. This step prevents the microwave from shifting or falling.
Properly fastening the microwave ensures it stays in place for years. Use the right screws and tools for a strong hold. Follow the instructions carefully for best results.
Drive Screws Through Cabinet
Start by aligning the microwave with the cabinet holes. Use the screws that come with the microwave. These screws are designed for a secure fit.
Insert the screws through the cabinet into the microwave’s mounting plate. Use a drill to drive them in firmly. Avoid over-tightening to prevent damage.
Check the microwave’s stability by gently rocking it. If it moves, tighten the screws more. A secure microwave will not wobble or shift.
Credit: www.youtube.com
Connect Vent Duct
After securely mounting your over range microwave, the final steps focus on completing the installation. This phase ensures your microwave works safely and efficiently. Follow each step carefully to avoid any issues.
Plug In And Restore Power
Connect the microwave’s power cord to the outlet behind the unit. Make sure the plug fits tightly. Check that the circuit breaker or fuse controlling the outlet is turned on. Restoring power allows the microwave to receive electricity for operation.
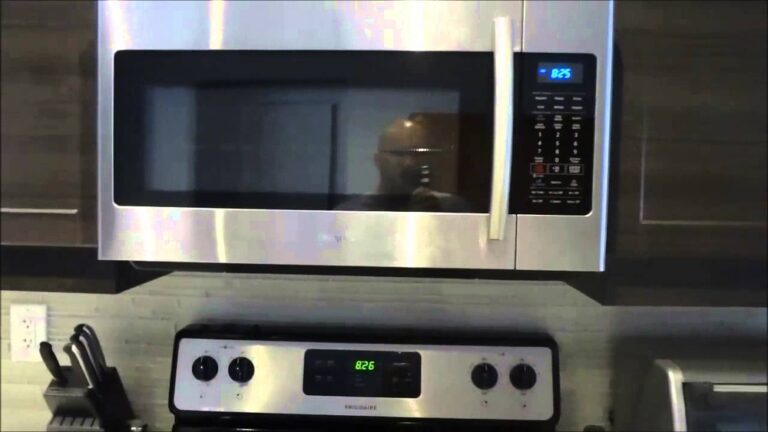
Test Microwave And Fan
Press the start button to test the microwave’s heating function. Listen for unusual noises or vibrations. Turn on the fan to verify it operates correctly. Check that the fan vents air outside or recirculates properly. Testing confirms a successful installation and safe use.
Finalize Installation
Installing an over range microwave can be straightforward with the right approach. Simple tips help avoid mistakes and save time. Preparation and care lead to a smooth process.
Follow these key tips to make your installation easier and safer. Each step matters for a successful setup.
Get A Helper
Over range microwaves are heavy and bulky. Having a second person helps hold and secure the microwave. It reduces the risk of dropping or damaging the appliance. A helper also makes it easier to align the unit correctly. Safety improves with teamwork during lifting and mounting.
Double Check Measurements
Measure the space above the range carefully. Check the width, height, and depth twice. Confirm the mounting bracket fits the cabinet and wall studs. Make sure the microwave’s size matches your kitchen layout. Incorrect measurements cause installation problems and extra work. Precise measuring prevents costly errors.
Follow Manufacturer Instructions
Each microwave model has specific steps for installation. Read the manual fully before starting. Use the exact screws and hardware provided. Follow the order of steps to avoid issues. Manufacturer instructions include safety tips and wiring details. Ignoring them can void warranties or cause damage.
Credit: www.lowes.com
Frequently Asked Questions
Can You Install An Over The Range Microwave Yourself?
Yes, you can install an over-the-range microwave yourself. It requires basic tools, careful mounting, and possibly a helper for lifting. Follow the manufacturer’s instructions for bracket installation, vent connection, and electrical setup to ensure safe and proper installation.
Do I Need An Electrician To Install An Over The Range Microwave?
Yes, hiring an electrician is recommended to ensure safe, proper wiring and compliance with local codes when installing an over-the-range microwave.
What Holds An Over The Range Microwave In Place?
An over-the-range microwave attaches by mounting a bracket to wall studs. Then, lift and hook the microwave onto the bracket. Finally, secure the microwave to the upper cabinet with screws and connect the vent and power.
Conclusion
Installing an over-range microwave can be simple with the right steps. Take your time to measure and secure the mounting bracket firmly. Enlist a helper to hold the microwave safely during installation. Double-check all connections before using the appliance. This project improves kitchen space and functionality.
Enjoy the convenience of your new microwave above the range.