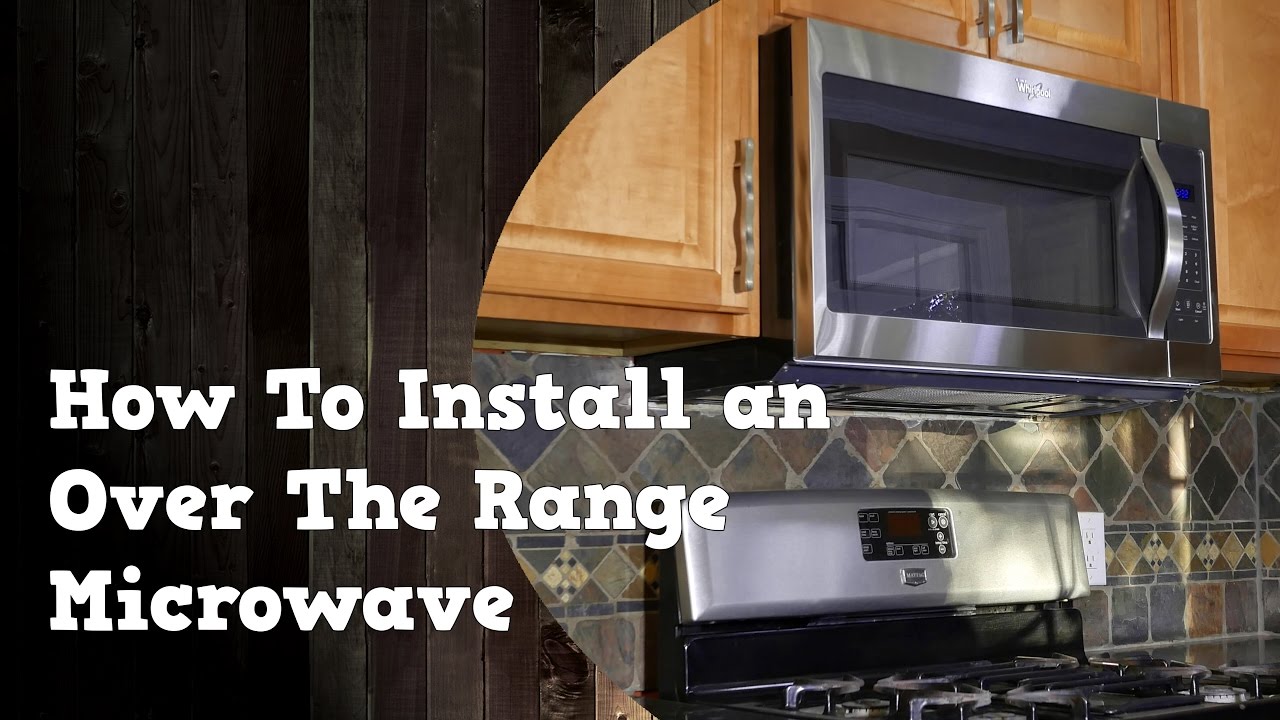
How to Install above Range Microwave Oven: Easy Step-by-Step Guide
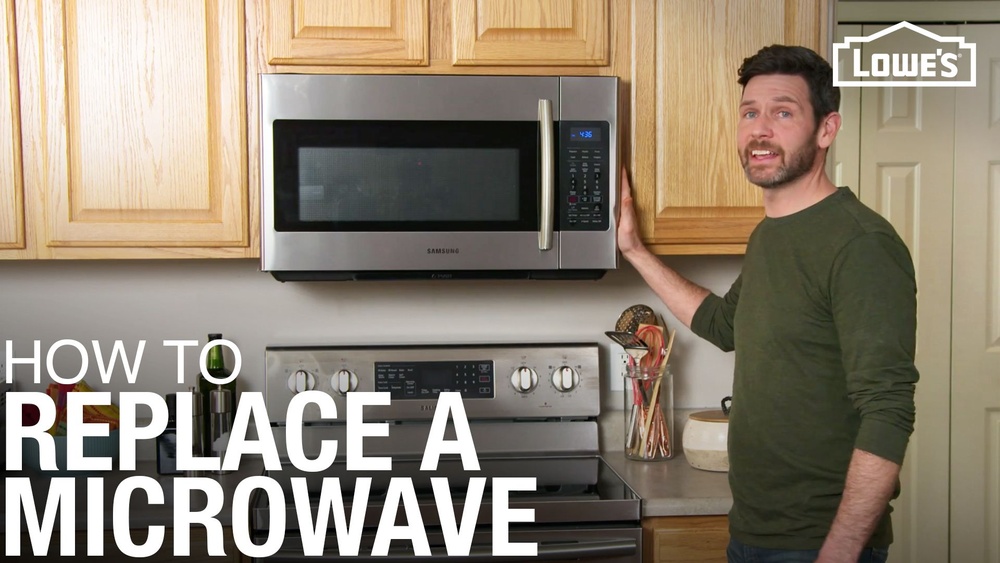
Installing an above range microwave oven can instantly upgrade your kitchen’s functionality and save valuable counter space. But if you’re wondering whether you can handle the installation yourself, the answer is yes — with the right tools, preparation, and a little help.
This guide walks you through every step, from safely removing your old microwave to securely mounting the new one. You’ll learn how to check electrical requirements, find studs for a stable fit, and make sure the venting works perfectly. By the end, you’ll have your microwave installed like a pro, without the stress or extra costs.
Ready to get started? Let’s dive in!
Credit: www.youtube.com
Tools And Materials
Installing an above range microwave oven requires the right tools and materials. Having everything ready makes the job easier and safer. Gather all items before starting the installation. This section covers the essentials needed for a smooth setup.
Essential Tools
Start with a power drill to make holes in the wall. Use a screwdriver for screws and bolts. A level ensures the microwave sits straight. A stud finder locates wall studs for secure mounting. Measure space with a tape measure. Keep a pencil handy for marking spots.
Mounting Hardware
Check the microwave’s box for included mounting brackets and screws. You may need extra anchors for drywall support. Use bolts that fit your wall type. Keep washers and nuts nearby for tight fastening. Follow the manufacturer’s hardware list carefully.
Safety Gear
Wear safety glasses to protect your eyes from dust and debris. Use gloves to avoid cuts and improve grip. Have a sturdy ladder or step stool for reaching high spots. Make sure the area is well-lit to avoid accidents. Turn off power at the breaker before starting work.
Credit: www.whirlpool.com
Preparation Steps
Preparation is key to a smooth microwave oven installation above your range. Taking time to prepare ensures safety and accuracy. These steps help avoid mistakes and damage.
Start by understanding your kitchen space and electrical setup. Protect your cooktop to keep it safe. Finally, cut power to avoid accidents.
Measure And Check Space
Measure the area above your range carefully. Check the height, width, and depth. Ensure there is enough space for the microwave. Confirm the microwave fits without blocking cabinets or vents.
Confirm Electrical Requirements
Check the microwave’s power needs in the manual. Make sure your kitchen outlet matches the voltage and amperage. Use a dedicated circuit for safety. Avoid using extension cords or power strips.
Protect Cooktop
Place a towel or soft cloth over your cooktop. This protects the surface from scratches and dents. Keep tools and screws from falling and causing damage. A clean work area helps prevent accidents.
Turn Off Power
Turn off power at the circuit breaker for the microwave area. Double-check with a voltage tester to be safe. This step stops electrical shock during installation. Safety first, always.
Removing Old Microwave
Removing the old microwave is the first step before installing a new one above your range. This process requires care and the right tools to avoid damage to your kitchen or injury. Follow these simple steps to safely detach and remove your existing microwave.
Unplug And Unscrew
Start by unplugging the microwave from the power outlet. If the plug is hard to reach, turn off the circuit breaker to cut the power. Next, locate the screws holding the microwave in place. These are usually found on the top or inside the cabinet above the microwave. Use a screwdriver to remove all the screws carefully. Keep the screws in a safe place, as you may need them later.
Support And Remove Unit
Microwaves can be heavy, so have a helper ready to support the unit. Hold the microwave firmly to prevent it from falling. Slowly slide the microwave off the mounting bracket or away from the wall. Keep the unit steady as you remove it completely. Place the old microwave on a sturdy surface or floor to avoid damage.
Credit: www.whirlpool.com
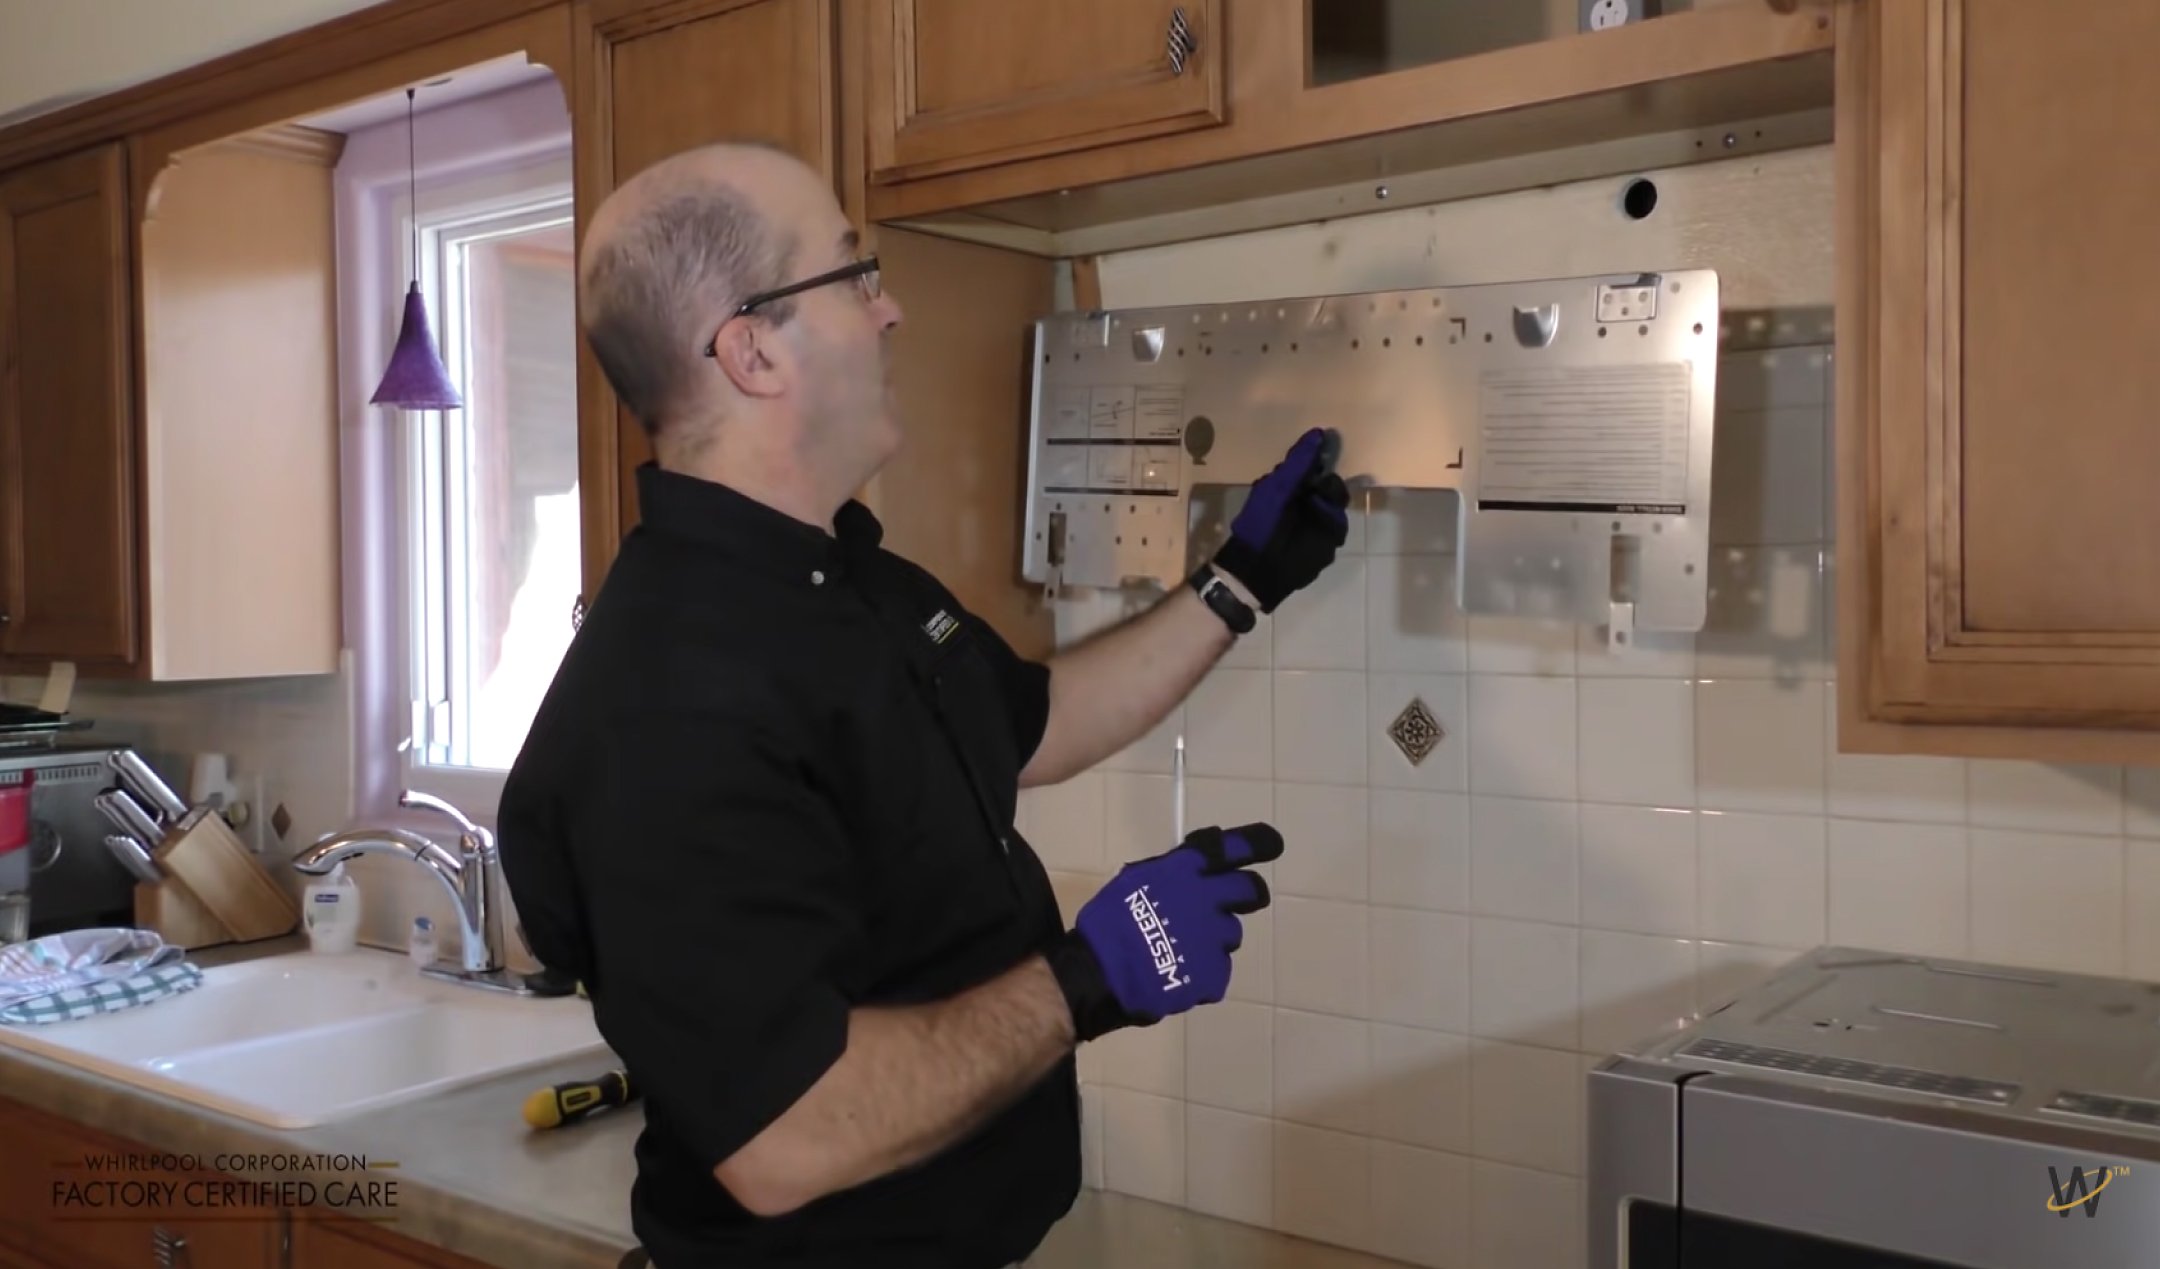
Installing Mounting Bracket
Installing the mounting bracket is a key step in securing your above range microwave oven. It ensures the microwave stays firmly in place during use. This step requires careful measurement, locating strong wall supports, and precise leveling. Take your time to avoid mistakes that could lead to an unstable installation.
Use Template For Marking
Most microwaves come with a paper template for mounting bracket placement. Tape this template to the wall above your range. Align it with the measurements provided in the manual. The template shows where to drill holes and position the bracket. Double-check the height and width before marking.
Mark the drill points clearly with a pencil. Make sure the marks are visible and accurate. Remove the template carefully after marking. These marks guide your drilling and bracket installation.
Find And Drill Into Studs
Use a stud finder to locate wall studs behind the marked points. Studs provide the strongest support for the heavy microwave. Mark the stud locations near your pencil marks. Adjust the marks slightly if needed to hit studs.
Drill pilot holes at the marked stud points. Use a drill bit size recommended in the manual. Pilot holes make it easier to insert screws and prevent wood from splitting. Check for electrical wires or plumbing before drilling.
Attach And Level Bracket
Hold the mounting bracket against the wall aligning it with drilled holes. Insert screws through the bracket holes and tighten them into the studs. Use a screwdriver or drill for secure fastening. The bracket must not wiggle or shift.
Place a level on top of the bracket to check alignment. Adjust screws as needed until the bracket is perfectly horizontal. A level bracket ensures the microwave sits straight and functions properly. Tighten all screws firmly once level.
Adjusting Vent System
Adjusting the vent system is a crucial step in installing an above range microwave oven. The vent directs smoke, steam, and odors away from your cooking area. Proper vent setup ensures better air quality and appliance efficiency. Choose the right vent type based on your kitchen layout and microwave model.
External Vent Setup
External venting removes air outside your home. It requires a duct to connect the microwave to an exterior wall or roof. Check that the duct size matches the microwave’s outlet. Use metal ducts to prevent fire hazards. Seal all connections with foil tape for airtightness. Install a vent cap outside to keep out rain and pests. Ensure the duct path is as short and straight as possible. This setup offers the best removal of cooking fumes and heat.
Recirculating Vent Setup
Recirculating vents filter and return air inside the kitchen. This setup is common when external venting is not possible. The microwave uses charcoal filters to trap odors and grease. Replace charcoal filters every 6 to 12 months for best performance. Install a vent grille on top or back of the microwave to release filtered air. This method is easier to install and requires no ductwork. It improves air quality but does not remove heat or moisture completely.
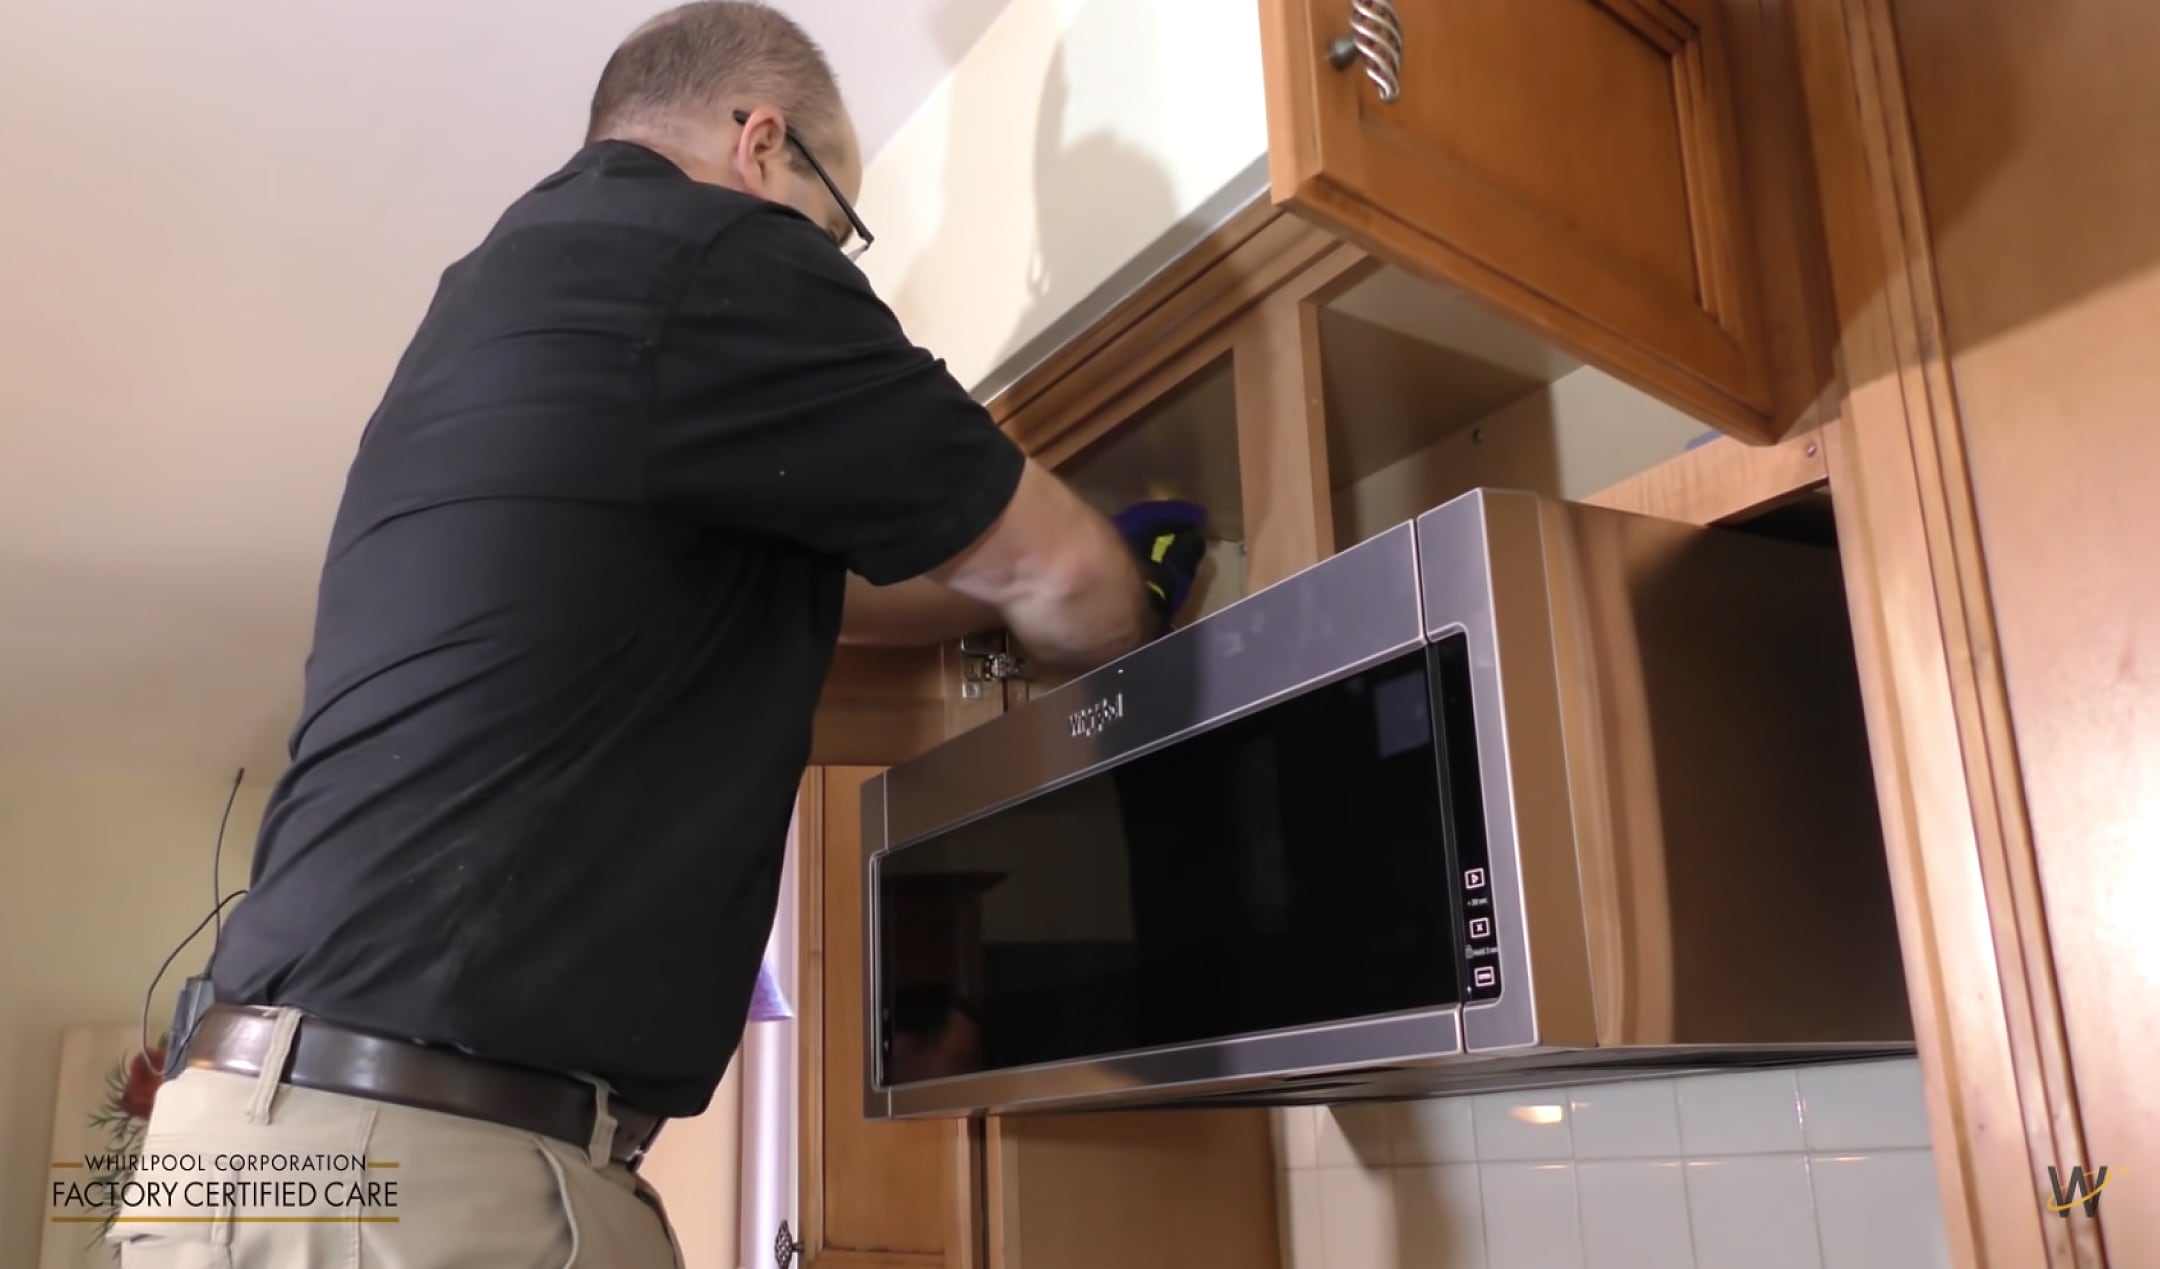
Hanging New Microwave
Hanging a new above range microwave is a key step in your installation process. This task requires care to ensure the microwave is secure and functions properly. Follow the steps carefully to hang the microwave safely and accurately.
Position Power Cord
Start by positioning the microwave’s power cord near the electrical outlet. Make sure the cord is not stretched or pinched. Keep it accessible to plug in after hanging the microwave. This helps avoid damage and ensures easy connection.
Hook Onto Bracket
Lift the microwave with the help of another person. Align the microwave’s mounting slots with the wall bracket. Carefully hook the microwave onto the bracket to hold it in place. This step keeps the microwave secure before final fastening.
Use Wood Blocks If Needed
If the microwave does not sit level, use wood blocks to support it. Place blocks under the microwave to keep it steady. Adjust the blocks until the microwave is perfectly level. This prevents shifting and protects the unit.
Securing Microwave
Securing the microwave oven is a key step in the installation process. It ensures the appliance stays firmly in place during use. Properly securing the microwave prevents accidents and damage. Take your time to follow each step carefully. Use the mounting hardware that comes with your microwave.
Drive Mounting Screws
Start by aligning the microwave with the mounting bracket. Use a drill to drive the mounting screws into the back of the microwave. Make sure the screws are tight but do not over-tighten them. Over-tightening can strip the screw holes or damage the unit. Check that the microwave sits flush against the wall. This keeps the unit stable and secure.
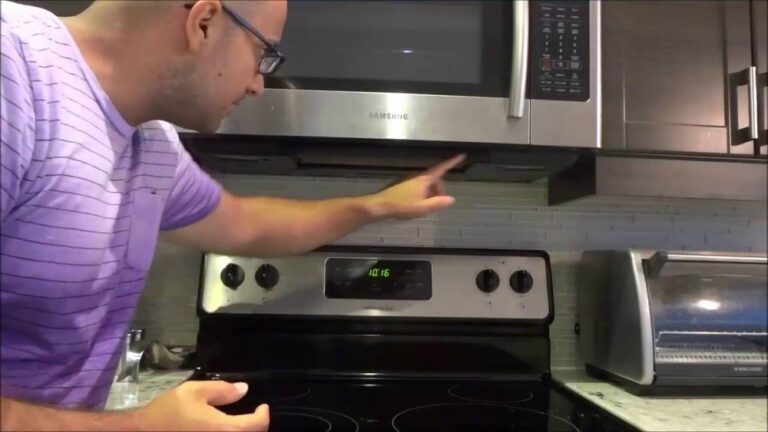
Attach To Upper Cabinet
Locate the upper cabinet above the microwave. Use a stud finder to find the cabinet studs for strong support. Hold the microwave bracket to the cabinet bottom. Drive the cabinet screws through the bracket into the studs. This step supports the microwave’s weight. Double-check the screws are firmly in place. The microwave should feel solid with no movement.
Final Checks
After installing your above range microwave oven, performing final checks is essential. These checks ensure the appliance works properly and safely. Taking a few moments for these steps prevents future issues and gives peace of mind.
Restore Power
Turn the circuit breaker back on to restore power to the microwave. Confirm the power is flowing by checking the microwave display panel. If the display lights up, the microwave is receiving electricity. Do not operate the microwave if the display remains off. Double-check your wiring and connections if needed.
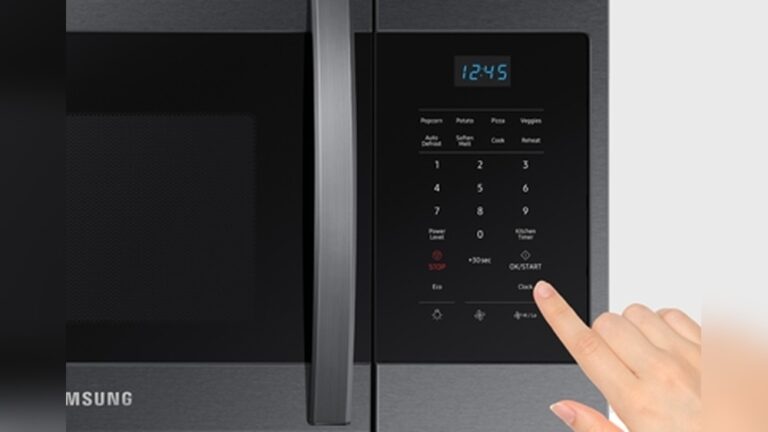
Test Microwave Operation
Place a microwave-safe cup of water inside. Close the door securely. Set the microwave to run for one minute. Watch for normal operation sounds and the water heating up. Ensure the fan and light turn on when the microwave runs. Stop the test if you hear unusual noises or see error messages. Testing confirms the microwave is installed correctly and functioning well.
Frequently Asked Questions
Can I Install An Over The Range Microwave Myself?
Yes, you can install an over-the-range microwave yourself. It requires tools, a helper, and following instructions carefully for safety and proper setup.
What Holds An Over The Range Microwave In Place?
An over-the-range microwave stays in place using a mounting bracket secured to wall studs and screws into the cabinet above. The bracket supports its weight while screws stabilize the top, ensuring safe, sturdy installation.
How Are Above Range Microwaves Installed?
Above range microwaves install by securing a mounting bracket to wall studs. Then, lift and hang the microwave on the bracket. Connect the vent and power supply. Use a level to ensure proper alignment. Always follow the manufacturer’s instructions for safety and performance.
Conclusion
Installing an above range microwave oven can improve your kitchen’s function. Follow the steps carefully for a safe, secure setup. Use the right tools and ask for help when lifting. Double-check measurements and electrical needs before starting. Taking time ensures your microwave works well and lasts long.