How to Instal Over the Range Microwave: Easy Step-by-Step Guide
Thinking about upgrading your kitchen with an over-the-range microwave? Installing one might seem tricky, but with the right steps and a little help, you can do it yourself and save time and money.
This guide will walk you through each step clearly, so you know exactly what to do—from preparing your space and removing your old microwave to mounting the new one securely and connecting the vent and power. By the end, you’ll have a sleek, functional microwave perfectly positioned above your range.
Ready to take control of your kitchen upgrade? Let’s get started!
Tools And Materials
Installing an over-the-range microwave requires specific tools and materials. Having the right equipment ensures a smooth and safe setup. Gather everything before starting to avoid interruptions. The list below covers essential items for a successful installation.
Microwave And Mounting Kit
Choose a microwave that fits your space and needs. Most models come with a mounting kit. This kit includes brackets and screws needed for secure installation. Check the kit’s contents before beginning. Missing parts can delay the project.
Drill And Bits
A power drill speeds up the installation process. Use drill bits suitable for wood and metal. Pilot holes prevent wood from splitting. Keep various bit sizes ready for different screws and anchors. A screwdriver bit helps tighten screws efficiently.
Measuring And Leveling Tools
Accurate measurements ensure the microwave fits perfectly. Use a tape measure to check distances. A level guarantees the microwave mounts straight. Mark drill points with a pencil for precision. These tools prevent mistakes and rework.
Safety Gear
Safety is important during installation. Wear eye protection to guard against debris. Gloves protect your hands from sharp edges. Use a sturdy ladder if needed to reach high spots. A drop cloth protects your stove from scratches and dust.
Prepare The Installation Area
Preparing the installation area is the first step to a smooth microwave installation. It sets the stage for a safe and efficient process. Taking time to ready the space helps avoid damage and makes the next steps easier.
Clear The Range Space
Start by removing all items from the stove and nearby counters. Clear the cooking area completely. This gives you enough room to work without obstacles. Move pots, pans, and utensils to a safe place away from the installation zone.
Also, pull the range slightly forward if possible. This creates space behind the stove for cable and vent connections. Make sure the floor is clear to prevent trips or falls during work.
Protect The Surface
Place a drop cloth or old sheet over the range surface. This protects the stove from scratches, dust, and dropped screws. Use painter’s tape to secure the cloth if needed. Avoid using thick or slippery covers that may cause accidents.
Protecting the range keeps it clean and safe from damage. It also makes cleanup easier after installation is complete.
Unplug And Remove Old Microwave
Unplug the microwave from its power source to prevent electric shock. Check the outlet and confirm power is off before proceeding. Have a helper support the microwave’s weight while you remove it.
Remove any screws or brackets holding the microwave in place. Carefully lift the microwave away from the wall. Set it aside on a protected surface to avoid damage. Keep all screws and mounting hardware for reuse or disposal.
Remove Existing Mounting Bracket
Removing the existing mounting bracket is an important step before installing your new over-the-range microwave. The bracket holds the old microwave securely in place. Taking it down carefully prepares the space for the new unit.
This step requires attention to detail and safety. The bracket may be firmly attached to the wall studs or cabinet. Proper tools will make the removal easier and prevent damage to your kitchen wall.
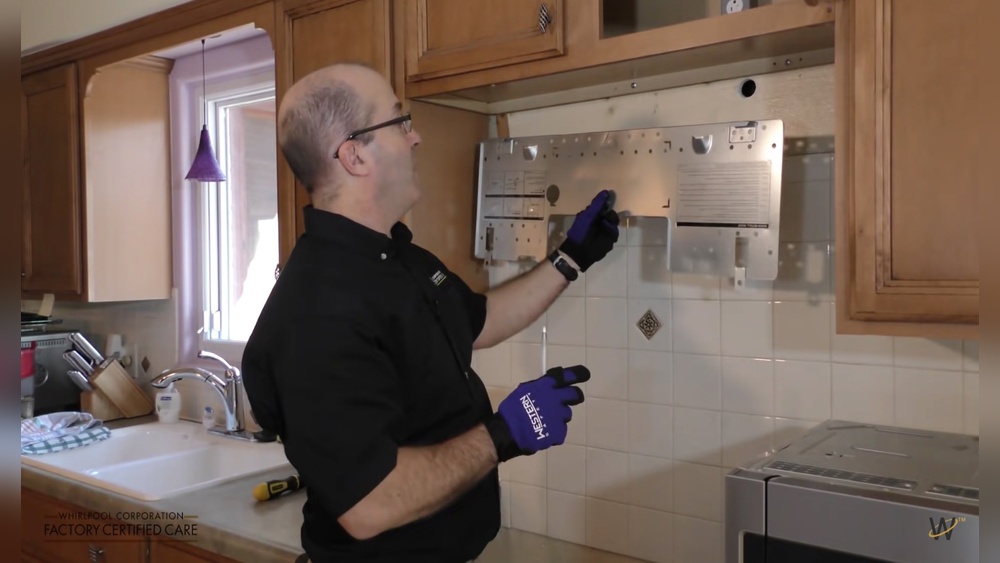
Locate The Mounting Bracket
Open the cabinet above the range. Look for screws holding the bracket. The bracket is usually metal and wide, spanning the space above the stove.
Remove Screws And Fasteners
Use a screwdriver or drill to remove all screws. Keep them aside in case you need them later. Check for toggle bolts or anchors and remove those carefully.
Support The Bracket While Removing
The bracket might be heavy or stuck. Hold it firmly as you loosen the screws. Ask for help to avoid dropping the bracket or hurting yourself.
Clean The Wall Surface
After removal, clean the wall area. Remove dust, grease, or any residue. A clean surface helps the new bracket stick properly.
Credit: www.youtube.com
Adjust New Microwave Settings
Adjusting the new microwave settings is an important step after installation. Proper setup ensures the microwave works safely and efficiently. It also helps you use features like ventilation and lighting correctly.
Unbox And Inspect
Start by carefully unboxing the microwave. Remove all packaging materials and check for damage. Look for dents, cracks, or missing parts. Confirm the accessories and manuals are included. Report any issues to the seller before proceeding. A thorough inspection prevents problems during installation and use.
Configure Exhaust Options
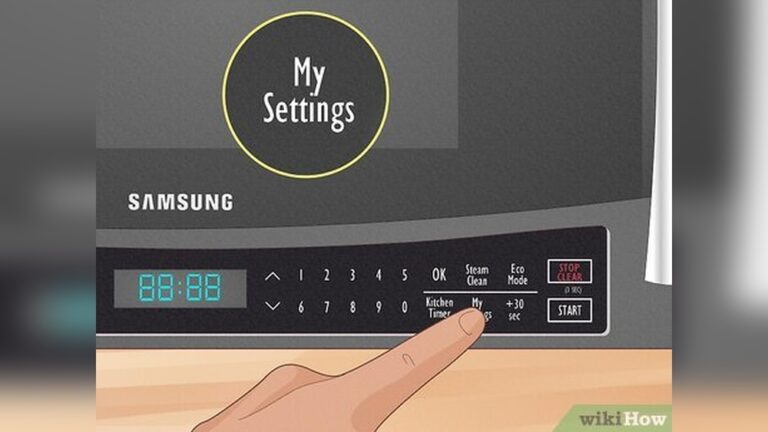
Most over-the-range microwaves have venting options. Choose between recirculating air or venting outside. Locate the exhaust setting on the microwave control panel or inside the unit. Set the exhaust mode that fits your kitchen setup. Proper exhaust configuration improves air quality and reduces cooking odors. Follow the manufacturer’s instructions for best results.
Install Mounting Bracket
Installing the mounting bracket is the first key step for your over-the-range microwave. The bracket holds the microwave securely in place. Proper installation ensures safety and stability during use. Take time to position it correctly. This step requires precision and patience.
Locate Wall Studs
Use a stud finder to locate studs behind the wall. Mark the stud locations with a pencil. The mounting bracket must attach to studs for strong support. Avoid drywall alone as it cannot hold the microwave’s weight. Double-check your marks before drilling. Studs are usually 16 inches apart.
Position And Level Bracket
Hold the mounting bracket on the wall at the correct height. Use a level to make sure it is perfectly horizontal. Mark the screw holes on the wall with a pencil. The bracket should be centered over the range. Accurate leveling prevents the microwave from tilting after installation. Adjust the position until the bracket is straight.
Drill Pilot Holes And Secure
Drill small pilot holes into the marked stud locations. Pilot holes make it easier to drive screws and reduce wall damage. Use a drill bit slightly smaller than the screws. Align the bracket with the pilot holes and screw it firmly to the wall. Use heavy-duty screws provided with your microwave. Confirm the bracket is tight and does not move before proceeding.
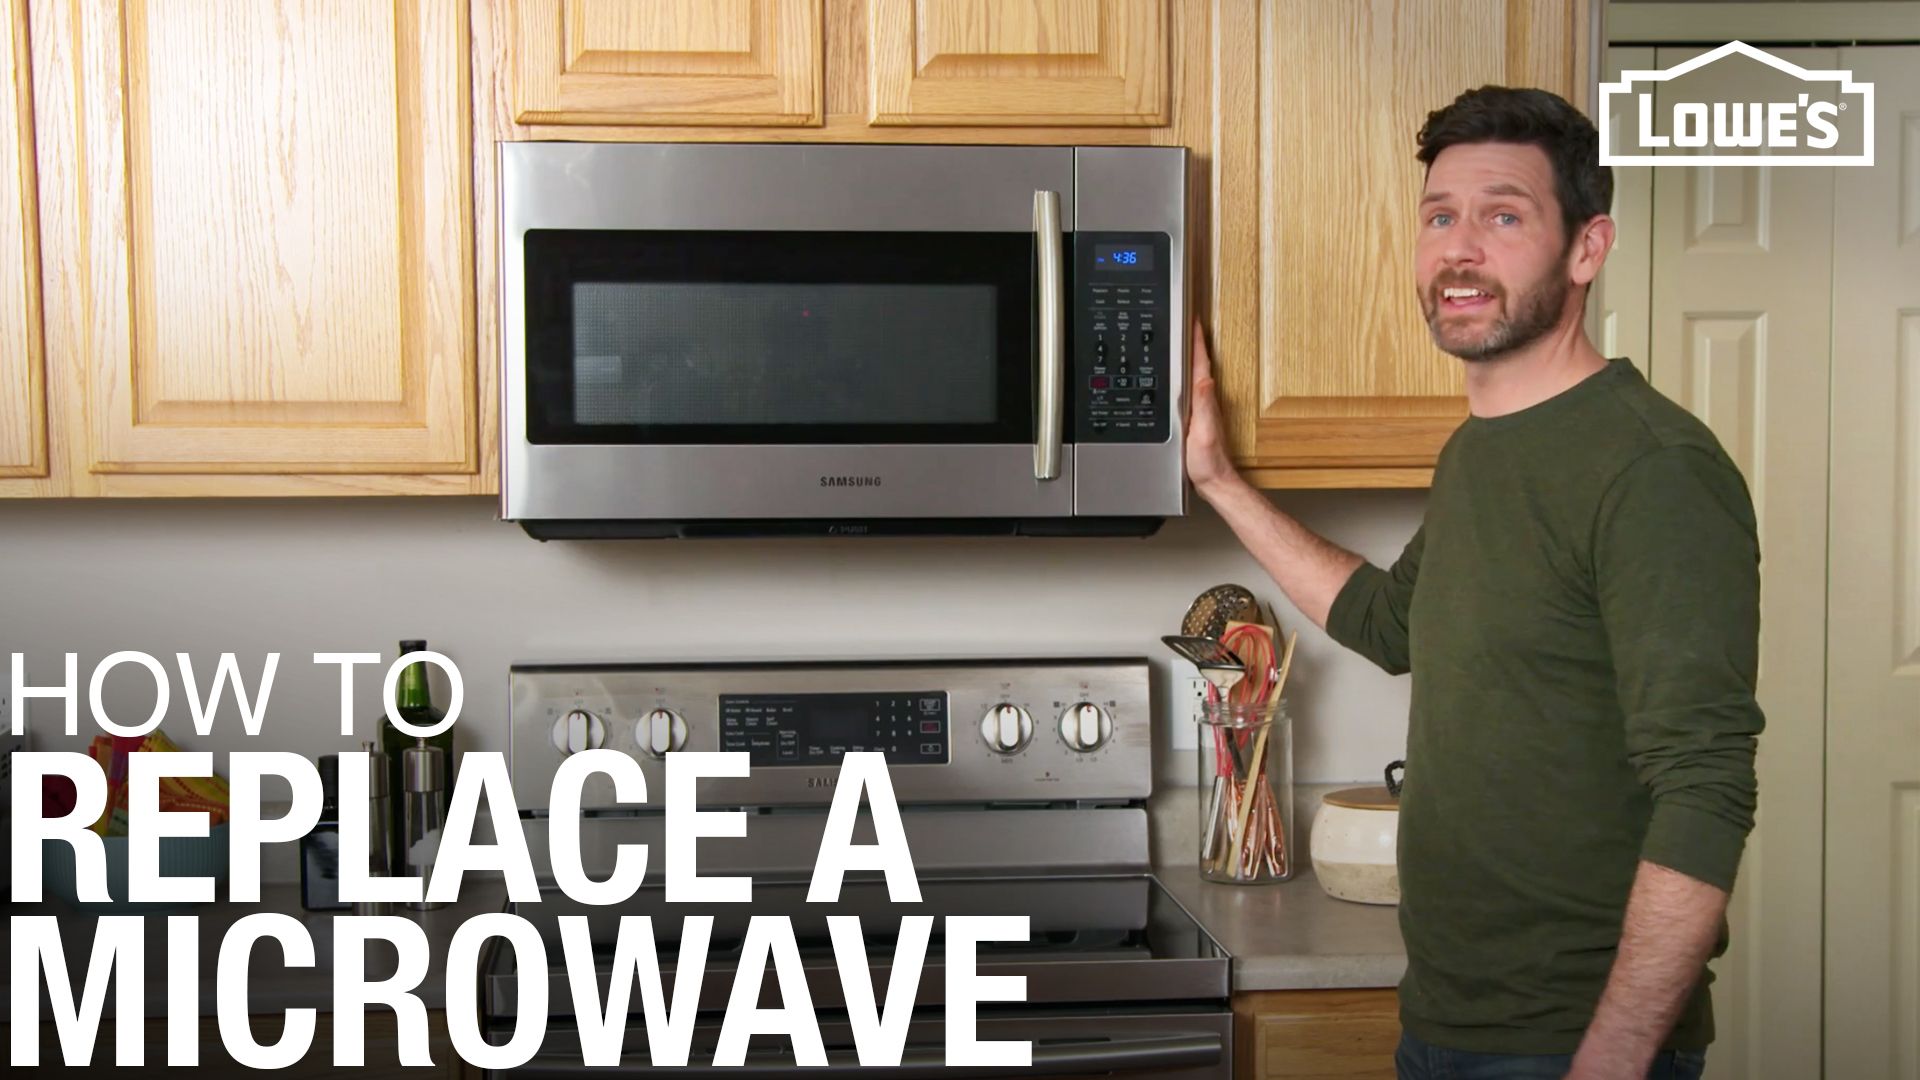
Credit: www.lowes.com
Mount The Microwave
Mounting the microwave is a key step in the installation process. It secures the appliance above your range safely and correctly. Proper mounting ensures the microwave stays stable during use and avoids damage to walls or cabinets.
Follow the instructions carefully for a strong and secure fit. Prepare to lift the microwave onto the bracket and manage the power cord properly. This stage needs care and precision to prevent accidents or errors.
Lift And Hook Onto Bracket
With a helper, lift the microwave carefully. Align the microwave with the mounting bracket on the wall.
Hook the top of the microwave onto the bracket. Ensure it sits firmly on the bracket before moving to the next step.
Hold the microwave steady to avoid slipping. This position allows you to fasten the microwave securely in place.
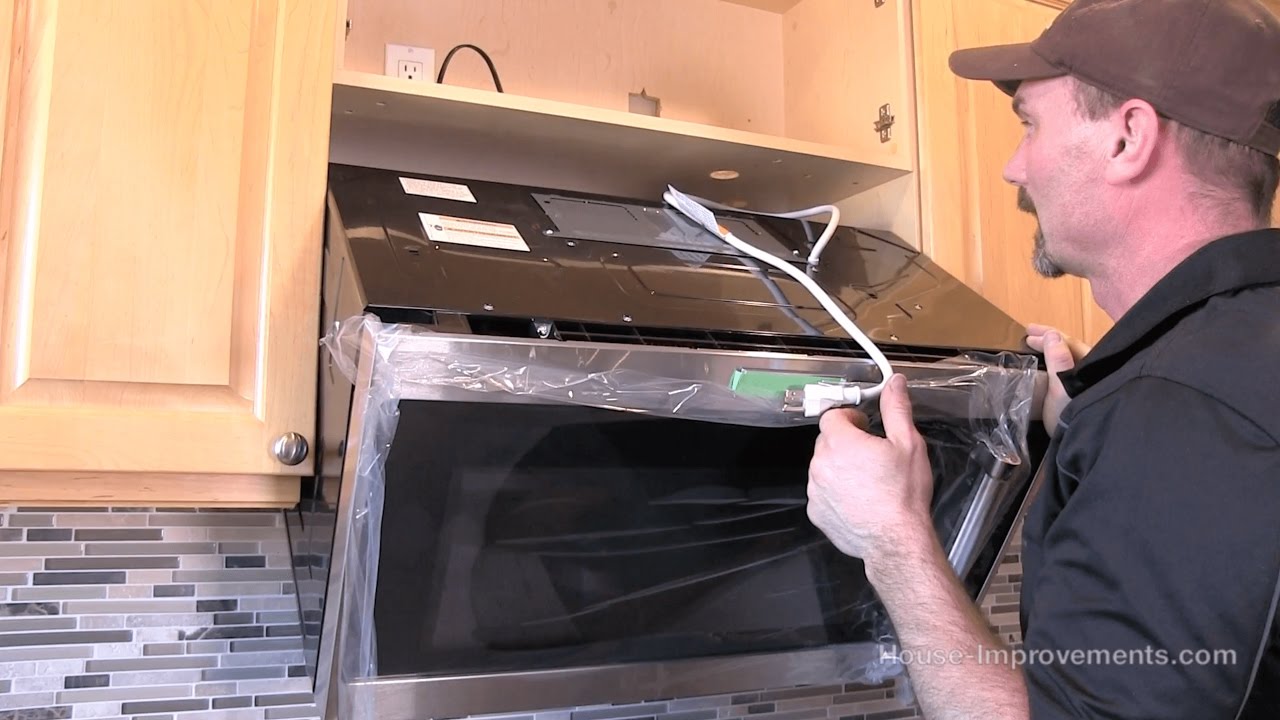
Feed Power Cord
Locate the microwave’s power cord near the back. Carefully feed the cord through the opening or hole in the cabinet above.
Make sure the cord is not pinched or twisted. Keep it clear of sharp edges to prevent damage.
Plug the cord into a properly grounded outlet. Confirm the power source is safe and meets local electrical codes.
Secure Microwave To Cabinet
Securing the microwave to the cabinet is a crucial step in installation. This ensures stability and safety during use. Proper attachment prevents the microwave from shifting or falling.
Follow each step carefully to secure the microwave firmly. Use the right tools and hardware for a tight fit. Double-check the alignment to avoid damage to the cabinet or microwave.
Locate The Mounting Holes On The Cabinet
Open the cabinet above the range. Find the pre-drilled holes meant for mounting. If holes are missing, mark and drill pilot holes carefully. Use a level to keep marks straight.
Attach The Mounting Bracket To The Cabinet
Align the mounting bracket with the holes. Secure it with screws provided in the installation kit. Tighten screws firmly to hold the bracket steady. Check that the bracket is level before final tightening.
Lift And Position The Microwave
With help, lift the microwave and hang it on the mounting bracket. Ensure the microwave slots into the bracket securely. Hold the microwave steady while attaching it to the cabinet.
Screw The Microwave To The Cabinet
Open the cabinet and locate the screws that secure the microwave. Insert screws through the cabinet into the microwave’s top holes. Tighten screws carefully, avoiding over-tightening to protect the cabinet.
Check Stability And Final Adjustments
Gently shake the microwave to check for movement. Tighten any loose screws to increase stability. Confirm the microwave is flush with the cabinet and wall for a clean look.
Connect Vent Ductwork
Connecting the vent ductwork is a crucial step in installing your over-the-range microwave. Proper venting ensures that smoke, steam, and odors leave your kitchen efficiently. It also helps maintain good air quality and prevents moisture buildup.
This step requires careful attachment and sealing to avoid leaks. Make sure the duct size matches the microwave’s vent opening. Use the right tools and materials for a secure fit.
Attach Duct To Microwave
First, align the vent duct with the microwave’s vent outlet. Slide the duct into the vent collar firmly. Use sheet metal screws to secure the duct in place. Tighten screws evenly to hold the duct steady. Avoid over-tightening which can damage the duct or microwave. Check that the duct does not bend or kink. Smooth airflow is vital for vent performance.
Seal Connections
Apply aluminum foil tape around the duct joint. This tape resists heat and prevents air leaks. Press the tape firmly to cover all gaps. Do not use duct tape, as it will fail over time. Inspect the connection for any holes or loose spots. Proper sealing improves vent efficiency and reduces noise. Finish by testing the vent fan to confirm airflow is strong and clear.
Finalize Electrical Connections
Finalizing electrical connections is the last and most important step in installing your over-the-range microwave. Proper connections ensure the microwave works safely and efficiently. Take time to check everything before powering on the appliance.
Always follow the manufacturer’s instructions for wiring. Confirm the power source is turned off at the circuit breaker to avoid shocks. Use a voltage tester to double-check the wires are not live before handling them.
Plug In Microwave
Locate the microwave’s power cord. Most over-the-range microwaves have a plug that fits a standard outlet inside the cabinet. Carefully plug the microwave into the outlet. Avoid forcing the plug or using extension cords, as these can cause electrical hazards.
If your microwave requires hardwiring, connect the wires exactly as the instructions specify. Match the color codes: black to black (hot), white to white (neutral), and green or bare copper to ground. Secure wire nuts tightly and tuck the wires neatly into the junction box.
Test Functions
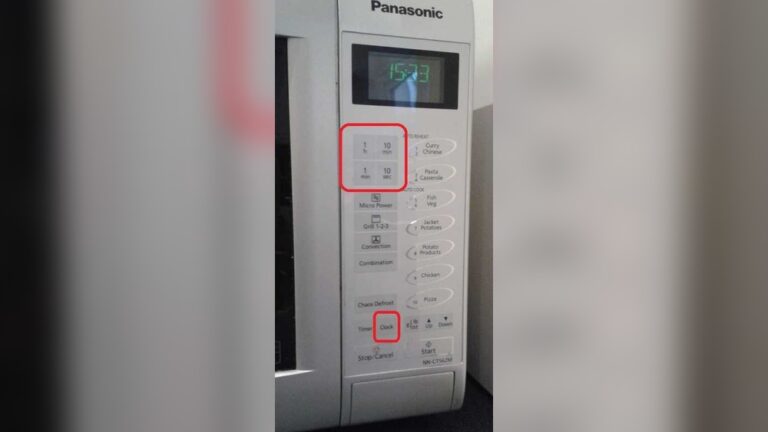
Turn the power back on at the circuit breaker. Test the microwave by pressing the power button and trying basic functions such as the light, fan, and timer. Listen for unusual sounds or check for error messages.
Run the microwave for a short time to ensure it heats properly. Check the vent fan and light to confirm they work well. Any problems mean you should turn off power immediately and recheck connections.
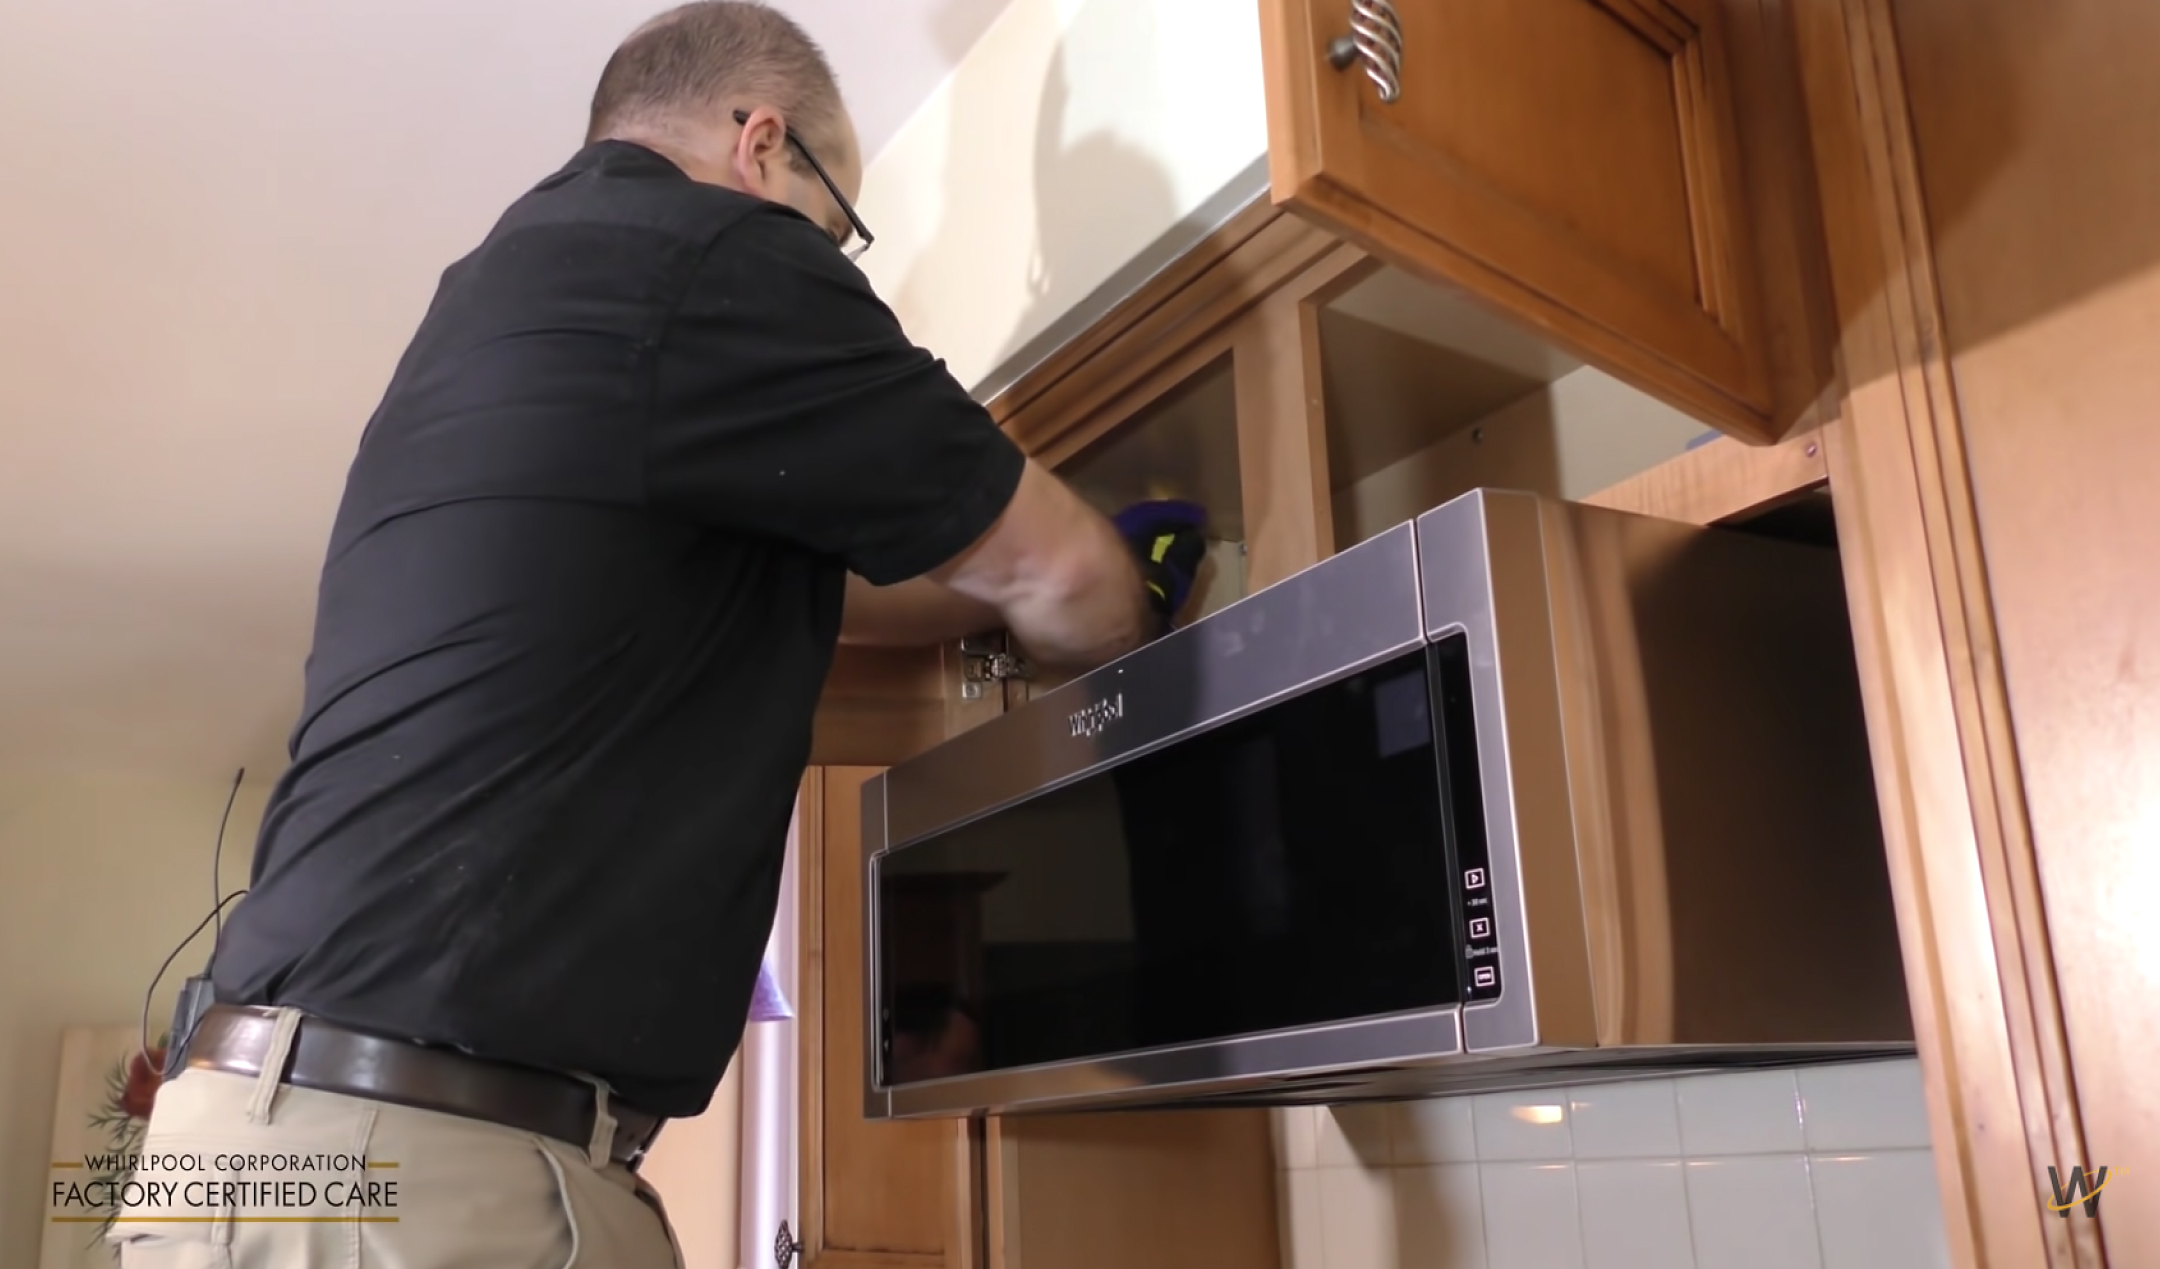
Credit: www.whirlpool.com
Tips For A Smooth Installation
Installing an over-the-range microwave can be straightforward with the right approach. Following simple tips helps avoid common mistakes and speeds up the process. Preparation and care make the installation smooth and safe.
Work With A Helper
An over-the-range microwave is heavy and bulky. Having a helper makes lifting and positioning easier. Two people can hold the microwave steady while securing it to the wall. This reduces risks of dropping or damaging the appliance. A helper also passes tools and holds parts in place. Teamwork saves time and effort.
Double Check Measurements
Measure the space above your range carefully. Confirm the height, width, and depth match the microwave’s size. Check the distance from the countertop to the bottom of the microwave. Accurate measurements prevent installation errors and ensure proper fit. Mark mounting points clearly on the wall before drilling. Take your time to measure twice. This avoids costly mistakes and keeps the microwave secure.
Follow Manufacturer Instructions
Each microwave model has unique installation steps. Read the manufacturer’s manual fully before starting. Follow the instructions exactly as given. Use the recommended mounting hardware and tools. Pay attention to electrical and ventilation requirements. Skipping steps or using wrong parts can cause damage or safety issues. The manual guides a safe and correct installation. Keep it handy during the entire process.
Frequently Asked Questions
Can You Install An Over The Range Microwave Yourself?
Yes, you can install an over-the-range microwave yourself with basic tools and a helper. Follow mounting, venting, and wiring instructions carefully.
What Holds An Over The Range Microwave In Place?
An over-the-range microwave stays in place with a sturdy mounting bracket attached to wall studs. Screws secure it to the cabinet above for added stability.
Do You Need An Electrician To Install An Over The Range Microwave?
Yes, hiring an electrician ensures safe, code-compliant wiring for over-the-range microwave installation. DIY is possible but riskier.
Conclusion
Installing an over-the-range microwave can be simple with the right tools and steps. Take your time to measure and level everything carefully. Having a helper makes lifting and securing the microwave safer. Double-check all connections before finishing. A well-installed microwave saves kitchen space and adds convenience.
Enjoy your new appliance knowing you did it yourself.