How to Clean Dish Sponge in Microwave: Quick & Hygienic Tips
Your dish sponge works hard every day, scrubbing away grease, food bits, and grime. But did you know it can also harbor millions of bacteria that could make you sick?
Keeping your sponge clean is essential for a healthy kitchen, and the microwave offers a quick, easy way to sanitize it. In this guide, you’ll discover exactly how to clean your dish sponge in the microwave safely and effectively—so your sponge stays fresh, bacteria-free, and ready to tackle your next load of dishes.
Stick with us, and you’ll never have to worry about a smelly, germ-filled sponge again!
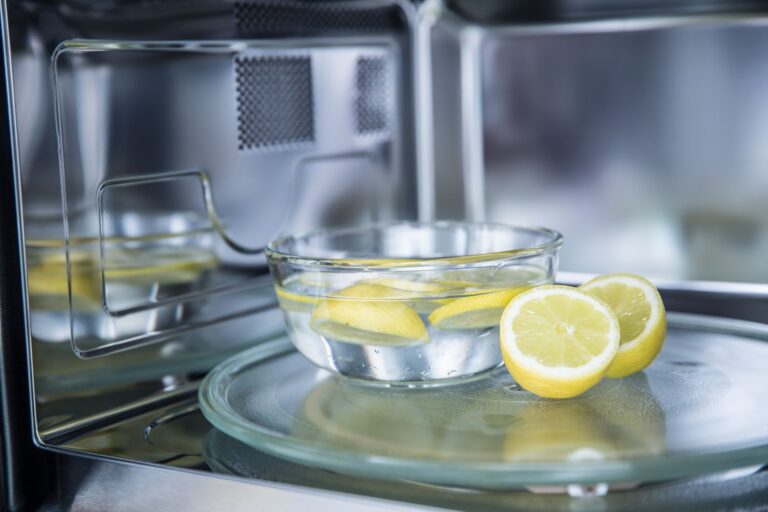
Microwave Cleaning Basics
Cleaning your dish sponge in the microwave is a quick way to kill germs. This method uses heat and steam to sanitize the sponge. It helps reduce bacteria that cause bad smells and illness.
Understanding the basics ensures the process is effective and safe. Follow simple steps to keep your sponge clean and ready for use.
Why Microwave Sponges
Microwaving kills most bacteria and germs in a few minutes. The heat and moisture work together to sanitize the sponge deeply. It is faster than soaking in bleach or washing by hand. This method also saves money by extending sponge life. It keeps your kitchen healthier and reduces bad odors.
Safety Precautions
Always make sure the sponge is wet before microwaving. A dry sponge can catch fire. Remove any metal parts or scrubbers to avoid sparks. Use a microwave-safe plate to hold the sponge. Heat the sponge for one to two minutes only. Let it cool before taking it out to avoid burns. Use tongs or oven mitts to handle the hot sponge safely.
Preparing Your Sponge
Start by soaking your sponge with clean water until fully wet. Check carefully for any metal pieces inside. A wet sponge heats evenly and avoids sparks in the microwave.
Cleaning your dish sponge in the microwave starts with proper preparation. A well-prepared sponge ensures effective sanitizing and prevents damage. Follow these simple steps to get your sponge ready for microwaving.
Wet The Sponge Thoroughly
First, soak the sponge completely with water. A dry sponge can catch fire or get damaged in the microwave. Wetting creates steam, which kills germs and bacteria inside the sponge. Make sure the sponge is soaked but not dripping excessively.
Remove Metal Parts
Check the sponge carefully for any metal pieces. Metal can cause sparks and damage the microwave. Remove any scrubbing pads or attachments that contain metal. Only microwave sponges without metal for safe cleaning.
Microwaving Process
The microwaving process is a quick and effective way to clean your dish sponge. It uses heat and steam to kill bacteria and germs trapped inside. This method is simple and can be done in just a few minutes. Follow the steps carefully to avoid damage or injury.
Set Microwave Time
Start by wetting the sponge completely. A dry sponge can catch fire in the microwave. Place the wet sponge in the microwave. Set the microwave on high power for 1 to 2 minutes. The exact time depends on your microwave’s strength. Do not exceed 2 minutes to avoid overheating. The heat will kill most bacteria inside the sponge.
Handling Hot Sponge Safely
After microwaving, the sponge will be very hot. Use tongs or oven mitts to remove it safely. Avoid touching the sponge with bare hands. Let the sponge cool down before using it again. Squeeze out the excess water once it is cool. Your sponge is now clean and ready to use.
:max_bytes(150000):strip_icc()/Simply-Recipes-How-to-Clean-Microwave-LEAD-2-622e8e5bbfe8497f9f8772e1b76a2489.jpg)
Credit: www.simplyrecipes.com
Post-microwave Care
After microwaving your dish sponge, proper care helps keep it clean and long-lasting. The sponge will be hot and full of moisture. Handling it right prevents damage and keeps it fresh for the next use.
Cool Down And Squeeze
Let the sponge cool before touching it. Use tongs or oven mitts to avoid burns. Once cool, squeeze out all the water. This removes trapped moisture that can cause bacteria to grow. Press gently to avoid tearing the sponge.
Drying Tips
Place the sponge in a dry, well-ventilated spot. Avoid leaving it in the sink or on a wet surface. Standing water encourages mold and bad smells. Allow the sponge to air dry completely between uses. For faster drying, stand it upright or lay it on a clean rack.
Frequency And Replacement
Keeping your dish sponge clean is important for kitchen hygiene. Knowing how often to clean and when to replace sponges helps prevent bacteria build-up. A regular cleaning routine combined with timely replacement keeps your kitchen safe and fresh.
Daily Cleaning Routine
Microwaving your sponge daily kills most bacteria. First, soak the sponge in water until fully wet. Place it in the microwave on high for one to two minutes. Let it cool before handling. This simple step reduces germs and keeps the sponge fresh for longer use.
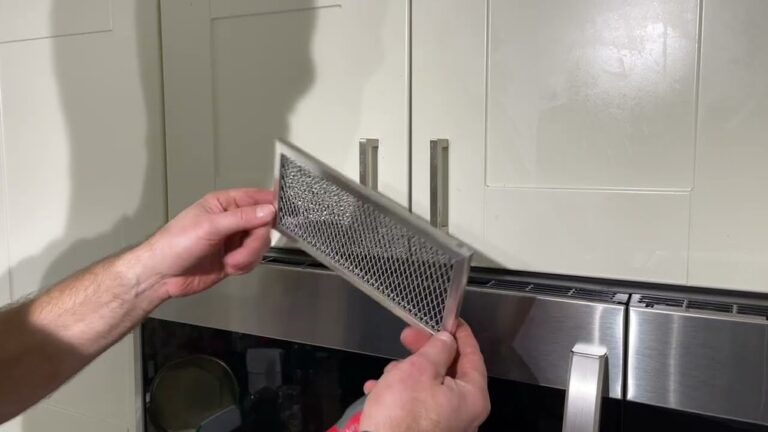
When To Replace Sponges
Even with daily cleaning, sponges wear out. Replace your sponge every one to two weeks for best hygiene. Change it sooner if it smells bad or falls apart. Old sponges can harbor harmful bacteria that cleaning alone cannot remove. Fresh sponges ensure a cleaner kitchen environment.

Credit: www.youtube.com
Alternative Cleaning Methods
Cleaning dish sponges regularly keeps your kitchen hygienic. Besides microwaving, other methods can sanitize your sponge effectively. These alternatives help kill germs and extend sponge life. Choose the method that fits your routine and tools.
Dishwasher Cleaning
Place your wet sponge on the top rack of the dishwasher. Run it through a hot cycle with your regular detergent. The heat and detergent remove bacteria and food particles. This method is easy and uses your dishwasher’s cleaning power. Let the sponge dry completely before using it again.
Bleach Soaking
Fill a bowl with a mix of one part bleach and nine parts water. Soak the sponge in this solution for five minutes. Bleach kills most bacteria and germs quickly. After soaking, rinse the sponge well with clean water. Squeeze out the excess water and let it air dry in a safe place.
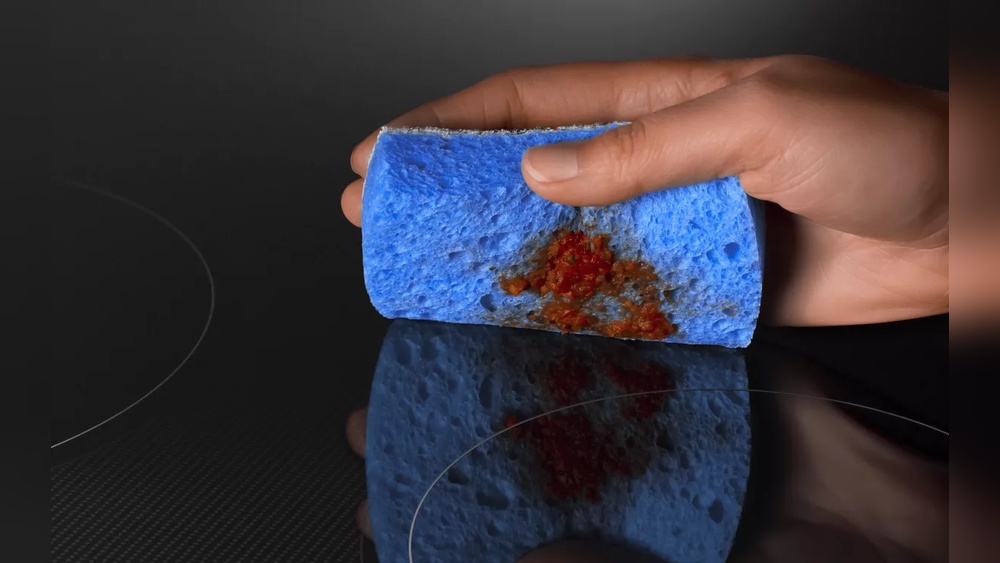
Health Risks Of Dirty Sponges
Dirty dish sponges can be a serious health hazard in any kitchen. They harbor germs that thrive in moist, warm environments. Using a contaminated sponge spreads bacteria to your dishes and surfaces. This increases the risk of infections and illnesses. Regular cleaning is vital to keep your sponge safe and sanitary.
Bacteria Growth
Sponges are perfect breeding grounds for bacteria. Food particles stuck in the sponge feed these germs. Moisture inside the sponge helps bacteria multiply fast. Common bacteria found include E. coli and Salmonella. These harmful microbes can survive on sponges for days. Dirty sponges often contain more bacteria than toilet seats.
Potential Illnesses
Using a sponge filled with bacteria can cause various health issues. It can lead to stomach problems like diarrhea and vomiting. Skin infections may develop from touching contaminated sponges. Some bacteria cause food poisoning with severe symptoms. Children, elderly, and people with weak immunity are most at risk. Cleaning your sponge regularly reduces these dangers significantly.
Credit: www.foodnetwork.com
Frequently Asked Questions
How To Sanitize Dish Sponge In Microwave?
Wet the sponge thoroughly, ensuring no metal parts. Microwave on high for 1-2 minutes. Use tongs to remove, let cool, then squeeze out excess water. Repeat daily and replace sponges every 1-2 weeks.
How Long Do You Put A Wet Sponge In The Microwave To Clean It?
Place a thoroughly wet sponge in the microwave on high for 1 to 2 minutes to kill bacteria. Use tongs to remove it carefully and let it cool before use. Repeat daily and replace sponges every 1-2 weeks for best hygiene.
How To Clean Dirty Dish Sponges?
Wet the sponge thoroughly, then microwave it on high for 1-2 minutes. Use tongs to remove, let it cool, and squeeze out water. Repeat daily and replace sponges every 1-2 weeks for best hygiene.
How Long Does A Sponge Take To Be Disinfected In A Microwave Oven?
Place a thoroughly wet sponge in the microwave on high for 1 to 2 minutes to disinfect it effectively. Use tongs to remove and let it cool before use.
Conclusion
Cleaning your dish sponge in the microwave is quick and effective. Always wet the sponge before microwaving to avoid fire risks. Heat it for one to two minutes to kill most germs. Let the sponge cool before handling to prevent burns.
Regular cleaning keeps your kitchen more hygienic. Replace sponges every one to two weeks for best results. This simple method helps maintain a healthier cooking space. Try it often to reduce bacteria and odors easily.