How to Clean a Microwave Vent: Quick & Easy Step-by-Step Guide
Is your microwave vent looking greasy or clogged? If you’ve noticed that your microwave isn’t venting properly or smells a bit off, it’s likely time to clean its vent.
Keeping your microwave vent clean isn’t just about appearances—it helps your kitchen stay fresh and your appliance work efficiently. In this guide, you’ll discover simple, step-by-step tips to clean your microwave vent quickly and safely. Whether it’s stubborn grease or hidden dust, you’ll learn how to tackle it all so your microwave can breathe easy again.
Ready to get started? Let’s dive in!
Credit: www.youtube.com
Microwave Vent Types
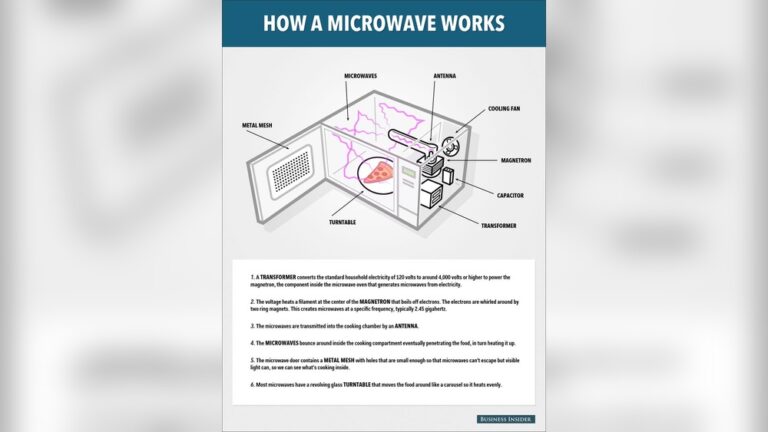
Microwave vents come in different types based on their installation and function. Knowing the type of vent helps you clean it properly. Each vent type has unique features and cleaning needs. Let’s explore the main microwave vent types found in kitchens.
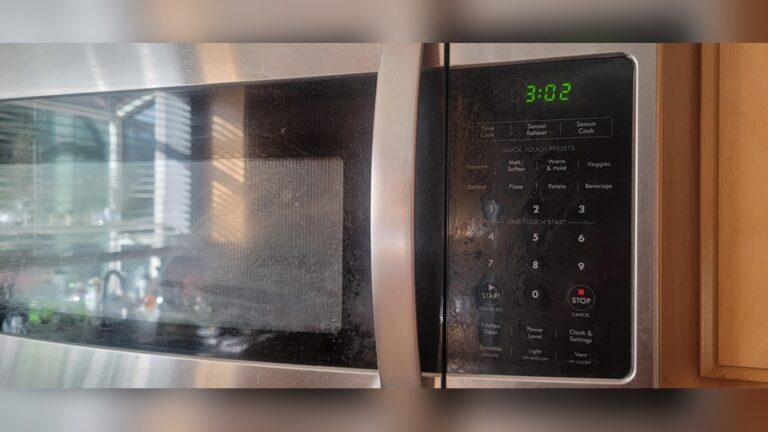
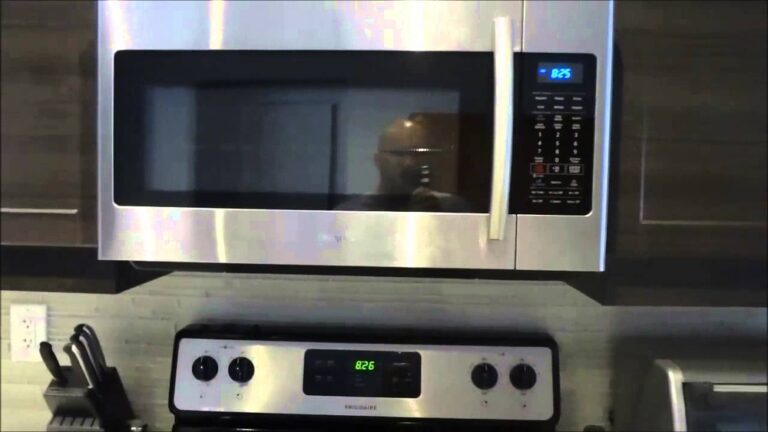
Over-the-range Vents
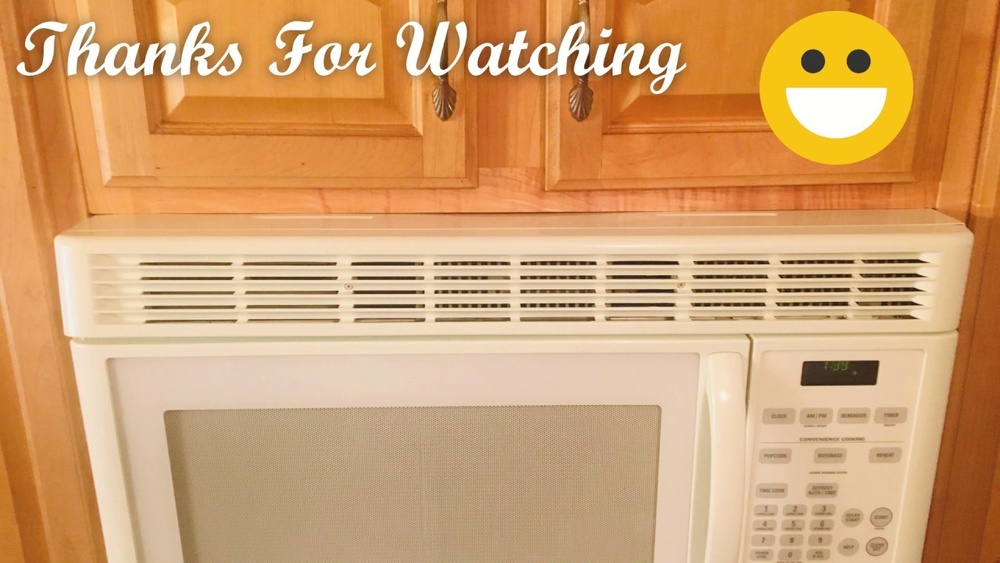
These vents are built into microwaves placed above the stove. They pull smoke, steam, and odors from cooking. Over-the-range vents usually have grease filters that trap particles. Cleaning these filters regularly keeps the vent working well. The vent fan pushes air either outside or back into the kitchen.
Countertop Microwaves
Countertop microwaves sit on kitchen surfaces and do not have vents. They rely on built-in fans to cool the microwave only. These microwaves do not filter or circulate cooking air. Because of this, cleaning vents is not necessary for countertop models. Focus on wiping the exterior and interior instead.
Downdraft Vents
Downdraft vents are installed behind or beside the cooktop. They pull cooking fumes downward through the vent system. Some microwaves integrate with downdraft vents to clear air efficiently. These vents have filters that collect grease and dirt. Regular cleaning ensures good airflow and prevents buildup.
:max_bytes(150000):strip_icc()/SPR-how-to-how-to-clean-a-microwave-filter-7565609-hero-01-de0ebc1318074aa2a919d63651e222c4.jpg)
Credit: www.thespruce.com
Tools And Materials
Cleaning a microwave vent requires the right tools and materials. These items help remove grease, dust, and dirt safely and effectively. Having the proper equipment makes the job easier and faster. Below are the main tools and materials you will need.
Cleaning Brushes And Cloths
Soft cleaning brushes remove dust and crumbs from vents. Use a small brush to reach tight spaces. Microfiber cloths work well for wiping surfaces without scratching. Avoid rough materials that can damage the vent’s finish.
Cleaning Solutions
Mild cleaning solutions break down grease and grime on the vent. Use a mix of warm water and dish soap for light cleaning. For tougher grease, try a vinegar and water solution. Avoid harsh chemicals that may harm the vent or leave strong odors.
Protective Gear
Wear gloves to protect your hands from dirt and cleaning agents. A mask helps avoid breathing in dust or fumes. Safety glasses shield your eyes, especially if you use spray cleaners. Proper protection keeps cleaning safe and comfortable.
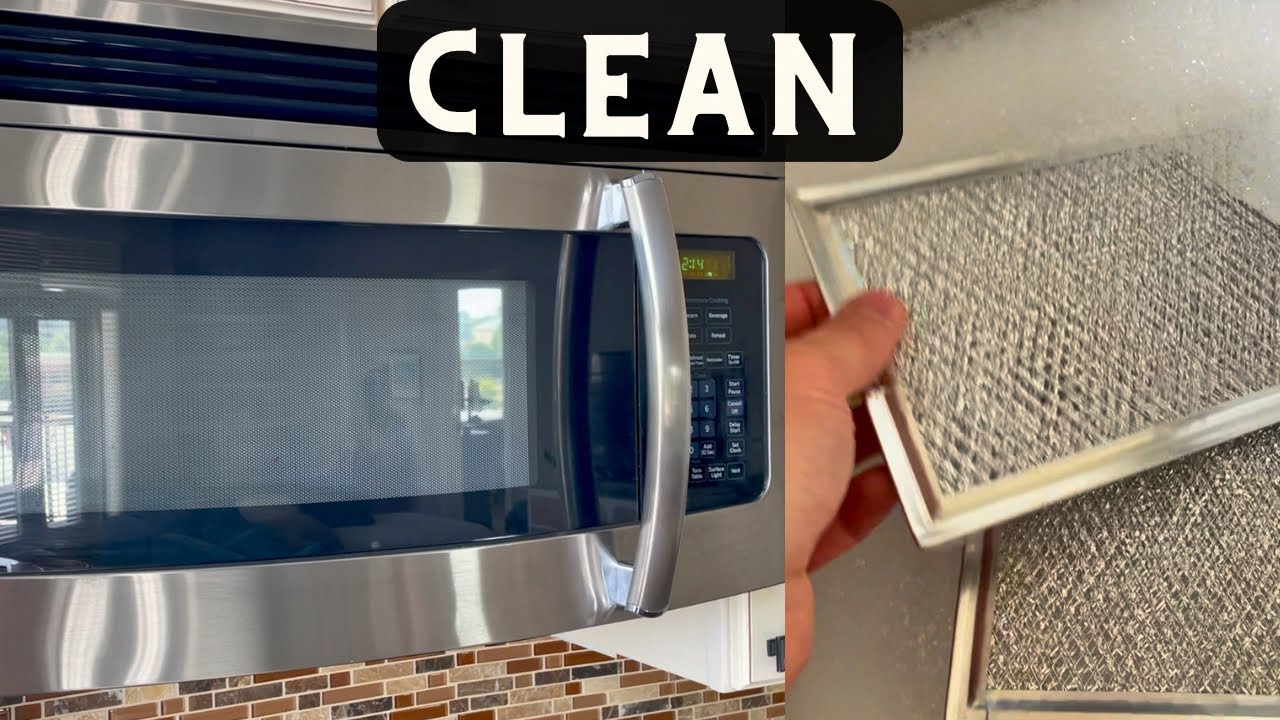
Removing The Vent Filter
Removing the vent filter is the first step to clean your microwave vent effectively. The filter traps grease and dust, so it needs regular cleaning. Taking out the filter carefully helps avoid damage and ensures better airflow. Follow the steps below to locate and detach the filter properly.
Locating The Filter
Start by opening the microwave door. Look above or underneath the microwave for a vent area. The filter is usually behind a metal or plastic grille. Check your microwave manual if you cannot find it right away. The filter often covers the vent fan or exhaust opening.
Detaching The Filter
Once you find the filter, see how it is fixed in place. Most filters slide out or pop off easily. Pull the filter gently towards you to remove it. Avoid using force to prevent breaking clips or damaging the filter frame. Set the filter on a flat surface for cleaning.
Handling Screws And Clips
Some microwave vents use screws or clips to hold the filter. Use a screwdriver to remove any screws carefully. Keep the screws safe for reassembly. If clips hold the filter, press or slide them to release the filter. Take your time to avoid bending or breaking any parts.
Cleaning The Grease Filter
The grease filter in your microwave vent traps oil and food particles. Cleaning it keeps your microwave working well. A clean filter also helps remove bad odors from your kitchen. Regular cleaning prevents buildup that can cause smoke or fire risks.
Removing and cleaning the grease filter is simple. Follow these easy steps to soak, scrub, and rinse your filter. This process restores its efficiency and prolongs its life.
Soaking And Scrubbing
Start by removing the grease filter from the microwave vent. Fill a sink or basin with hot water and add a few drops of dish soap. Soak the filter in the soapy water for 10 to 15 minutes. This loosens the stuck grease and dirt.
After soaking, use a soft brush or sponge to scrub the filter gently. Focus on areas with heavy grease buildup. Avoid using harsh tools that can damage the filter mesh. Rinse the brush often to remove loosened grime.
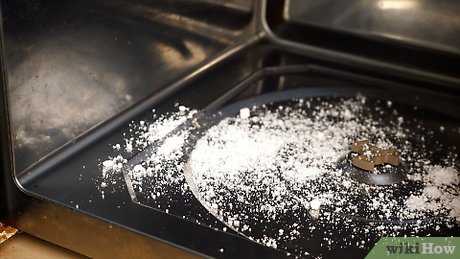
Using Baking Soda Paste
For stubborn grease, make a paste with baking soda and water. Mix three parts baking soda with one part water until it forms a thick paste. Apply the paste directly to the greasy spots on the filter.
Let the paste sit for 10 minutes. Baking soda helps break down grease and neutralizes odors. After resting, scrub the filter again with a soft brush. This extra step ensures a deeper clean.
Rinsing And Drying
Rinse the grease filter under warm running water. Remove all soap and baking soda residue. Check carefully that no dirt remains trapped in the mesh.
Shake off excess water and dry the filter with a clean towel. Let it air dry completely before reinstalling. A dry filter prevents mold and keeps your microwave vent safe to use.
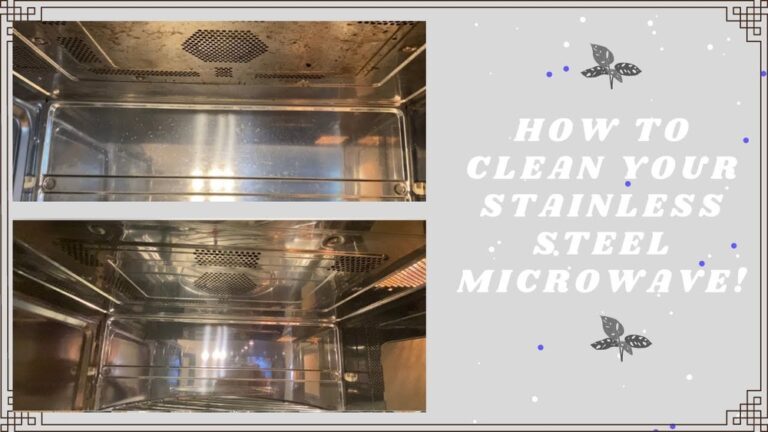
Cleaning Internal Vents
Cleaning the internal vents of your microwave is essential for maintaining its performance. These vents often collect grease, dust, and food particles. Over time, buildup can block airflow and cause unpleasant smells. Regular cleaning keeps your microwave running smoothly and your kitchen air fresh.
Steam Cleaning Method
Fill a microwave-safe bowl with water and add a few tablespoons of vinegar. Heat the bowl in the microwave for 5 minutes. The steam loosens dirt and grease inside the vents. Afterward, carefully wipe the vent area with a soft cloth. This method is simple and effective for light cleaning.
Wiping Surfaces
Use a damp microfiber cloth to wipe the vents gently. Avoid harsh chemicals that may damage the microwave. Focus on the vent slats and surrounding areas. Regular wiping prevents buildup from becoming difficult to remove. Make sure to dry the vents well to stop moisture damage.
Scrubbing Stubborn Grease
For tough grease, mix baking soda with water to form a paste. Apply the paste to the greasy vents using a soft brush. Scrub gently to avoid scratching the surface. Let the paste sit for 10 minutes before wiping it off. Repeat if needed until the vents look clean and fresh.
Cleaning The Vent Grill
The vent grill of a microwave collects dust, grease, and food particles over time. Cleaning it keeps your microwave working well and your kitchen fresh. This part needs regular attention because it helps air flow freely. Dirt build-up can block air and reduce the microwave’s efficiency.
Follow simple steps to clean the vent grill carefully. You will remove it, soak and wash it, then dry and put it back. This process removes grime and improves air circulation inside the microwave.
Removing The Grill
First, unplug the microwave to stay safe. Look for screws or clips holding the vent grill. Use a screwdriver to remove screws if needed. Gently pull the grill away from the microwave. Do not force it to avoid damage. Set the grill aside on a clean surface.
Soaking And Washing
Fill a basin or sink with warm water and mild dish soap. Place the vent grill into the soapy water. Let it soak for 15 to 20 minutes to loosen dirt. Use a soft brush or sponge to scrub away grease and debris. Clean all corners and slits carefully. Rinse the grill under running water to remove soap.
Drying And Reinstalling
Shake off excess water from the grill. Use a clean towel to dry it well. Allow the grill to air dry completely to prevent moisture inside the microwave. Once dry, align the grill back in its place. Secure it with screws or clips removed earlier. Plug the microwave back in and enjoy a cleaner vent.
Dealing With Tough Grease
Grease buildup in your microwave vent can be stubborn and hard to remove. This tough grease often forms from cooking splatters and steam. Regular cleaning might not be enough to clear it away. Using stronger methods and tools can help restore your vent’s cleanliness and efficiency. Let’s explore safe ways to tackle this problem.
Using Oven Cleaner Safely
Oven cleaner is strong and effective against tough grease. Spray a small amount on the greasy vent surface. Let it sit for a few minutes to break down the grime.
Wear gloves to protect your skin from harsh chemicals. Avoid spraying near electrical parts or control panels. After the cleaner works, wipe the vent with a damp cloth. Rinse well to remove any residue. Always use oven cleaner in a well-ventilated area to avoid breathing fumes.
Alternative Cleaning Tools
Sometimes, tools like brushes and scrapers make cleaning easier. A soft-bristle brush can reach into vent crevices. Use a plastic scraper to gently lift hardened grease.
Microfiber cloths are great for wiping surfaces without scratching. For extra power, mix baking soda and water into a paste. Apply it to greasy spots, let it sit, then scrub gently. These tools help clean without harsh chemicals and protect your microwave vent.
Maintenance Tips
Keeping your microwave vent clean is key to safe cooking and fresh air. Regular maintenance stops grease and dirt from building up. It also helps your microwave last longer. Follow these simple tips to maintain your microwave vent properly.
Cleaning Frequency
Clean your microwave vent at least once a month. If you cook often, clean it more. A monthly schedule prevents grease from hardening. It also keeps your vent working well. Mark your calendar to remind yourself.
Preventing Grease Buildup
Wipe the vent surface after cooking. Use a damp cloth with mild soap. Avoid harsh chemicals that can damage the vent. Keep the vent free from food splashes. This reduces grease buildup and makes deep cleaning easier.
Regular Inspections
Check your microwave vent weekly. Look for grease, dust, or blockages. Inspect filters and fan areas carefully. Replace filters if they look worn out. Early detection helps avoid bigger problems later.

Credit: www.reddit.com
Frequently Asked Questions
How To Clean The Inside Of A Microwave Vent?
Unplug the microwave and remove the vent cover if possible. Wipe inside with a damp cloth. Use a toothbrush with baking soda paste to scrub grease. Rinse the cover in soapy water, dry completely, and reinstall. Clean monthly for best results.
How Often Should You Clean Microwave Vents?
Clean microwave vents monthly to remove grease and debris. Use a brush, warm soapy water, and dry completely before reinstalling. Regular cleaning ensures proper airflow and prevents odors.
How To Clean Grease From A Downdraft Vent?
Unplug the downdraft vent and remove the grease filters. Scrub filters with warm, soapy water and a brush. Rinse and dry completely. Wipe the vent surface with a damp cloth and use a degreaser for stubborn grease. Reassemble once all parts are dry.
Do All Microwaves Have Filters That Need To Be Cleaned?
Not all microwaves have filters needing cleaning. Only over-the-range microwaves with air recirculation fans contain cleanable filters. Countertop models usually lack these filters.
Conclusion
Cleaning your microwave vent keeps your kitchen fresh and safe. Regular care stops grease buildup and bad smells. Simple tools like soap, water, and a brush work well. Make cleaning a monthly habit for best results. Clear vents help your microwave work better and last longer.
Keep your kitchen air clean and enjoy cooking more. Small steps make a big difference in kitchen hygiene. Stay consistent, and your microwave vent will stay spotless.