How to Change Microwave Light: Easy Steps for Quick Fixes
Is your microwave light flickering or completely out? It’s a common problem that can make cooking and reheating food less convenient than it should be.
But here’s the good news: changing your microwave light is easier than you think. Whether you want to brighten up your kitchen or simply need to fix that dim bulb, you can do it yourself quickly and safely. In this guide, you’ll learn simple, step-by-step instructions to replace your microwave light without hassle.
Keep reading, and you’ll be back to cooking with a clear view in no time!

Credit: www.youtube.com
Microwave Light Types
Microwave lights help you see your food while it cooks. Different microwaves use different types of lights. Knowing the type helps in choosing the right replacement. The common types are incandescent, halogen, and LED lights. Each type has its own features and benefits.
Incandescent Bulbs
Incandescent bulbs are the oldest type used in microwaves. They produce a warm, yellowish light. These bulbs work by heating a wire inside until it glows. They use more energy and get hotter than other types. Replacing them is usually simple and cheap. Many older microwaves still use incandescent bulbs.
Halogen Bulbs
Halogen bulbs are a type of incandescent bulb. They are brighter and last longer. These bulbs use a special gas that helps the filament burn hotter and more efficiently. Halogen lights give a whiter and clearer light than regular incandescent bulbs. They are common in mid-range microwave models. They run hotter but save some energy.
Led Lights
LED lights are the newest and most energy-efficient option. They use very little power and stay cool. LEDs produce a bright, white light that spreads evenly. They last much longer than incandescent and halogen bulbs. Many modern microwaves come with built-in LED lights. Sometimes, these lights cannot be replaced easily and need special parts.

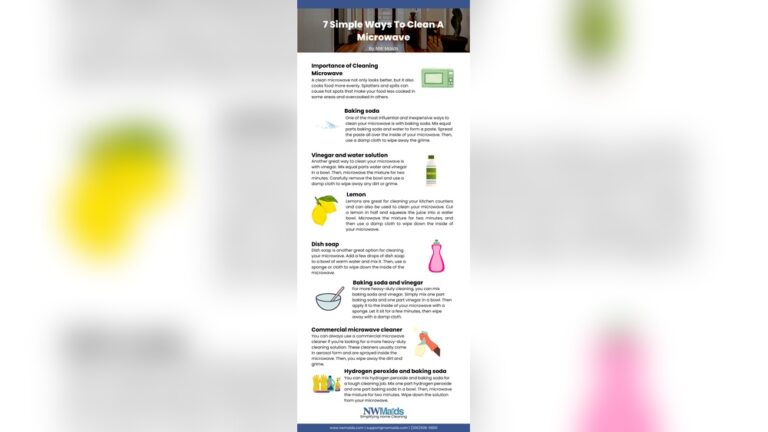
Credit: microwaveexpert.wordpress.com
Safety Precautions
Changing the microwave light requires care. Safety precautions protect you from electric shock and injury. Follow these steps to keep the task safe and simple.
Unplugging The Microwave
Always unplug the microwave before starting. This cuts power to the appliance. It stops any electric current from flowing while you work. Never rely on just the microwave’s off button. Pull the plug from the wall socket to ensure full disconnection.
Handling Bulbs Safely
Microwave bulbs can get hot. Let the bulb cool before touching it. Use a cloth or gloves to avoid burns. Handle the bulb gently to prevent breakage. If the bulb breaks, avoid touching glass shards with bare hands. Clean the area carefully to remove all debris.
Locating The Bulb
Finding the microwave light bulb is the first step to change it. Different microwave models place the bulb in various spots. Knowing where to look helps you work faster and safer. This section explains common locations for the microwave bulb.
Inside The Microwave
Some microwave bulbs are inside the cooking cavity. Open the microwave door and check the top or side walls. Look for a small, clear cover protecting the bulb. Usually, it has screws or clips holding it in place. Remove these carefully to access the bulb.
Under The Microwave
Other models place the light bulb underneath the microwave. Stand back and look below the unit. You might see a vent cover or a panel secured with screws. This cover hides the bulb and some electrical parts. Use a screwdriver to remove the cover and find the bulb inside.
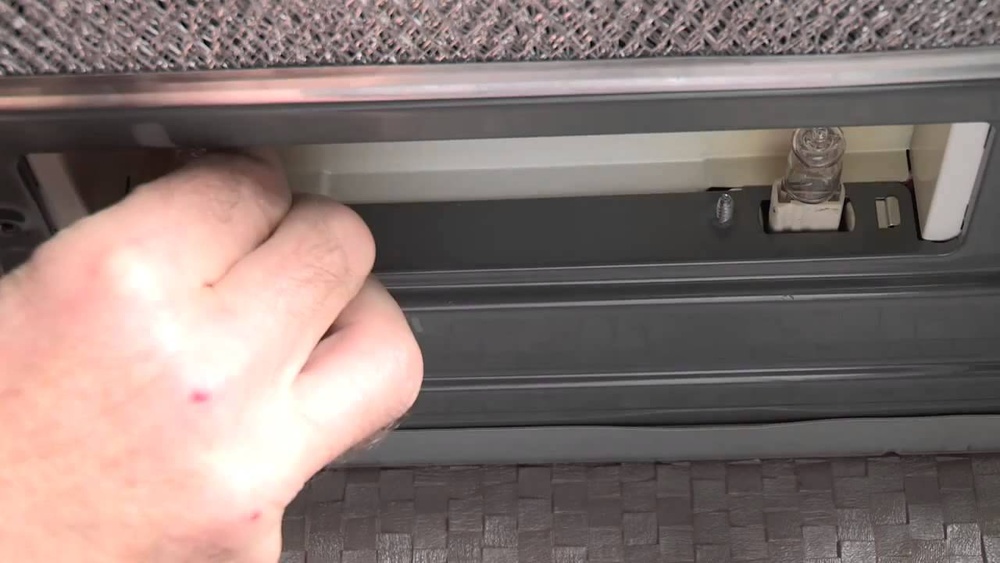
Behind The Vent Cover
The vent cover often hides the microwave bulb. It may be on the front or underneath the microwave. The vent helps air flow but also protects the bulb. Remove the vent cover by unscrewing or unclipping it. Behind it, you will find the bulb ready for replacement.

Credit: theappliancepros.ca
Removing The Cover
Removing the cover is the first step to access the microwave light bulb. The cover protects the bulb and keeps it in place. It usually attaches with screws or clips. Take your time and be gentle to avoid damage. Follow the instructions below to remove it safely.
Unscrewing Retaining Screws
Look for small screws holding the cover on. Use a screwdriver that fits the screw heads well. Turn the screws counterclockwise to loosen them. Keep the screws safe for reassembly. Sometimes, screws may be hidden under labels or vents. Check carefully before trying to remove the cover.
Releasing Clips And Latches
Some microwave covers use clips or latches instead of screws. Find the edges where the cover locks in place. Press or pull gently on the clips to release them. Avoid using too much force to prevent breaking the plastic. Once the clips release, carefully lift off the cover. This will give you clear access to the light bulb inside.
Replacing The Bulb
Changing a microwave light requires special care beyond basic bulb replacement. Different microwave models have unique lighting systems. Some use built-in LEDs, which cannot be changed like regular bulbs. Using the wrong bulb type can cause damage or poor performance. Knowing when to call a professional helps avoid risks. Follow specific guidelines for your appliance to ensure safety and success.
Models With Built-in Leds
Many modern microwaves use built-in LED lights. These LEDs often last for years and are not designed to be replaced. Trying to remove or change them can damage the microwave. If your light stops working, check the warranty or contact the manufacturer. Often, the entire light module or microwave must be replaced.
When To Seek Professional Help
Some microwave models require disassembly to reach the light bulb. This can be tricky and risky. Electrical parts inside the microwave pose shock hazards. If you feel unsure or the bulb is hard to access, call a repair technician. Professionals have tools and knowledge to change the light safely. Avoid forcing parts to prevent damage or injury.
Using Appliance-specific Bulbs
Microwave lights need special bulbs made for high heat and electrical safety. Regular bulbs can burn out quickly or cause sparks. Always check your microwave’s manual for the correct bulb type and wattage. Purchase bulbs made for microwaves or similar appliances. Proper bulbs ensure long life and safe operation of your microwave light.
Frequently Asked Questions
Can You Change The Light In The Microwave?
Yes, you can change a microwave light bulb if the model allows easy access. Always unplug first. Use the correct bulb type and wattage. Some modern microwaves have non-replaceable LEDs or need professional help for replacement. Check your manual for specific instructions.
What Does It Mean When The Microwave Light Goes Out?
The microwave light going out usually means the bulb burned out or has a loose connection. Replace the bulb safely.
What Kind Of Lightbulb Goes Under A Microwave?
Use appliance-specific incandescent or halogen bulbs under microwaves. Check your model’s manual for exact type and wattage. Always unplug before replacing. Many modern microwaves use non-replaceable LEDs requiring professional service. Handle bulbs carefully and avoid standard household bulbs to withstand heat safely.
Conclusion
Changing the microwave light is simple with the right steps. Always unplug your microwave before starting. Use the correct bulb type and wattage to avoid damage. Follow your microwave’s manual for model-specific advice. Taking safety precautions ensures a smooth process.
A bright microwave light helps you cook with ease. Now, your microwave should work like new again.