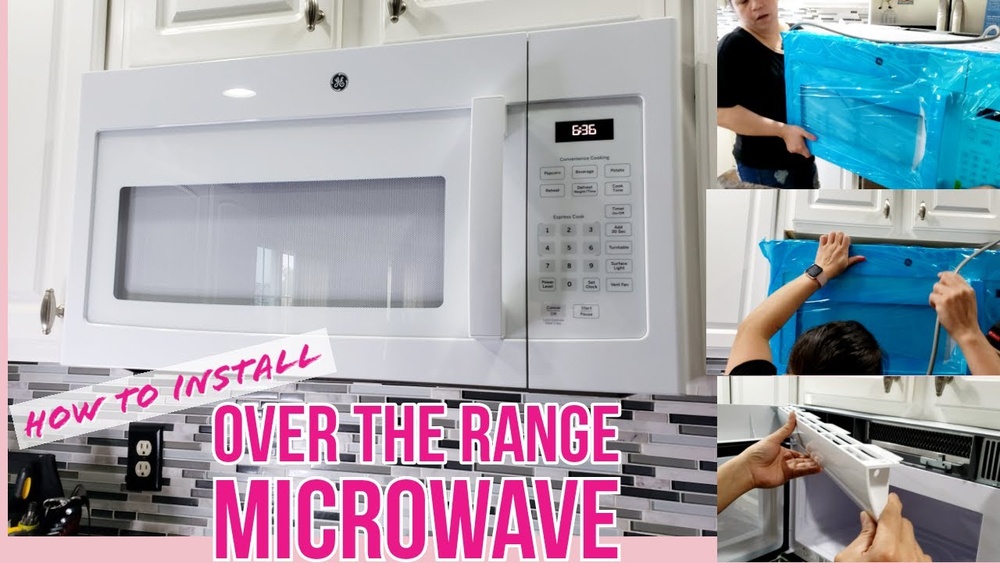
How to Install a Ge Microwave Over the Stove: Easy Step-by-Step Guide
Looking to upgrade your kitchen with a GE microwave over the stove? Installing one yourself might seem tricky, but with the right tools and guidance, you can do it safely and efficiently.
Whether you want to free up counter space or improve your cooking setup, this step-by-step guide will walk you through the entire process. From gathering the necessary tools to mounting the microwave securely, you’ll learn exactly what to do—and what to watch out for.
Ready to take control and install your GE microwave like a pro? Keep reading to discover how simple and rewarding this project can be!
Tools And Materials
Gathering the right tools and materials is crucial before installing your GE microwave over the stove. Proper preparation ensures a smooth installation process. It also helps avoid delays and potential safety issues. Below is a clear guide on what you need.
Essential Tools
- Power drill with drill bits
- Phillips and flathead screwdrivers
- Stud finder to locate wall studs
- Measuring tape for accurate placement
- Level to keep the microwave straight
- Socket wrench or adjustable wrench
- Pencil to mark measurements
Mounting Hardware
- Mounting bracket specific to your GE microwave model
- Screws and bolts included in the microwave package
- Toggle bolts for drywall installation (if no studs found)
- Anchors to secure screws firmly
Safety Equipment
- Safety glasses to protect your eyes
- Work gloves for hand protection
- Step ladder to reach mounting height safely
- Mask to avoid dust inhalation
Preparation Steps
Proper preparation makes installing a GE microwave over the stove easier and safer. Follow these steps to prepare your kitchen and tools before starting the installation. Taking time on preparation helps avoid mistakes and damage.
Measure Space And Clear Area
Measure the space above your stove carefully. Check width, height, and depth to ensure the microwave fits well. Remove all items from the area. Clear the countertop and stove surface. This gives you room to work and prevents accidents.
Check Electrical Requirements
Verify your kitchen’s electrical outlet matches the microwave’s power needs. Most microwaves require a dedicated 120-volt, 15- or 20-amp circuit. Confirm the outlet is grounded and close to the microwave location. This step avoids electrical problems later.
Turn Off Power
Turn off the power to the kitchen circuit at the breaker box. This stops electricity flow to the microwave area. Use a voltage tester to confirm power is off. Safety is critical to avoid shocks during installation.
Protect Your Cooktop
Place a thick towel or drop cloth over your stove surface. This protects the cooktop from scratches and dents. It also catches any falling screws or tools. Keeping your cooktop safe saves repair costs and frustration.
Removing Old Microwave
Removing the old microwave is the first important step before installing your new GE microwave over the stove. This process requires care and attention to safety. You need to disconnect the power and handle the unit carefully to avoid damage or injury. Follow these simple steps to remove the old microwave safely and efficiently.
Unplug And Support Unit
Start by unplugging the microwave from the electrical outlet. Do not skip this step to avoid electrical shock. Have a helper stand by to support the microwave. This unit can be heavy and awkward to hold alone. Supporting the microwave prevents it from falling during removal.
Remove Mounting Screws
Locate the mounting screws that hold the microwave to the wall and cabinet. Use a screwdriver or drill to remove these screws carefully. Keep the screws in a safe place in case you need them later. Removing all screws will free the unit from its fixed position.
Carefully Detach Microwave
With the mounting screws removed and your helper supporting the weight, gently pull the microwave away from the wall. Be cautious to avoid hitting the stove or cabinets. Lower the microwave slowly and place it on a sturdy surface. Your old microwave is now ready for disposal or recycling.

Credit: www.youtube.com
Mounting Bracket Installation
Mounting bracket installation is a crucial step when installing a GE microwave over the stove. The bracket supports the microwave’s weight and keeps it securely in place. Precise installation ensures safety and proper function of the microwave. Follow these steps carefully for a successful setup.
Use Template For Hole Placement
Start by using the paper template included with your microwave. Tape it on the wall above the stove. Make sure it aligns with your cabinet edges. This template shows exact spots for drilling holes. Mark the hole locations clearly with a pencil.
Locate And Mark Studs
Studs provide strong support for the heavy microwave. Use a stud finder to locate vertical studs behind the wall. Mark the center of each stud near the hole marks. The mounting bracket must be attached to these studs for stability and safety.
Drill Pilot Holes
Drill small pilot holes at the marked locations on the wall. Pilot holes guide screws and prevent the wall from cracking. Use a drill bit slightly smaller than the screw diameter. Drill carefully and keep the holes straight for easy bracket attachment.
Attach And Level Bracket
Hold the mounting bracket against the wall, aligning holes with pilot holes. Insert screws and tighten securely into the studs. Use a level to check the bracket is perfectly horizontal. Adjust screws if needed. A level bracket ensures the microwave will sit evenly and operate properly.
Vent Adjustment
Proper vent adjustment is crucial for your GE microwave over the stove. It ensures smoke, steam, and odors exit your kitchen efficiently. Venting also protects your walls and cabinets from moisture buildup. Follow these steps to set up the vent system correctly.
External Vent Setup
External venting directs air outside your home. First, check if your kitchen has an existing vent duct. If yes, connect the microwave vent to this duct. Use a vent cap on the outside wall to prevent pests and rain from entering. Seal all joints with foil tape for a tight fit. This setup removes cooking fumes effectively.
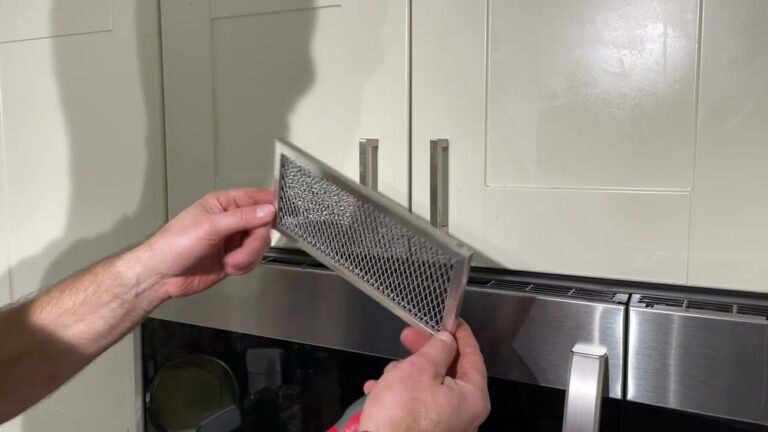
Recirculating Vent Setup
Recirculating vents filter air and release it back indoors. Install charcoal filters inside the microwave if it supports this mode. These filters trap smoke and odors but do not remove heat or moisture. This option works well if external venting is impossible. Replace charcoal filters every few months to keep air fresh.
Connect Ductwork
Proper ductwork connection prevents leaks and improves airflow. Use rigid or semi-rigid metal ducts for best results. Avoid flexible plastic ducts as they reduce efficiency. Attach the duct securely to the microwave’s vent outlet. Use metal foil tape to seal all connections tightly. Ensure the duct runs straight with minimal bends to maintain good airflow.

Credit: manuals.plus
Hanging New Microwave
Hanging the new GE microwave over your stove is a key step in the installation process. It requires care and teamwork to ensure the microwave fits securely and safely. This section guides you through lifting, positioning, and mounting the microwave properly. Follow each step closely for the best results.
Lift With Helper
Ask a helper to assist you in lifting the microwave. The unit is heavy and awkward to hold alone. Lift it carefully to avoid injury or damage. Hold the microwave firmly on both sides and raise it to the mounting height.
Position Power Cord
Before hanging, position the power cord near the electrical outlet. Make sure it is not pinched or tangled. The cord should have enough slack to plug in easily once the microwave is mounted.
Hook Onto Bracket
Line up the microwave’s mounting holes with the wall bracket. Carefully hook the microwave onto the bracket. Ensure it sits securely before releasing your hold. This step locks the microwave in place and supports its weight.
Fill Gaps For Flush Fit
Check the gaps between the microwave and the cabinet or wall. Use shims or spacers to fill any uneven spaces. This ensures the microwave sits flush and looks neat. Tighten screws to secure the unit firmly in place.
Securing Microwave
Securing the microwave is a vital step to ensure safety and proper use. The microwave must hold firmly to avoid accidents or damage. Follow the steps carefully to secure your GE microwave over the stove.
Drive Mounting Screws
Start by driving the mounting screws into the wall bracket. Use a drill with the correct bit size for the screws. Tighten the screws until the bracket is secure but avoid over-tightening. This step keeps the microwave firmly attached to the wall studs.
Attach To Upper Cabinet
Next, align the microwave with the upper cabinet mounting holes. Use screws provided with your microwave to attach it to the cabinet bottom. Secure screws evenly to prevent any tilting. This connection supports the microwave’s weight and keeps it steady.
Check Stability
After securing all screws, gently shake the microwave to test stability. It should not move or wobble. Double-check all screws for tightness if you feel any motion. Proper stability ensures safe daily use and protects your kitchen setup.
Final Testing
The final testing step confirms that your GE microwave works correctly. It ensures safety and proper function before regular use. Take your time to check every feature carefully. This step avoids future issues and gives peace of mind.
Restore Power
Turn the circuit breaker back on to restore power to the microwave. Check that the microwave display lights up. If the display stays dark, verify the power connection and outlet. Make sure the microwave is plugged in securely. Power restoration is the first sign of a successful install.
Test Microwave Functions
Run basic functions to check the microwave’s operation. Start with the timer and clock settings. Press the start button to heat a cup of water. Listen for unusual noises during operation. Open and close the door to test the safety lock. Try different power levels for even heating. Ensure the exhaust fan runs smoothly if your model has one.
Tips For Safe Installation
Installing a GE microwave over the stove requires attention to safety. Taking the right precautions keeps you safe and ensures the microwave works well. Follow these tips for a safe installation experience.
Work With A Partner
Always have a partner when installing the microwave. The unit is heavy and awkward to lift alone. A helper can hold the microwave steady during mounting. This reduces the risk of dropping and injury. Two people make the process smoother and safer.
Follow Manufacturer Instructions
Read the GE microwave manual carefully before starting. The instructions show the correct steps and safety rules. Follow each step exactly to avoid mistakes. The manual also covers electrical and venting requirements. Ignoring instructions can cause damage or hazards.
Use Proper Safety Gear
Wear safety glasses to protect your eyes from debris. Use gloves to keep your hands safe from sharp edges. Wear sturdy shoes to avoid foot injuries. Keep tools organized and within reach. Proper safety gear helps prevent accidents during installation.

Credit: www.cowboymaloneys.com
Frequently Asked Questions
Can I Install An Over The Range Microwave Myself?
Yes, you can install an over-the-range microwave yourself with proper tools and a helper. Follow the manufacturer’s instructions carefully for safety and correct venting. Ensure electrical requirements are met and use a drill, level, and stud finder for secure mounting.
Do All Ge Over The Range Microwaves Mount The Same?
Not all GE over-the-range microwaves mount the same. Mounting varies by model and venting options. Always follow the specific installation guide for your microwave model to ensure proper and safe mounting.
How Do You Put Your Microwave Above Your Stove?
Measure and mark mounting points on studs above the stove. Drill pilot holes and install the mounting bracket. Lift the microwave with help, hook it onto the bracket, then secure it with screws under the cabinet. Connect power and adjust the vent as needed.
Conclusion
Installing a GE microwave over the stove improves kitchen space and convenience. Follow each step carefully to ensure safety and proper fit. Use the right tools and ask for help lifting the microwave. Double-check all measurements and electrical connections before starting.
Taking time during installation prevents future problems and keeps your kitchen working smoothly. Enjoy your new microwave and the extra room it creates above your stove.