How to Install a Above Range Microwave: Easy Steps for Success
Looking to upgrade your kitchen with an above-range microwave? Installing one yourself can save you money and give you a real sense of accomplishment.
But before you start, it’s important to know that this project requires some care, the right tools, and a helping hand. You’ll need to measure carefully, find the studs in your wall, and handle a heavy appliance safely. Don’t worry—this guide will walk you through every step, making the process clear and manageable.
By the end, you’ll have your new microwave securely mounted, ready to make cooking easier and your kitchen look sleek. Ready to take control of your kitchen upgrade? Let’s get started!
Credit: www.youtube.com
Tools And Materials
Gathering the right tools and materials is the first step for a smooth microwave installation. Proper equipment makes the task easier and safer. Prepare everything before starting to avoid interruptions.
Essential Tools
Use a power drill with various drill bits to make holes. A screwdriver is needed for screws and mounting brackets. A stud finder locates wall studs for secure mounting. A level ensures the microwave hangs straight. Tape measure helps check distances and clearances. Pencil marks mounting spots clearly.
Mounting Hardware
Most microwaves come with mounting hardware. This includes screws, bolts, and brackets. Check the package to confirm all parts are included. Use anchors if wall studs are not available. Follow the microwave’s manual for hardware specifics. Proper hardware prevents the microwave from falling.
Safety Gear
Wear safety glasses to protect your eyes from dust and debris. Use gloves to keep hands safe from sharp edges. Make sure the work area is well-lit and clean. Turn off the power at the circuit breaker to avoid electric shock. Have a helper to lift the microwave safely.
:strip_icc()/person-bolting-microwave-1d6f6941-9ac1606fe9714ce5a96ca1e412c8626e.jpg)
Credit: www.bhg.com
Preparation Steps
Proper preparation is crucial before installing an above range microwave. It ensures safety and smooth installation. Take time to prepare well. Follow these essential steps for a successful setup.
Measure And Mark
Start by measuring the space above your range. Use the microwave’s template to mark drill holes on the wall. Double-check all measurements for accuracy. Mark the studs where the microwave will attach. Correct markings prevent installation errors and ensure stability.
Check Electrical Requirements
Confirm the power outlet matches the microwave’s needs. The microwave usually requires a grounded 120-volt outlet nearby. Make sure the circuit can handle the microwave’s wattage. If needed, consult an electrician to upgrade wiring before installation.
Protect Cooktop
Cover your cooktop with a soft towel or drop cloth. This protects it from scratches or debris during installation. Keep the area clean and clear of items. Protecting your cooktop avoids damage and keeps your kitchen tidy.
Plan For Assistance
The microwave is heavy and awkward to lift alone. Arrange for a second person to help with the installation. Two people can safely lift, hold, and secure the unit. Planning ahead reduces risk of injury or damage.
Removing Old Microwave
Removing your old above range microwave is the first step in installing a new one. This process requires care to avoid damage to your kitchen walls or cabinets. Properly removing the old unit makes the installation smoother and safer. Follow these simple steps to take out the old microwave efficiently.
Unplug And Support
Start by unplugging the microwave from the electrical outlet. This step is crucial to avoid any electric shock. Next, support the microwave from underneath. It is heavy and could fall once screws are removed. Use a helper or place a sturdy box or stool under it for support.
Remove Mounting Screws
Locate the mounting screws that hold the microwave to the wall and cabinet. These are usually found on the top or inside the microwave’s mounting plate. Use a screwdriver or drill to carefully remove all screws. Keep the screws in a safe place in case you need them later.
Detach From Wall Bracket
After removing the screws, gently lift the microwave to detach it from the wall bracket. This bracket holds the microwave securely in place. Tilt the microwave slightly to release it from the bracket hooks. Have your helper hold the microwave while you free it completely.
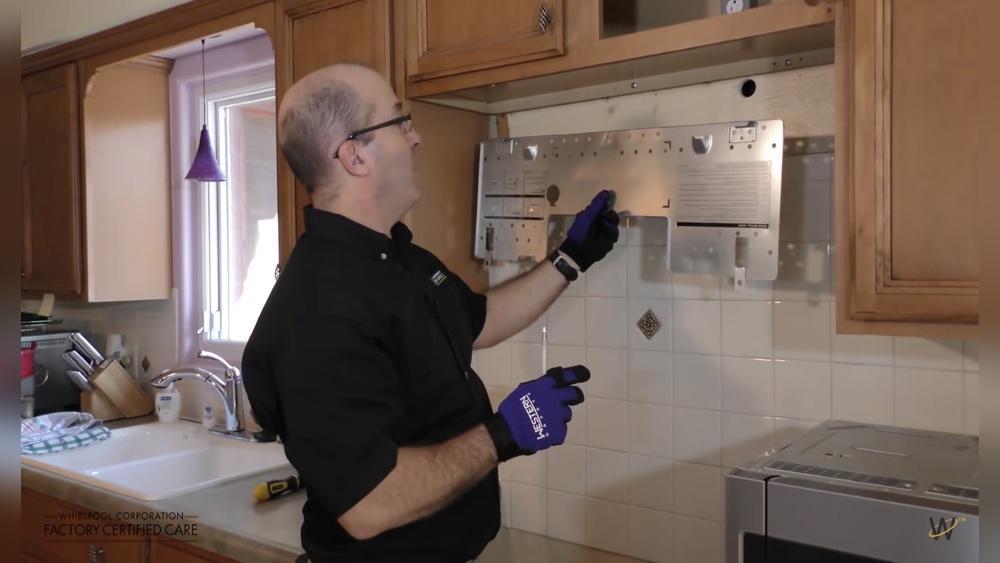
Installing Mounting Bracket
Installing the mounting bracket is a crucial step when fitting your above range microwave. This bracket holds the microwave securely to the wall and ensures it stays level. Taking time to install it properly prevents future issues like wobbling or falling. Follow the steps carefully to make sure the bracket is aligned and strong enough to support the microwave.
Use Template For Marking
Start by taking the mounting template from your microwave box. Tape it firmly on the wall where you want to install the microwave. Check that it is at the right height and centered over the range. Use a pencil to mark all the drill points shown on the template. These marks guide you where to drill holes for the bracket screws.
Locate Studs
Use a stud finder to locate the wall studs behind your marks. The bracket must attach to these studs for strong support. Move the template slightly if your original marks do not line up with studs. Studs usually appear every 16 or 24 inches. Mark the stud positions clearly with your pencil.
Drill Pilot Holes
Choose a drill bit smaller than your screws and drill pilot holes at the pencil marks on the studs. Pilot holes make it easier to drive screws and prevent wood from splitting. Drill straight into the wall at each mark. Make sure holes are deep enough to fit the entire screw length.
Attach And Level Bracket
Hold the mounting bracket against the wall, aligning holes with the pilot holes. Use a level to check the bracket is perfectly horizontal. Screw the bracket into the studs tightly but avoid over-tightening. Confirm the bracket does not move or tilt. It must be stable to hold the microwave safely.
Adjusting Vent System
Adjusting the vent system is a crucial step when installing an above range microwave. The vent directs cooking smoke, steam, and odors either outside or back into the kitchen. Proper vent adjustment ensures good air quality and prevents damage to cabinets and walls. This step depends on the type of vent system your microwave supports.
External Vent Setup
An external vent pushes air outside through ductwork. Begin by locating the vent duct on the back or top of the microwave. Connect this duct to the house’s existing vent pipe. Use metal tape or clamps to secure the connection tightly. Avoid flexible plastic ducts as they reduce airflow and can catch fire. Check the vent path is clear and straight to improve efficiency. Seal any gaps around the duct to stop air leaks. Finally, test the vent fan to confirm it pulls air outside smoothly.
Recirculating Vent Setup
Recirculating vents filter air and send it back into the kitchen. This setup is common when an external vent is unavailable. Install charcoal or carbon filters inside the microwave according to the manual. These filters trap odors and grease from cooking fumes. Make sure the filters are clean and properly seated. The vent cover should be reattached to allow air circulation inside the microwave. Replace the filters every few months to maintain fresh air. This system is easier to install but less effective at removing moisture and heat.
Credit: www.lowes.com
Hanging The New Microwave
Hanging the new microwave is a key step in your installation process. It requires care to align and secure the unit properly. This ensures safety and optimal function. Prepare the space and have a helper ready to lift the microwave. Follow the instructions closely to avoid damage or injury.
Lift With Helper
Have one person hold the microwave from the bottom. The other person supports the side or top. Lift the microwave together slowly and steadily. Avoid tilting or twisting the appliance. Position it near the mounting bracket on the wall. This teamwork makes the process safer and easier.
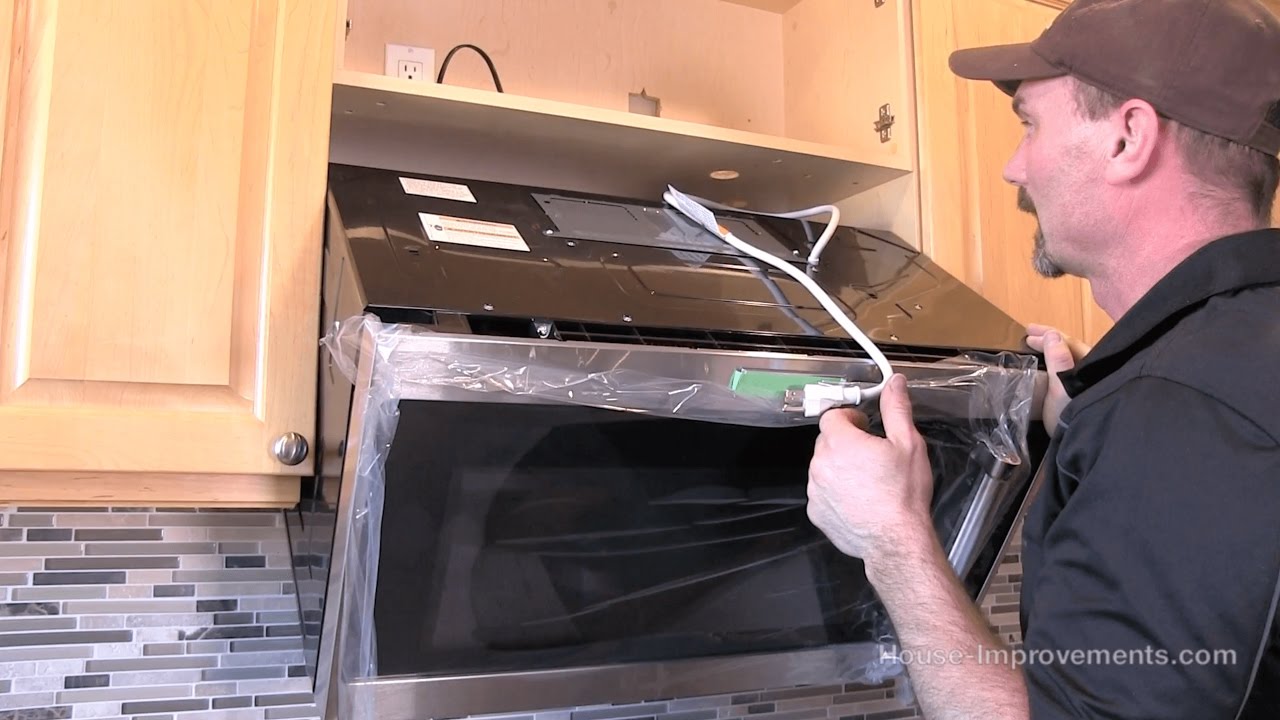
Position Power Cord
Before fully hanging the microwave, locate the power cord. Make sure it can reach the electrical outlet without strain. Feed the cord through the designated hole or slot on the back. Keep it clear of sharp edges or moving parts. Proper cord positioning prevents damage and power issues later.
Use Wood Blocks If Needed
Wood blocks can support the microwave during installation. Place them on the countertop beneath the microwave’s front edge. This holds the weight and frees your hands to secure screws. Adjust block height to keep the microwave level. Remove the blocks only after the unit is firmly mounted.
Securing Microwave
Securing the microwave is a crucial step in the installation process. It ensures the appliance stays stable and safe during use. Properly securing your microwave prevents accidents and damage. Follow these simple steps carefully to fix your microwave above the range.
Drive Mounting Screws
Locate the mounting plate on the back of the microwave. Align it with the pre-drilled holes on the wall bracket. Use a drill to drive the mounting screws through the plate into the wall studs. Tighten each screw firmly but avoid over-tightening. The screws hold the microwave’s weight securely on the wall. Double-check that the microwave is level before fully tightening the screws.
Attach To Upper Cabinet
Open the cabinet above the microwave. Find the mounting holes inside the bottom panel of the cabinet. Use a drill to drive the screws through these holes into the microwave’s top mounting bracket. This connection stabilizes the microwave and prevents forward movement. Make sure the screws are secure to keep the microwave firmly attached. Check that the unit does not wobble after securing it.
Final Checks
After securing your above range microwave, perform final checks to ensure safety and functionality. These steps confirm the installation is complete and ready for daily use. Follow each check carefully for the best results.
Restore Power
Switch the circuit breaker back on to restore electricity. Check the microwave’s power indicator light or display panel. Make sure the unit receives power without any issues. Avoid using extension cords or power strips for safety reasons.
Test Microwave Function
Open and close the microwave door to test the latch. Set the microwave to run for 30 seconds at a low power level. Listen for unusual noises and watch for proper heating. Test the vent fan and light to confirm they work. Ensure the control panel responds correctly to commands.
Frequently Asked Questions
Can I Install An Over The Range Microwave Myself?
Yes, you can install an over-the-range microwave yourself. It requires two people, proper tools, and following the manufacturer’s instructions carefully. Ensure electrical compatibility and secure mounting into wall studs for safety and stability.
Do I Need An Electrician To Install An Over The Range Microwave?
An electrician is recommended to install an over-the-range microwave for proper wiring and safety. DIY installation requires electrical knowledge and tools.
What Holds An Over The Range Microwave In Place?
An over-the-range microwave stays secure by a mounting bracket attached to wall studs and screws into the upper cabinet. The bracket supports the microwave’s weight while the screws hold it firmly in place. Proper installation ensures stability and safety during use.
Conclusion
Installing an above range microwave can improve your kitchen’s function and style. Follow each step carefully for safety and success. Use the right tools and ask for help when lifting the microwave. Double-check all measurements and electrical connections before starting.
Taking your time ensures a secure and proper fit. Enjoy your new microwave and the extra space it creates. With patience, this project becomes manageable and rewarding.