How to Change Handle on Ge Microwave: Easy Step-by-Step Guide
Is your GE microwave handle broken or loose? Don’t worry—you can fix it yourself without calling a repair technician.
Changing the handle on your GE microwave is easier than you might think. With a few simple tools and clear steps, you’ll have your microwave door looking and working like new again. In this guide, you’ll learn exactly how to safely remove the old handle and install a replacement that fits perfectly.
Follow along, and by the end, you’ll save time and money while restoring your microwave’s convenience. Ready to get started? Let’s dive in!

Credit: www.amazon.com
Safety Precautions
Changing the handle on your GE microwave requires careful attention to safety. Handling electrical appliances without proper precautions can cause injury or damage. Follow these safety steps closely before starting the repair.
Taking simple safety measures protects you and your microwave during the handle replacement process. Prepare everything you need in advance to avoid hazards.
Unplugging The Microwave
Always unplug the microwave from the power outlet first. This stops any electrical current from flowing while you work. Never rely on just turning off the microwave or using the control panel.
Unplugging ensures your safety from electric shock. Double-check the cord is fully disconnected before proceeding.
Gathering Tools And Materials
Collect all tools needed before starting the job. Typically, you will need a Phillips head screwdriver and a putty knife. A replacement handle specific to your GE microwave model is essential.
Check your microwave’s model number to order the correct handle. Having proper tools ready helps the repair go smoothly and safely.

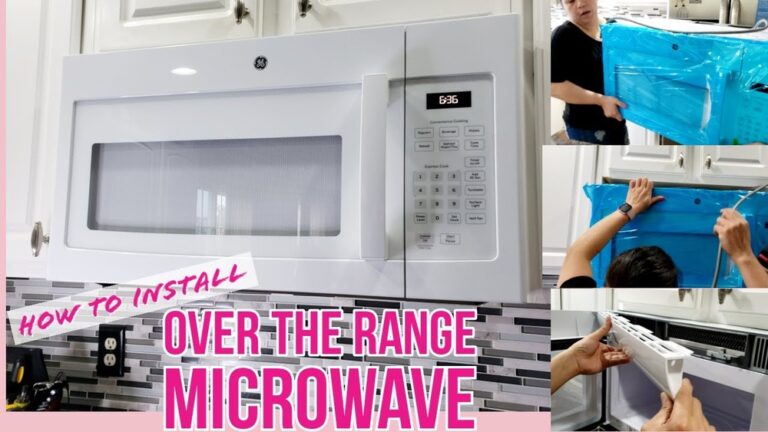
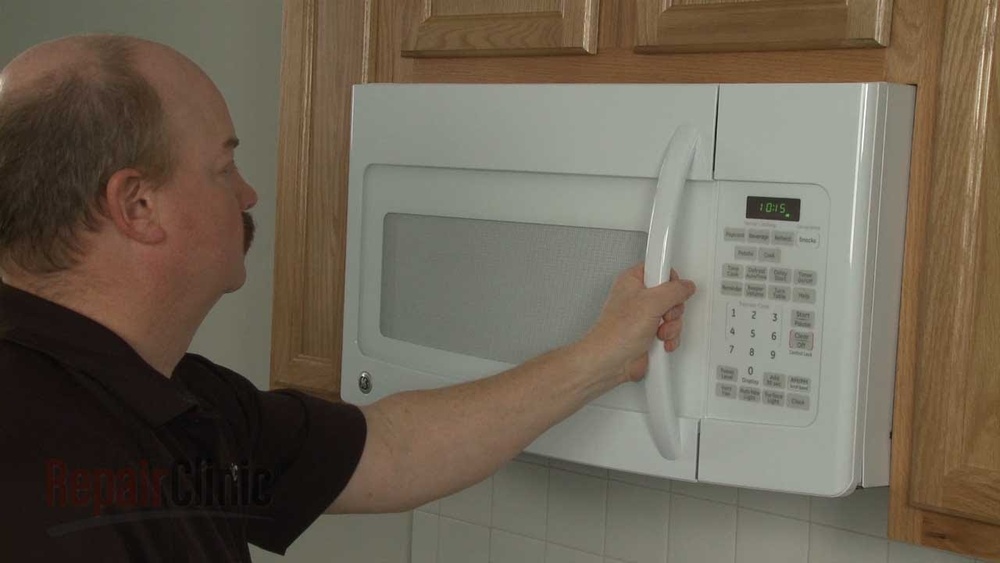
Credit: www.youtube.com
Finding The Right Handle
Finding the right handle for your GE microwave is essential for a smooth repair. The handle must fit perfectly to ensure safe and easy operation. Using the correct replacement part avoids damage and extra costs. Start by identifying your microwave’s model number. This helps in selecting a compatible handle. Next, order the handle from a trusted supplier. Checking compatibility avoids installation problems and ensures durability.
Locating The Model Number
The model number is usually inside the microwave door frame. Open the door and look on the sides or top edge. It appears as a series of letters and numbers. Write down this model number exactly as it appears. This number is key to finding the right replacement handle. Without it, you might order a part that does not fit.
Ordering A Compatible Replacement
Use the model number to search for the handle online or in stores. Choose a handle that matches your microwave’s model. Check product details to confirm compatibility. Buy from reliable sellers to ensure quality parts. Avoid generic handles as they may not fit well. A compatible handle guarantees easy installation and long-lasting use.
Removing The Old Handle
Removing the old handle from your GE microwave is the first step in the replacement process. This task requires some care to avoid damaging the door. Follow each step carefully to ensure a smooth removal. Make sure the microwave is unplugged before you start. Safety comes first.
Prying Off Door Trim
Start by gently prying off the door trim. Use a flat tool like a putty knife or flathead screwdriver. Slide the tool between the trim and the door frame carefully. Work slowly to avoid bending or breaking the trim. Once loose, lift the trim off to expose the screws underneath.
Unscrewing Mounting Screws
Locate the screws that hold the handle in place. Use a Phillips head screwdriver to remove them. Keep the screws in a safe place for reassembly. Check if any screws are hidden under stickers or plastic covers. Remove all screws fully before trying to remove the handle.
Detaching The Handle
After all screws are removed, gently pull the handle away from the door. It should come off easily without much force. If it feels stuck, double-check for any missed screws or clips. Remove the handle completely to prepare for installing the new one. Handle this part with care to avoid scratching the microwave door.
Installing The New Handle
Installing the new handle on your GE microwave is a straightforward process. It ensures your microwave looks good and works properly. Follow each step carefully to avoid damage and secure the handle firmly.
Aligning The Handle
Start by positioning the new handle against the microwave door. Match the screw holes on the handle with the holes on the door. Check that the handle sits evenly and straight. Proper alignment makes installation easier and ensures the handle works well.
Hand-threading Screws
Insert the screws into the holes by hand first. Turn them slowly to avoid cross-threading. Hand-threading helps prevent stripping the screw heads or damaging the door. This step allows you to adjust the handle’s position if needed.
Tightening Without Damage
Use a screwdriver to tighten the screws gently. Do not force them too hard. Tighten until the handle feels secure but avoid over-tightening. Too much pressure can crack the door or strip the screws. Check the handle’s stability before finishing.
Reassembling The Door
Reassembling the door of your GE microwave is a key step after changing the handle. This process ensures the door fits securely and works properly. Handle the pieces with care to avoid damage. Follow the steps below to put everything back together smoothly.
Snapping Trim Back
Start by aligning the trim pieces correctly on the door. Press the trim gently but firmly. You should hear a soft click as the trim snaps into place. Check all edges to confirm the trim is secure and even. Avoid forcing the trim to prevent cracking or bending.
Replacing Screw Covers
Next, place the screw covers over the screws on the door. These covers protect the screws and give a clean look. Press each cover firmly until it fits snugly. Make sure none of the covers are loose. This step keeps the door looking neat and finished.
Testing And Troubleshooting
Testing and troubleshooting are key steps when changing the handle on your GE microwave. These steps help ensure the new handle fits securely and functions well. Careful testing avoids future problems and keeps your microwave safe to use.
Checking Handle Security
After installing the new handle, check its stability. Gently pull the handle to see if it moves or feels loose. A firm handle means it is properly secured. Tighten screws if you notice any wobbling. A secure handle prevents accidents and damage.
Dealing With Stuck Screws
Some screws may be hard to remove due to rust or tightness. Use a screwdriver that fits well to avoid stripping the screws. Apply a small amount of penetrating oil if the screws do not turn easily. Let it sit for a few minutes, then try again. Avoid forcing screws to prevent damage.
Handling Difficult Trim Removal
The trim around the microwave door can be tricky to remove. Use a thin, flat tool like a putty knife to gently pry the trim. Work slowly to avoid cracking or bending the trim. If it feels stuck, check for hidden screws or clips holding it in place. Careful removal protects your microwave’s appearance.
Removing The Door If Needed
Some GE microwave models require door removal for full handle access. To remove the door, open it fully and locate the hinge pins. Carefully lift or slide out the pins to release the door. Place the door on a soft surface to avoid scratches. Removing the door makes handle replacement easier and safer.
Helpful Tips
Changing the handle on your GE microwave can be easier with some helpful tips. These tricks help protect your microwave and make the process smoother. They also save time and reduce frustration. Here are a few practical tips to keep in mind during the handle replacement.
Using Lubricants
Apply a small amount of lubricant to the screws and joints. This makes removing old screws easier. It also prevents stripping or breaking the screws. Use a silicone-based lubricant or light oil. Avoid harsh chemicals that can damage plastic parts.
Applying Gentle Heat
Use gentle heat to soften any adhesive or plastic parts. A hairdryer works well for this. Heat the area for a few minutes before prying off trim or removing the handle. This reduces the risk of cracking or breaking parts. Do not use high heat or open flames.
Using Proper Tools
Choose the right tools for the job. A Phillips head screwdriver is often needed for screws. A plastic pry tool helps remove trim without scratching the surface. Avoid metal tools that can cause damage. Having the correct tools speeds up the process and keeps your microwave safe.

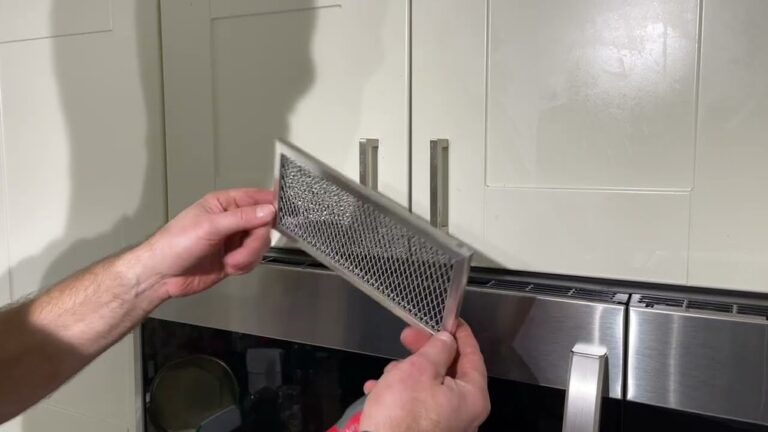
Credit: maiamidwifery.com
Frequently Asked Questions
How Do I Change The Handle On A Ge Microwave?
Unplug the microwave for safety. Pry off the door trim gently. Unscrew the handle screws with a Phillips screwdriver. Remove the old handle and position the new one. Tighten screws without overtightening. Snap the trim back on. Plug in and test the new handle.
Can You Replace Just The Handle On A Microwave?
Yes, you can replace just the microwave handle. First, unplug the microwave for safety. Then, remove the door trim to access screws. Unscrew the old handle and install the new one. Some models may require removing the entire door for easier access.
Can You Reverse The Door On A Microwave?
Yes, many microwaves allow door reversal by unscrewing and repositioning hinges. Check your model’s manual for instructions.
Conclusion
Changing the handle on your GE microwave is simple with the right steps. Always start by unplugging the microwave for safety. Carefully remove the trim to access the screws. Unscrew the old handle and replace it with the new one.
Make sure the new handle fits your model. Tighten the screws firmly but gently. This small fix can make your microwave look new again. Follow these steps, and you will save time and money. A repaired handle keeps your microwave safe and easy to use.