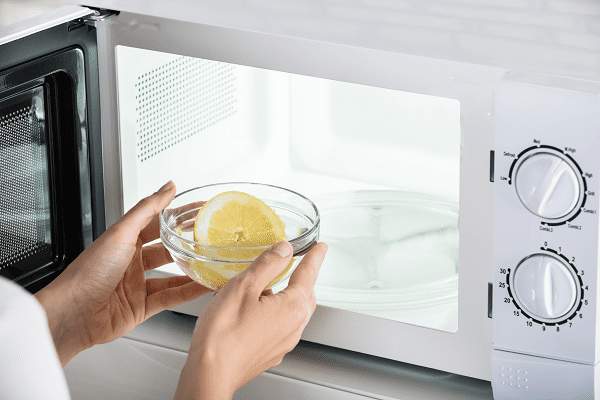
How to Change Microwave Light Bulb Whirlpool: Easy Step-by-Step Guide
Is the light inside your Whirlpool microwave suddenly gone out? You might think it’s a big problem, but often it’s as simple as replacing the bulb.
Knowing how to change the microwave light bulb yourself can save you time and money while keeping your kitchen running smoothly. In this guide, you’ll get easy, step-by-step instructions tailored specifically for Whirlpool microwaves. Whether you’re a beginner or just want a quick refresher, we’ll help you safely and confidently fix your microwave light so you can see your food cooking clearly again.
Keep reading to learn exactly what you need to do!
Microwave Light Bulb Types
Choosing the right type of light bulb for your Whirlpool microwave is important. The bulb must handle the microwave’s heat and fit correctly. Different bulb types offer various benefits and drawbacks. Understanding these will help you pick the best replacement bulb for your microwave.
Incandescent Vs Led Bulbs
Incandescent bulbs are common in microwaves. They produce warm light but use more energy. These bulbs get hot quickly and may burn out faster.
LED bulbs last longer and use less power. They run cooler, which suits microwave use well. Some microwaves may not support LED bulbs, so check your model.
Heat Resistance Importance
Microwave bulbs must resist high heat inside the oven. Heat-resistant bulbs prevent damage and extend bulb life. Using non-heat-resistant bulbs can cause early failure.
Look for bulbs labeled as heat resistant or designed for microwave use. This ensures safety and reliable performance.
Dimmable Bulb Options
Some microwaves allow dimmable bulbs to adjust brightness. Dimmable bulbs offer better control of light levels.
Not all microwave bulbs support dimming. Verify your microwave’s compatibility before buying dimmable bulbs. Proper dimmable bulbs improve comfort while cooking.
Finding The Right Bulb
Finding the right bulb is the first step to fix your Whirlpool microwave light. Using the correct bulb ensures safety and proper function. Different models need specific bulbs. Choosing the wrong one can cause damage or poor lighting.
Check The Microwave Manual
The manual shows the exact bulb type for your microwave. It lists the size, wattage, and style needed. If you lost the paper manual, check online for a digital copy. The manual helps avoid mistakes and saves time.
Model-specific Bulb Requirements
Whirlpool microwaves use bulbs with specific features. Some need halogen bulbs, others use incandescent. Wattage usually ranges from 15 to 40 watts. Socket type and shape vary by model. Match these details to your microwave for a perfect fit.
Where To Buy Replacement Bulbs
Buy bulbs from appliance stores or online shops. Official Whirlpool parts stores offer exact matches. General retailers may also have compatible bulbs. Always check the bulb specifications before purchase. Keep the old bulb handy to compare when buying.
Preparing To Replace The Bulb
Preparing to replace the microwave light bulb is the first step in a smooth repair. It sets the stage for safety and efficiency. This preparation helps avoid accidents and saves time during the process.
Unplugging The Microwave
Always unplug the microwave before starting any work. This cuts power to the unit and stops any chance of electric shock. Even if the microwave is off, it can still carry electricity inside. Unplugging is simple but crucial.
Gathering Necessary Tools
Collect all tools before opening the microwave. Usually, you need a screwdriver, a new bulb, and possibly gloves. Using the right bulb type is important for proper fit and function. Keep tools within reach to avoid interruptions.
Safety Precautions
Wear gloves to protect your hands from sharp edges. Avoid touching the bulb glass with bare fingers to prevent damage. Work in a well-lit area so you can see clearly. Take your time and handle parts gently to avoid breaking anything.
Credit: ars.repair
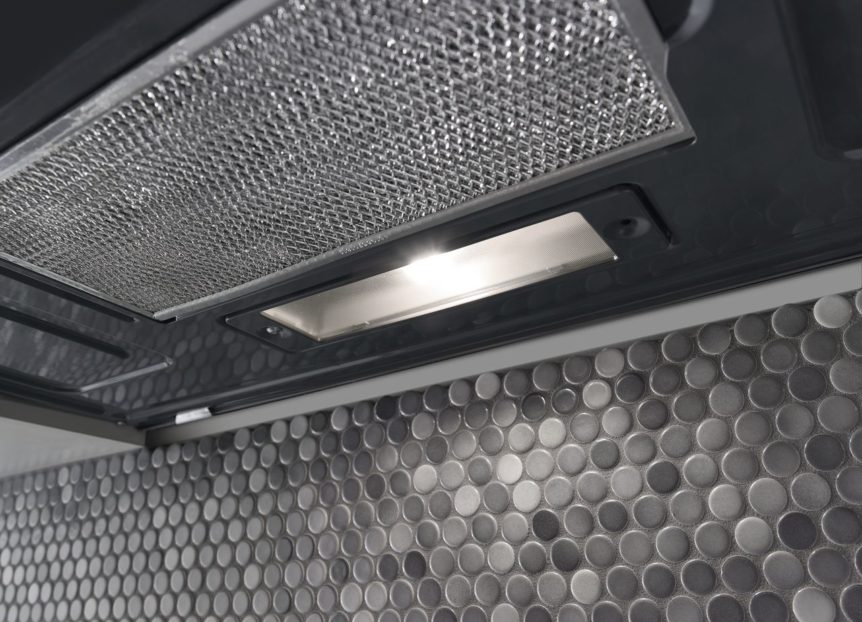
Removing The Light Cover
Removing the light cover is the first step to change the microwave bulb. This part protects the bulb and keeps it in place. Handle it carefully to avoid damage or injury.
Locating The Cover
Open the microwave door fully. Look inside at the top or side walls. The light cover is usually a small plastic or glass panel. It may have screws or clips holding it.
Using A Screwdriver Safely
Use a flathead or Phillips screwdriver matching the screw type. Turn screws slowly to avoid stripping them. Keep the microwave unplugged to avoid electric shock. Do not force screws loose.
Handling The Hinged Cover
Some covers are attached with a hinge. Once screws are loose, gently pull the cover open. Support the cover with your hand to stop it from falling. Set the cover aside carefully.
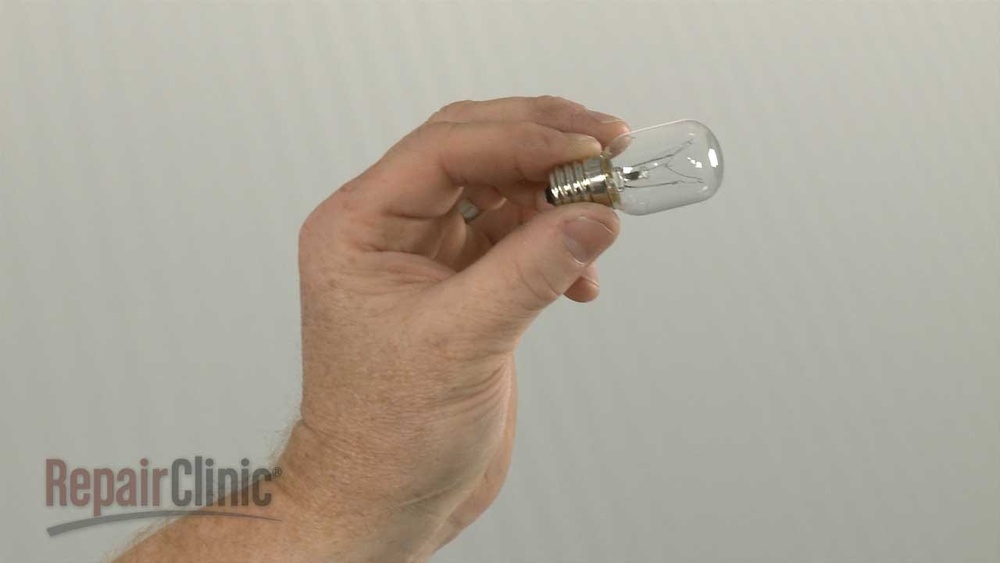
Removing The Old Bulb
Removing the old bulb from a Whirlpool microwave is the first step to restore its light. Safety matters. Always unplug the microwave before starting. This prevents electric shocks. Handle the bulb carefully. It can break easily. Follow these simple steps for a smooth removal process.
Unscrewing The Bulb
Locate the bulb cover inside the microwave. Remove any screws holding the cover using a screwdriver. Gently open the cover to access the bulb. Hold the bulb firmly and turn it counterclockwise. It should unscrew with light pressure. Avoid forcing it. If it feels stuck, try wiggling it slightly while turning.
Checking For Damage
After removing the bulb, inspect it closely. Look for broken glass or burnt filaments. Any cracks mean the bulb must be replaced. A dark or blackened bulb also needs changing. Check the bulb type and wattage to match the new one. Keep the old bulb for comparison when buying a replacement.
Avoiding Damage To Socket
Be careful not to touch or bend the socket pins. They are fragile and can easily break. Do not use metal tools inside the socket area. Use only your hands to remove or install bulbs. If the socket looks dirty, clean it gently with a dry cloth. Avoid moisture to prevent electrical issues.
Installing The New Bulb
Installing the new bulb in your Whirlpool microwave is a straightforward task. Follow these steps carefully to ensure the light works properly and safely. Proper installation helps avoid damage and keeps your microwave functioning well.
Choosing The Correct Wattage
Select a bulb that matches the original wattage. Using the wrong wattage can cause overheating or damage. Check your microwave’s manual or the old bulb for wattage details. Usually, a 20-watt appliance bulb works well for Whirlpool microwaves.
Screwing In The New Bulb
Hold the new bulb by its base, not the glass, to avoid breakage. Gently screw the bulb into the socket. Turn it clockwise until it fits snugly but do not overtighten. Overtightening can damage the socket or bulb.
Reattaching The Cover
Place the bulb cover back over the light area. Align it properly with the hinges or screw holes. Secure the cover with screws or clips to keep it in place. Make sure the cover is tight to protect the bulb during microwave use.
Testing The New Bulb
After replacing the light bulb in your Whirlpool microwave, testing it is essential. This step confirms the new bulb works correctly and ensures your microwave is safe to use. Follow the simple actions below to check the light function without hassle.
Plugging In The Microwave
First, plug the microwave back into the power outlet. Make sure the cord is secure and the outlet has power. Avoid turning on other heavy appliances nearby to prevent electrical interference. This prepares the microwave for testing the bulb safely.
Checking The Light Function
Open the microwave door to see if the new bulb lights up. The light should turn on instantly. Next, try starting the microwave for a few seconds without food inside. The bulb should stay lit while the microwave runs. If the bulb stays off, double-check the bulb’s fit and connection.
Troubleshooting Common Issues
If the new bulb does not light, remove it carefully and inspect for damage. Check the bulb socket for dirt or corrosion and clean gently if needed. Test the socket with a multimeter for power. Sometimes, the problem may be a faulty socket or wiring, not the bulb. In such cases, consider calling a professional technician for repair.

Credit: www.amazon.com
When To Seek Professional Help
Knowing when to call a professional can save time and prevent damage to your Whirlpool microwave. Some problems go beyond simple bulb replacement. Certain signs suggest the need for expert help to ensure safety and proper repair.
Light Still Not Working
Replacing the bulb does not fix the light. The issue might be in the socket or wiring. Testing these parts requires tools and skills. A technician can diagnose and repair these safely.
Control Board Or Relay Issues
The control board manages the microwave’s functions. If the light and other features fail, the board may be faulty. A stuck relay can cause electrical problems. These parts need professional inspection and replacement.
Unusual Noises Or Keypad Problems
Buzzing or clicking sounds can signal relay trouble. Keypad malfunctions might mean electrical faults inside. Such issues require a professional to avoid further damage or risk of shock.

Credit: www.youtube.com
Frequently Asked Questions
How To Remove Microwave Light Cover?
Unplug the microwave first. Locate the light cover inside. Use a screwdriver to remove screws carefully. Gently pull the cover from its hinge. Replace or clean the cover as needed.
What Happens When The Microwave Light Goes Out?
A microwave light going out usually means a burned-out bulb. It may also indicate a faulty socket, control board, or stuck relay. Check and replace the bulb first. If the light stays off, consult a professional for deeper electrical issues.
What Kind Of Lightbulb Goes Under A Microwave?
Use a heat-resistant incandescent or LED bulb designed for microwaves. Choose the correct wattage, usually 15-40 watts. Ensure it fits the socket type, often a small appliance or wedge base bulb.
Conclusion
Changing the Whirlpool microwave light bulb is simple and safe. Always unplug the microwave before starting. Use the right bulb type to avoid damage. Handle parts carefully to prevent injury or breakage. Test the new bulb to ensure it works properly.
If problems continue, consider professional help. A working light makes cooking easier and safer. Follow these steps for a quick fix every time.