How to Install Over Range Microwave Oven: Easy Step-by-Step Guide
Installing an over-the-range microwave oven can transform your kitchen, saving space and adding convenience right above your stove. If you’re wondering whether you can handle this project yourself, the answer is yes—you absolutely can.
With the right tools, a little planning, and some help lifting the heavy unit, you’ll have your new microwave up and running in no time. In this guide, you’ll find simple, step-by-step instructions to make the installation process smooth and stress-free.
Ready to take control of your kitchen upgrade? Let’s dive into how you can install your over-the-range microwave oven safely and efficiently.
Tools And Materials
Installing an over-range microwave oven needs specific tools and materials. Having everything ready makes the job smoother and safer. This section lists the necessary items for a proper installation. Each tool and material plays a key role in completing the task efficiently.
Essential Tools List
Gather basic tools before starting. A cordless drill helps make holes quickly. Use a screwdriver for screws and bolts. A level ensures the microwave sits straight. A stud finder locates wall studs for secure mounting. Tape measure checks distances and alignment. Marking pencil helps with precise placement.
Microwave Mounting Kit
The microwave usually comes with a mounting kit. It includes brackets, screws, and bolts needed for installation. Use the template provided to mark drill points on the wall. Ensure the kit matches your microwave model. Missing pieces may cause delays or unsafe mounting.
Safety Gear
Protect yourself during installation. Wear safety glasses to shield your eyes from dust and debris. Gloves protect your hands from sharp edges and heat. Use a sturdy ladder or step stool for reaching high places. Keep the work area clear to avoid accidents. Safety gear helps prevent injuries while working.
Credit: www.youtube.com
Pre-installation Checks
Before installing an over range microwave oven, complete important pre-installation checks. These steps ensure your new appliance fits well and works safely. Planning ahead avoids costly mistakes and delays. Take time to measure, check power needs, plan venting, and prepare your workspace.
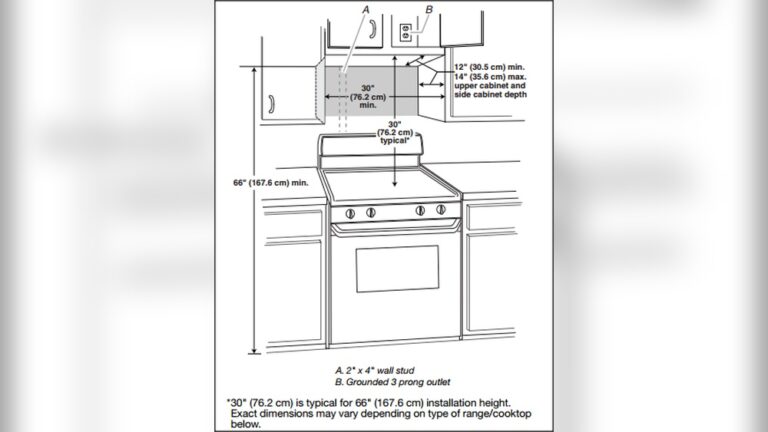
Measure Space And Clearances
Measure the width, height, and depth of the space above your range. Compare these with the microwave’s dimensions. Check the distance between the cooktop and bottom of the cabinet. Ensure there is enough clearance for safe use. Confirm the microwave will not block any cabinets or lights.
Verify Electrical Requirements
Check the microwave’s power needs on the label or manual. Make sure your kitchen has a dedicated 120-volt, 15- or 20-amp circuit. Locate a grounded outlet near the installation spot. Avoid using extension cords or adapters. Confirm the wiring is in good condition and meets local codes.
Plan For Venting Options
Decide how the microwave will vent air. Choose between external venting through the wall or roof, or recirculating air with a charcoal filter. External venting removes smoke and odors outside. Recirculating mode filters air and blows it back into the kitchen. Check your microwave’s venting specifications and existing ductwork.
Prepare Work Area And Protect Surfaces
Clear the countertop and stove area. Remove items that could get damaged or block your workspace. Lay down a protective cover on your range and counters. Use drop cloths or old towels to catch dust and debris. Have all tools and materials ready and within reach before starting.
Removing Old Microwave
Removing your old microwave is the first step to install a new over-range microwave oven. This process needs care to avoid damage or injury. Follow simple steps to safely take out the old unit. Prepare your tools and clear the area around the microwave for easy access.
Unplug And Disconnect
Start by unplugging the microwave from the power outlet. If it is hardwired, switch off the circuit breaker. Next, disconnect any vent or ductwork attached to the microwave. Make sure the power is completely off before moving forward.
Unscrew And Support Unit
Use a screwdriver to remove the screws holding the microwave in place. Some screws are on the top, others at the sides or inside the cabinet. Have a helper support the microwave from below to keep it steady while you remove screws.
Carefully Remove From Mount
Once all screws are out, slowly lift the microwave off the mounting bracket. Keep it level to avoid hitting your head or dropping it. Move the unit away from the wall carefully. Set it down gently on a safe surface.
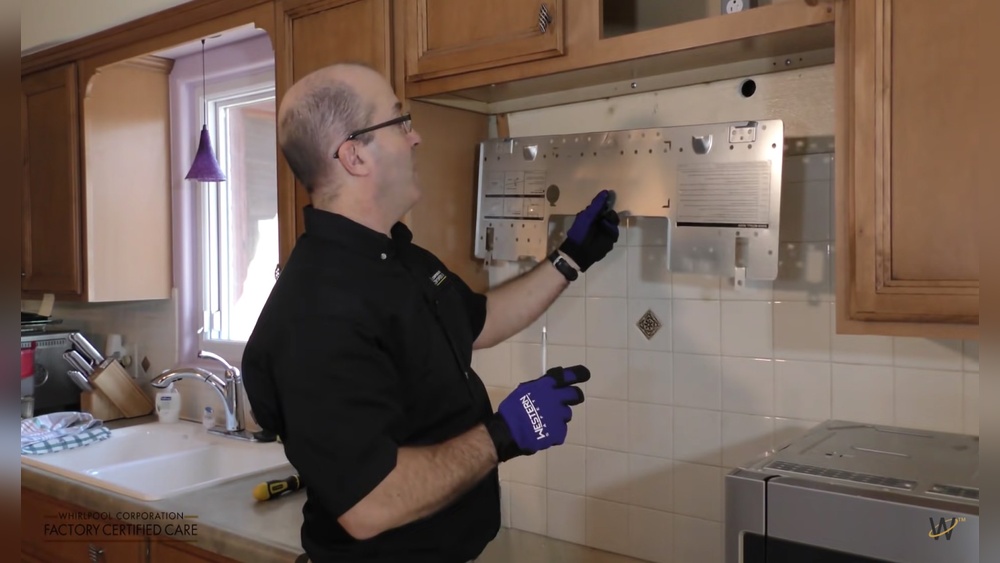
Mounting Bracket Setup
Setting up the mounting bracket is a crucial step for installing your over-range microwave oven. The bracket holds the microwave securely above your stove. Proper setup ensures safety and stability during use. Follow these steps carefully for a perfect fit.
Use Template For Marking
Start by using the template that came with your microwave. Tape it to the wall where you want to mount the microwave. Make sure it is level and at the right height. Mark the spots for the screws clearly. This will guide you for drilling holes accurately.
Locate Studs For Secure Mounting
Use a stud finder to locate wall studs behind your marks. Mounting the bracket on studs is essential for support. Mark the stud locations on the wall. Avoid mounting on drywall alone as it may not hold the microwave’s weight.
Drill Pilot Holes
Drill small pilot holes on the marks inside the studs. These holes make it easier to insert screws. They also prevent the wall from cracking. Use a drill bit that matches the size recommended in your microwave’s instructions.
Attach And Level Bracket
Align the bracket with the pilot holes. Secure it tightly using the screws provided. Use a level to check if the bracket is perfectly horizontal. Adjust if needed before fully tightening the screws. A level bracket keeps the microwave stable and prevents tilting.
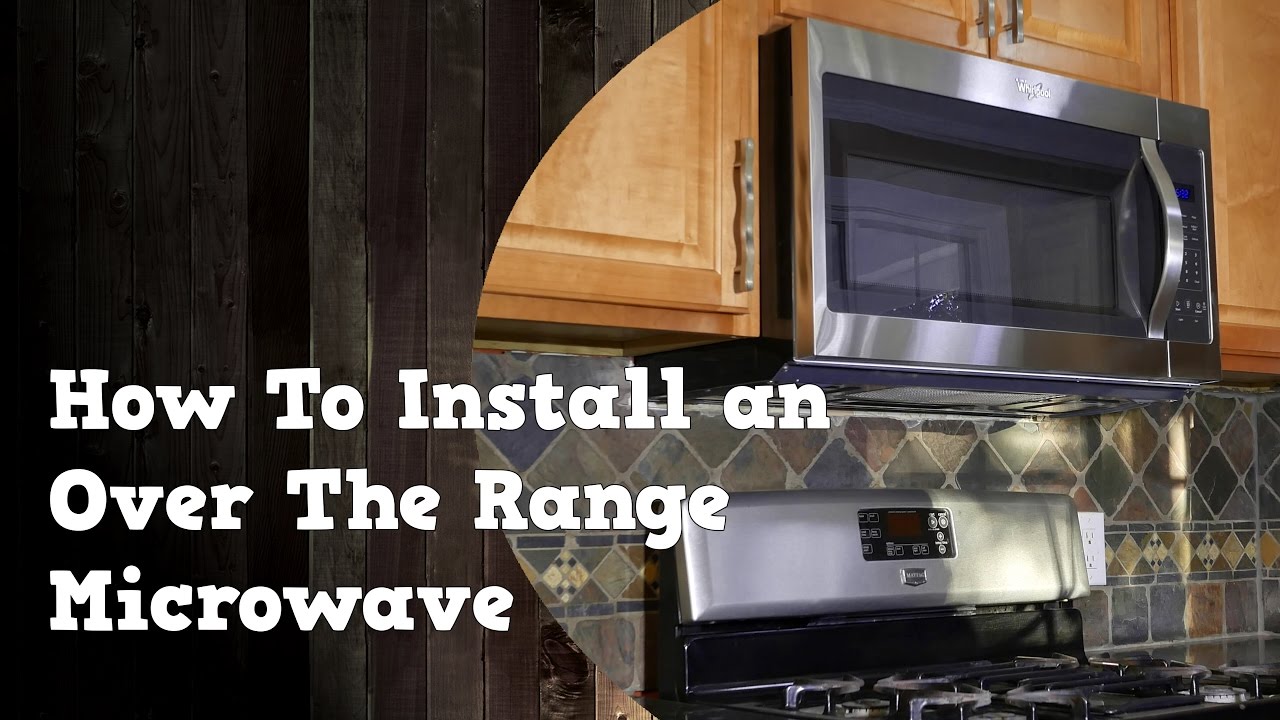
Vent Installation
Proper vent installation is essential for your over range microwave oven. It helps remove smoke, odors, and steam from your kitchen. You can choose between venting air outside or recirculating it back into the kitchen. Each option requires different steps for installation.
Adjust Or Install Vent Motor
Start by locating the vent motor inside the microwave. Some models have a built-in motor that needs adjustment. Remove the cover panel to access the motor. Check if the motor is aligned with the vent opening. Tighten screws or reposition the motor if needed. For new installations, follow the manufacturer’s guide to secure the motor properly. Test the motor by turning on the microwave’s vent fan to ensure it runs smoothly.
Connect Ductwork For External Venting
External venting requires connecting ductwork from the microwave to an outside vent. Use metal duct pipes to ensure durability and safety. Attach the duct to the vent outlet on the microwave. Secure the connection with metal tape or clamps to avoid leaks. Route the duct to the external vent cap on your wall or roof. Avoid sharp bends in the duct to maintain good airflow. Seal all joints tightly to prevent air leaks and maintain efficiency.
Set Up Recirculating Option
The recirculating option filters air and returns it to the kitchen. Install a charcoal filter inside the microwave’s vent system. Remove the vent cover and place the filter according to the instructions. The filter traps smoke and odors, but it needs replacement every few months. Recirculating vents do not require ductwork, making them easier to install. Ensure the vent fan is working to pull air through the filter efficiently.
Credit: www.lowes.com
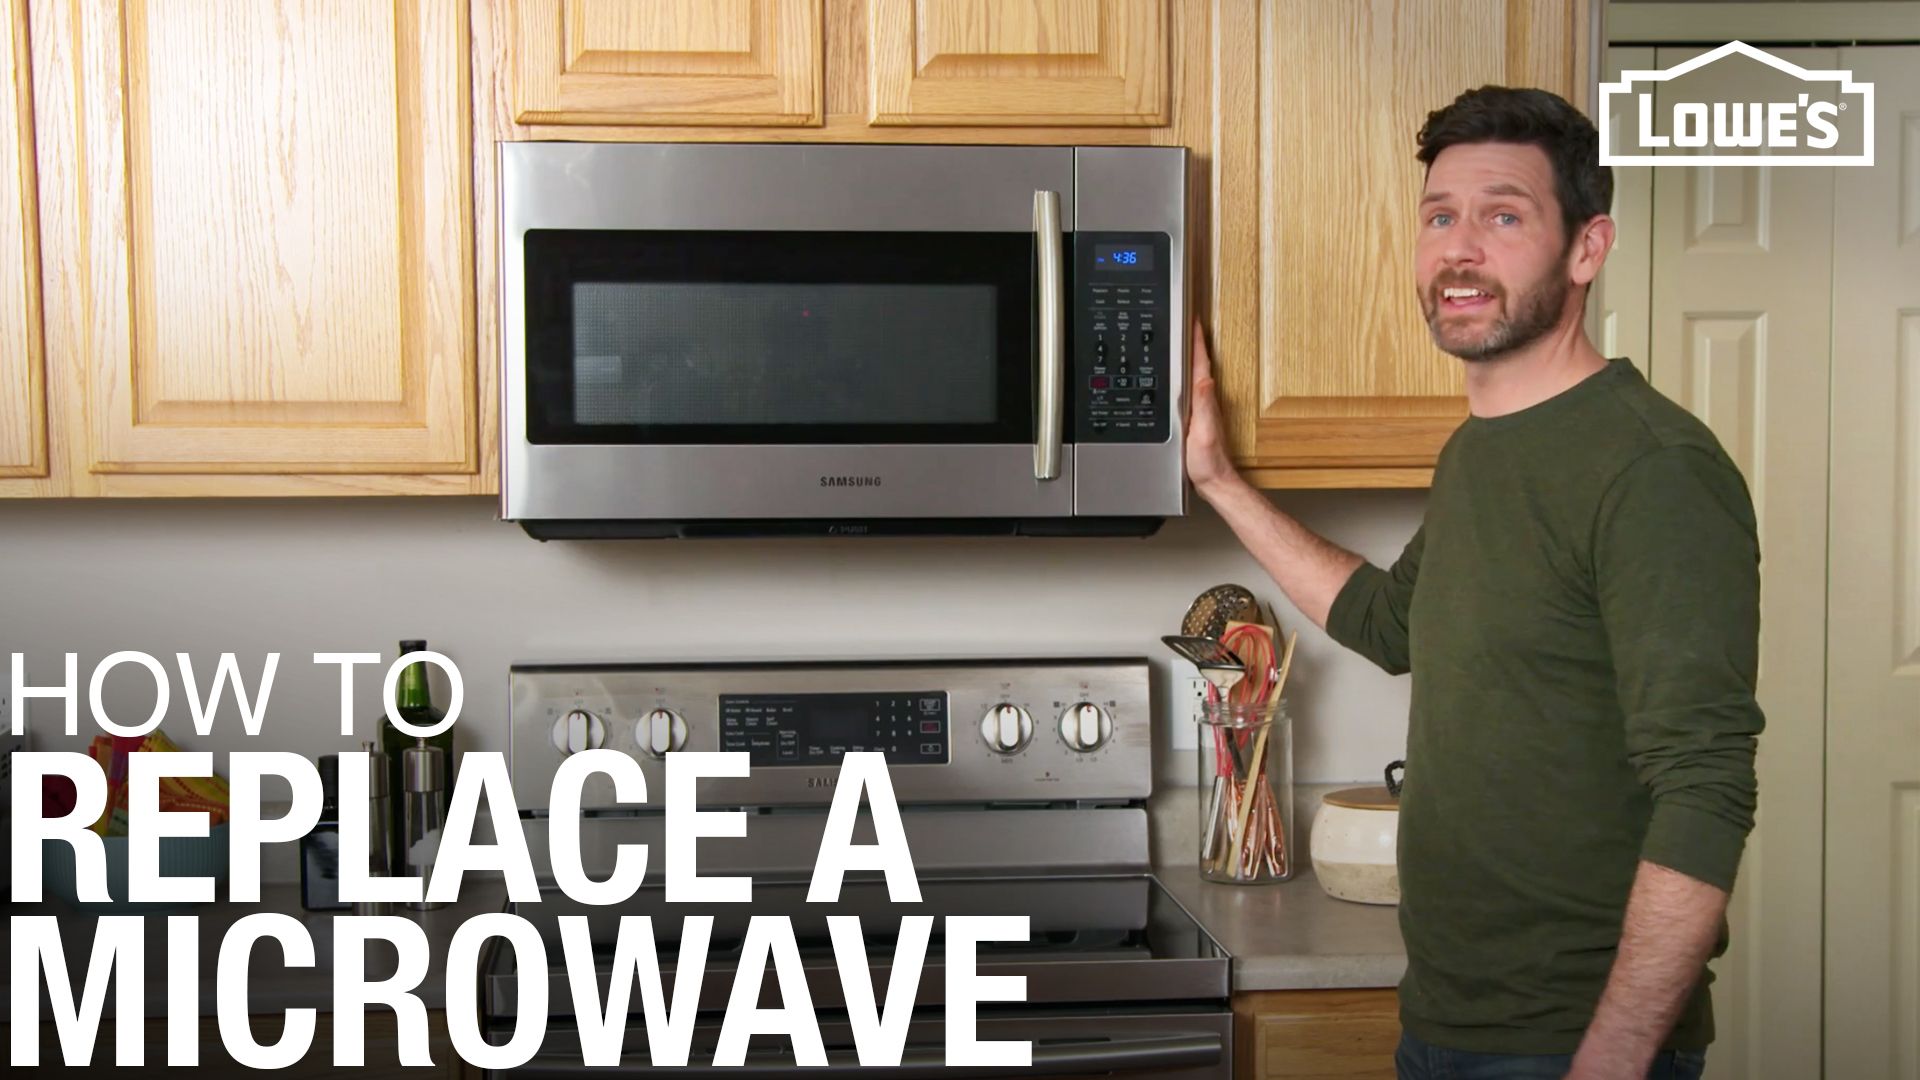
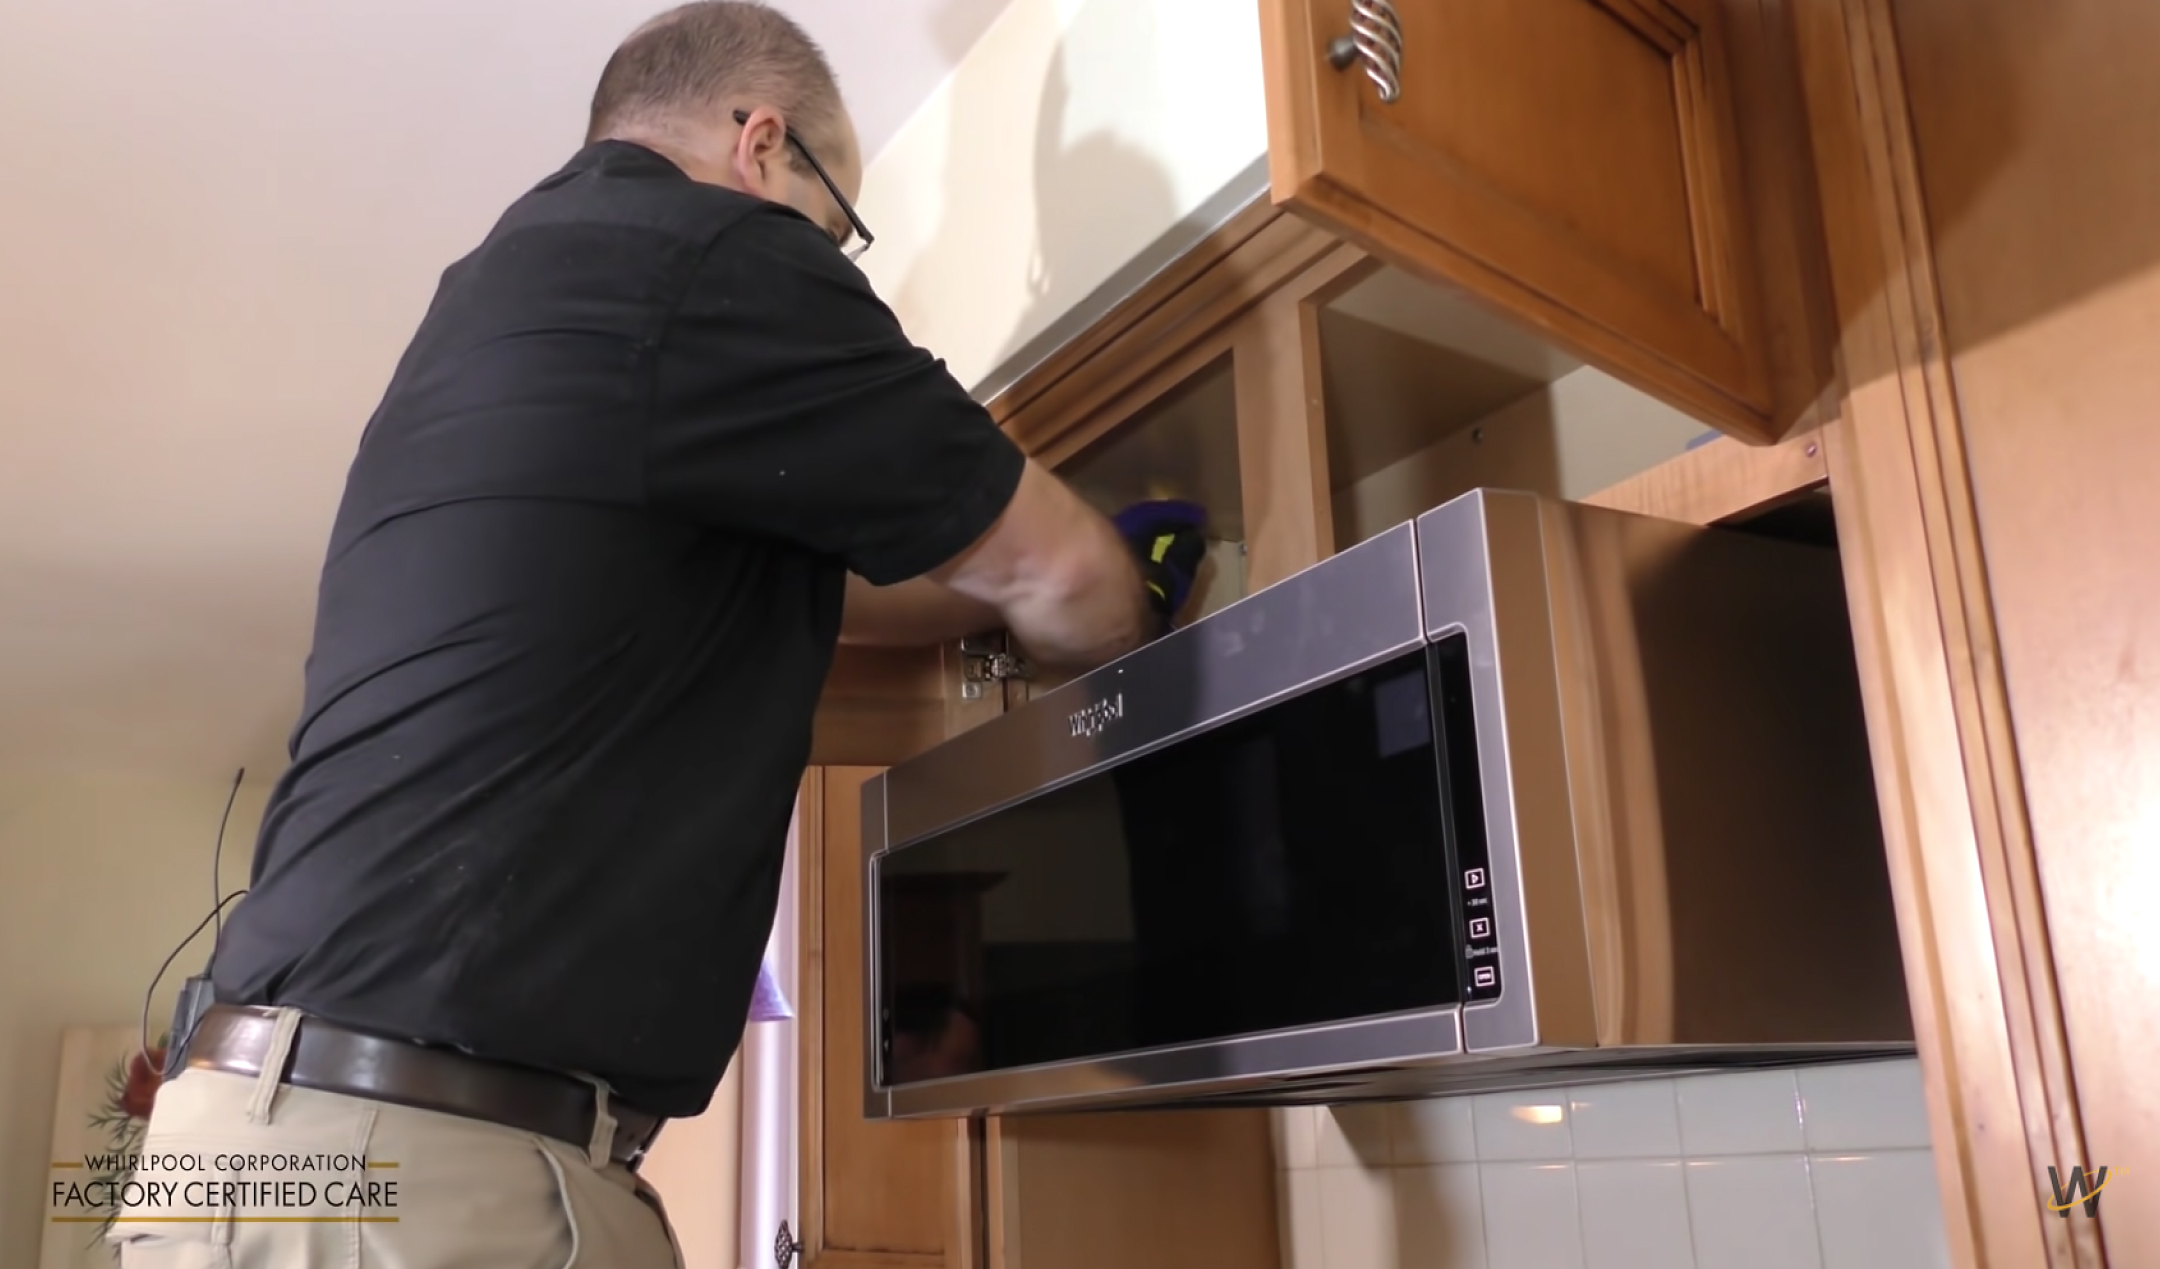
Hanging The Microwave
Hanging the microwave is a key step in your installation process. It requires careful handling and attention to detail. This step ensures the microwave sits securely and functions properly above your range. Follow these simple actions to hang your microwave safely and effectively.
Lift With Helper
Ask a helper to lift the microwave with you. The microwave is heavy and awkward to hold alone. Lift it slowly and carefully to avoid damage. Keep the microwave level as you move it toward the wall bracket.
Route Power Cord
Before hanging, route the power cord to the outlet. Ensure the cord is not pinched or stretched. Guide the cord behind the microwave and down toward the power source. This prevents electrical hazards and keeps the cord neat.
Hook Onto Wall Bracket
Position the microwave so it hooks onto the wall bracket. Align the mounting holes with the bracket hooks. Gently lower the microwave until it rests securely. Check that it is stable and does not wobble before proceeding.
Use Wood Blocks For Flush Fit
Place wood blocks under the microwave if it does not sit flush against the wall. The blocks fill gaps and provide extra support. Secure the microwave by tightening screws into the blocks. This step improves stability and appearance.
Securing The Unit
The final steps complete your over range microwave installation. These steps ensure the microwave works correctly and your kitchen stays neat. Follow each carefully to avoid issues and enjoy your new appliance.
Plug In And Restore Power
Locate the microwave’s power cord and plug it into the outlet. If you turned off the circuit breaker, switch it back on. Make sure the power is restored before moving on. This step activates the microwave and prepares it for testing.
Test Microwave Functions
Press several buttons to check the microwave’s controls. Try the timer, cooking power, and light. Listen for unusual noises or error messages. Confirm the fan and vent work if your unit has them. Testing now avoids problems later and ensures safety.
Clean Up Workspace
Remove tools, packaging, and debris from the area. Wipe down surfaces to clear dust or fingerprints. Dispose of trash properly to keep your kitchen tidy. A clean workspace shows the job is done well and ready for use.
Credit: www.whirlpool.com
Frequently Asked Questions
Can I Install An Over The Range Microwave Myself?
Yes, you can install an over-the-range microwave yourself. It requires two people, specific tools, and following manufacturer instructions carefully for safety and proper mounting.
What Holds An Over The Range Microwave In Place?
An over-the-range microwave stays secure with a mounting bracket attached to wall studs. A top cabinet support bracket also holds it in place. Screws fasten the microwave to these brackets, ensuring stability and safety during use.
Does An Over The Range Microwave Need To Be Vented Outside?
An over-the-range microwave can vent outside or recirculate air through a charcoal filter. Venting outside improves air quality. Check your model’s specifications and kitchen setup to decide.
Conclusion
Installing an over-range microwave can improve your kitchen’s function and look. Follow each step carefully to ensure safety and proper fit. Use the right tools and ask for help when lifting the microwave. Double-check electrical connections and venting options before starting.
Taking your time helps avoid mistakes and damage. With patience and care, you can complete the installation yourself. Enjoy the convenience of your new microwave soon.