How to Replace Over Range Microwave: Easy Step-by-Step Guide
Thinking about replacing your over-the-range microwave but unsure where to start? You’re not alone.
This task may seem tricky at first, but with the right steps and a little preparation, you can handle it yourself—and save money in the process. In this guide, you’ll discover clear, easy-to-follow instructions on how to safely remove your old microwave and install a new one.
From finding wall studs to managing heavy lifting and ensuring proper venting, we’ll cover everything you need to know. Ready to upgrade your kitchen without the stress? Keep reading, and you’ll be equipped to tackle this project confidently.
Credit: www.whirlpool.com
Tools And Preparation
Replacing an over range microwave needs the right tools and good preparation. Being ready helps you finish the job faster and safer. This section covers the tools required, safety steps, and why you need help.
Essential Tools
Gather all tools before starting the work. You will need a drill with screwdriver bits for screws. A stud finder helps locate wall studs to mount the microwave securely. A tape measure ensures proper placement and alignment. Use a level to keep the microwave straight. Also, have a socket wrench or nut driver for bolts. A flashlight can help if the space is dark.
Safety Measures
Turn off power to the microwave at the circuit breaker. This prevents electric shock during removal and installation. Wear safety glasses to protect your eyes from dust or debris. Use gloves to avoid cuts from sharp edges. Make sure the area below is clear to prevent tripping. Keep a sturdy ladder or step stool handy for reaching high spots.
Getting Help
The microwave is heavy and bulky. Ask a friend or family member to assist with lifting and holding it in place. Handling the microwave alone can cause injury or damage. Two people make the process safer and easier. Plan together how to lift and secure the unit before starting. Communication helps avoid accidents during the replacement.

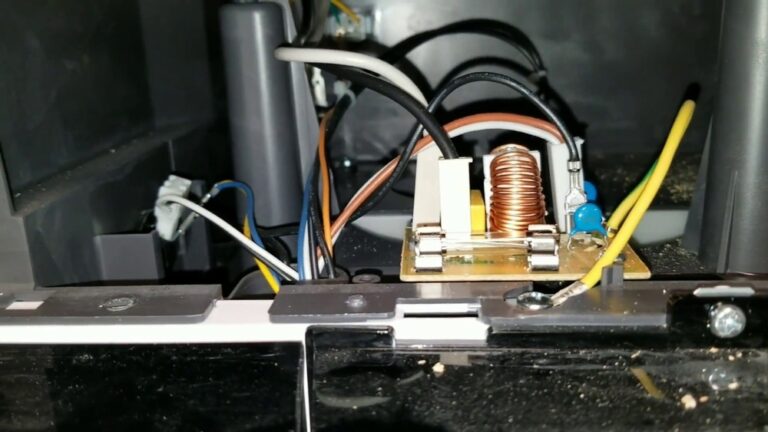
Credit: www.premiumhomesource.com
Removing The Old Microwave
Removing the old over range microwave is the first step in replacing it. This task requires care and attention to safety. The appliance is heavy and connected to electrical wiring. Follow clear steps to avoid damage and injury. Prepare your tools and a helper if possible. Work methodically to detach and remove the unit.
Turning Off Power
Start by turning off the power to the microwave. Locate the circuit breaker that controls the microwave’s outlet. Switch off the breaker to cut power completely. Use a voltage tester to confirm no electricity flows. This step is crucial to prevent shocks and accidents.
Detaching Fasteners
Identify the screws or bolts holding the microwave in place. These are usually under the cabinet or on the mounting bracket. Use the correct screwdriver or socket wrench to loosen fasteners. Keep all screws safe for possible reuse or disposal. Support the microwave firmly as you remove the last fastener.
Handling The Appliance Safely
The microwave is bulky and heavy. Ask someone to help you lift it down carefully. Hold the appliance from the sides to avoid dropping it. Avoid pulling on the power cord or vent connections. Place the microwave on a sturdy surface to prevent damage. Dispose of the old unit responsibly or prepare it for recycling.
Checking Wall And Cabinet Support
Before installing a new over-the-range microwave, check the wall and cabinet support carefully. Proper support ensures the microwave stays secure and works safely. Weak or damaged supports can cause the microwave to fall or malfunction. Take time to inspect the area to avoid future problems.
Locating Wall Studs
Wall studs provide the strongest support for your microwave. Use a stud finder to locate them behind the drywall. Mark the studs with a pencil where you plan to mount the microwave. Mounting directly into studs prevents the microwave from pulling away from the wall. Avoid mounting only on drywall or weak materials.
Inspecting Cabinet Condition
Check the cabinet above the microwave for damage or weakness. Cabinets must hold the microwave’s weight safely. Look for cracks, loose screws, or water damage. Tighten any loose screws or add extra brackets if needed. Replace cabinets that show significant wear or damage to prevent accidents.
Dealing With Non-standard Setups
Some kitchens have unusual layouts or materials. You might find metal studs, concrete walls, or no cabinets above the range. Use heavy-duty anchors or toggle bolts for metal or concrete walls. For missing cabinets, install a support bracket or shelf. Custom supports help keep the microwave safe and steady.
Credit: www.youtube.com
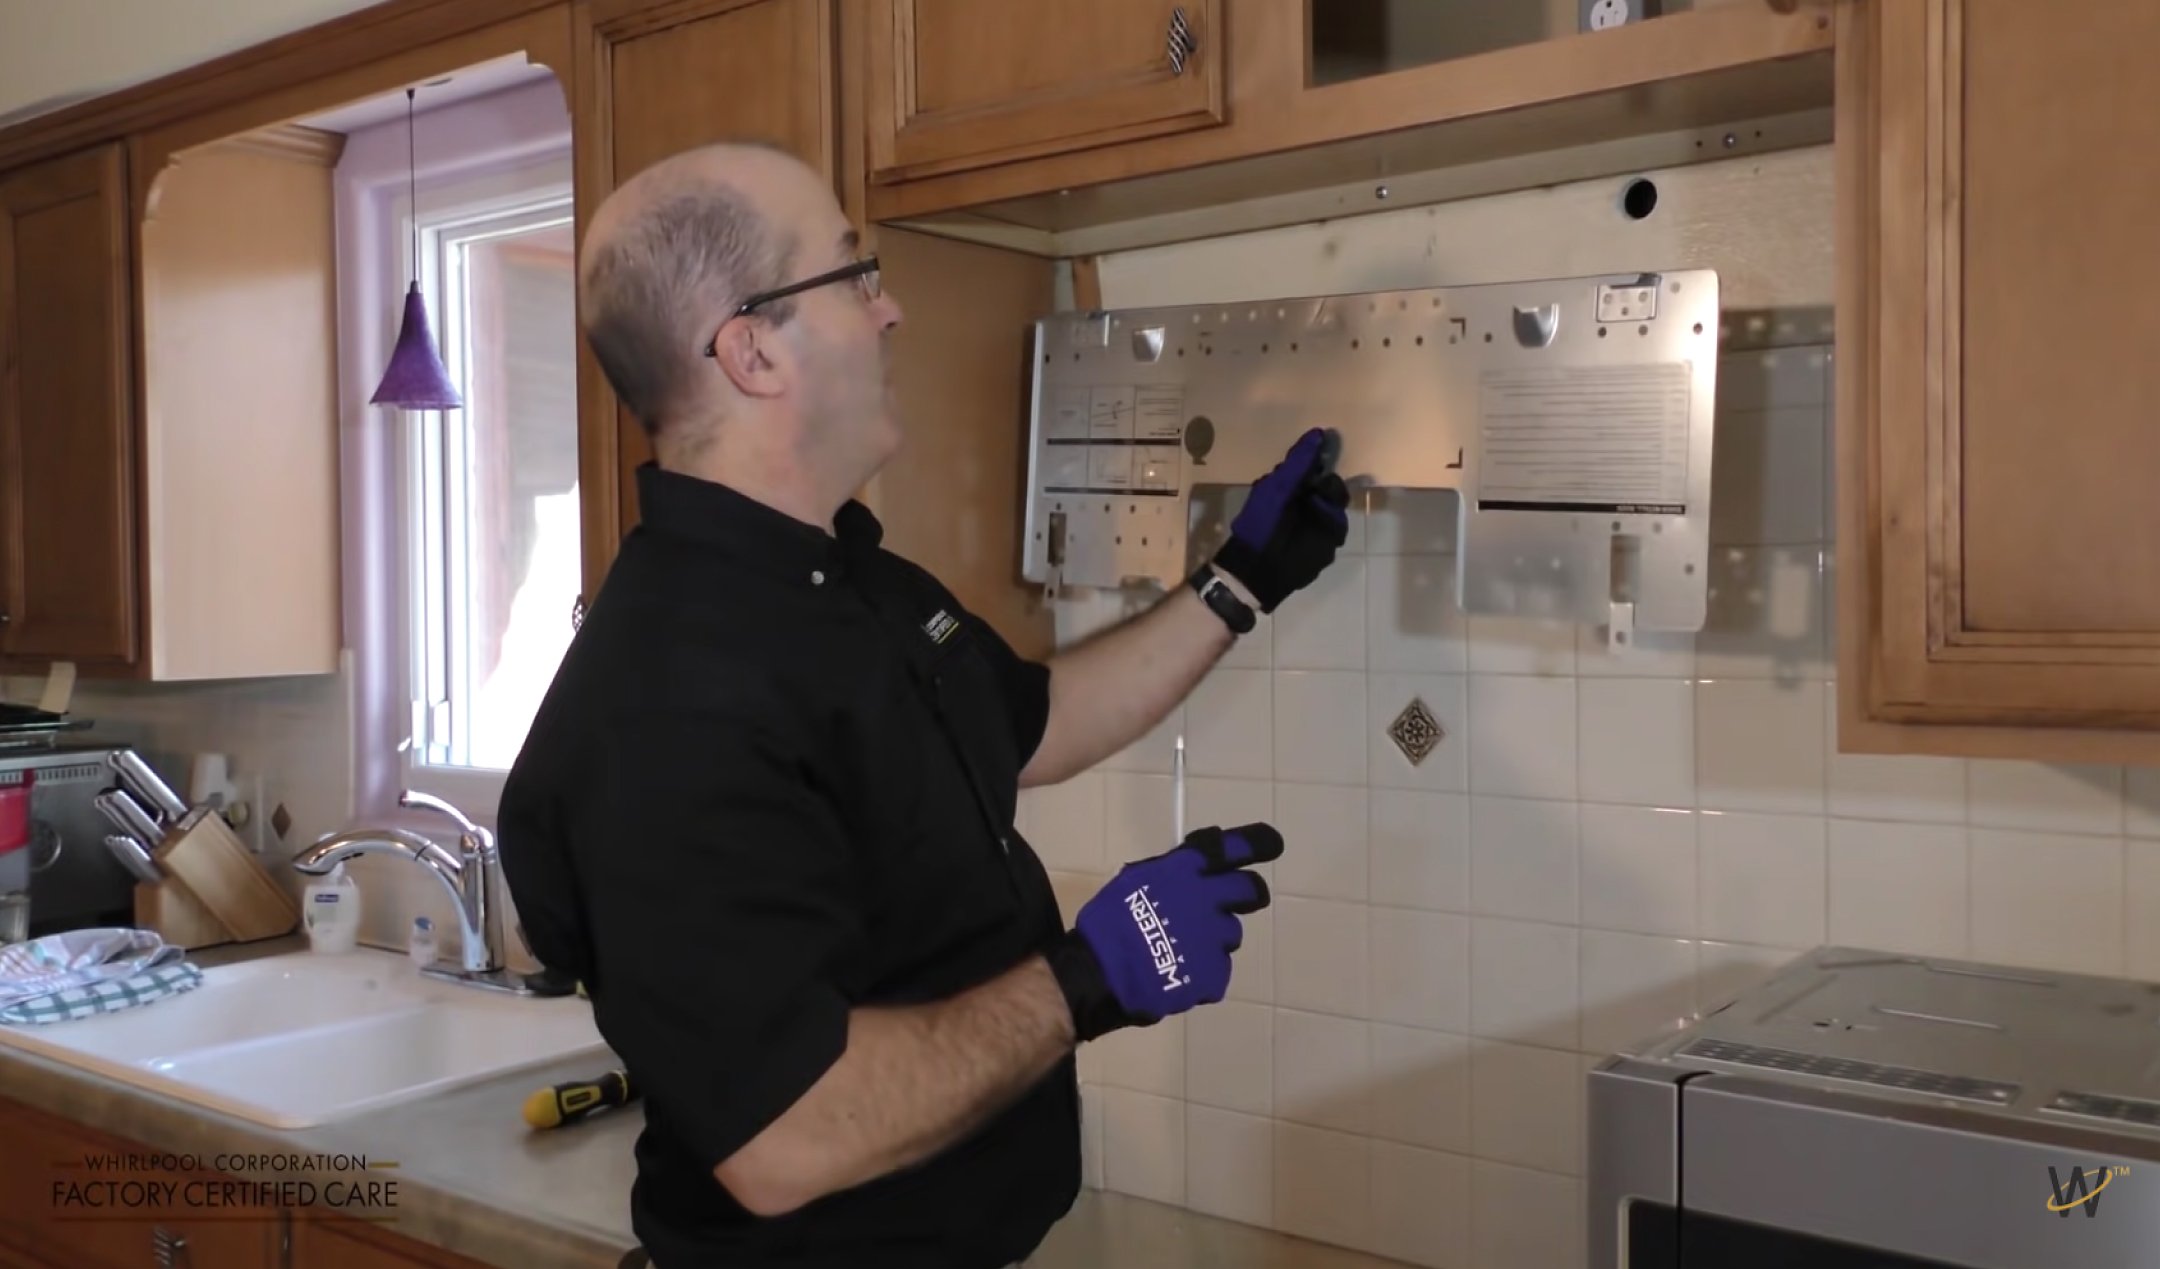
Installing The Mounting Bracket
Installing the mounting bracket is the critical first step to replacing your over range microwave. This bracket holds the microwave securely above your stove. Proper installation ensures safety and stability during use.
Follow the instructions carefully to avoid damage or accidents. Use the tools provided and check all measurements twice. The bracket must be firmly attached to the wall to support the microwave’s weight.
Using The Template
Start by using the mounting template included with your microwave. Tape the template to the wall at the desired height. Use a level to make sure it is perfectly straight. Mark the drill holes on the wall through the template’s guides.
Remove the template after marking. Double-check the marks for accuracy. This step prevents mistakes that could cause the bracket to hang unevenly.
Securing To Studs Or Toggle Bolts
Locate the wall studs using a stud finder. The bracket must attach to studs for maximum support. Drill pilot holes into the studs at the marked points.
If studs are not available, use heavy-duty toggle bolts. Insert the toggle bolts through the bracket holes, then expand them inside the wall cavity. Tighten the bolts to secure the bracket firmly.
Leveling The Bracket
Place the bracket on the wall and use a level to check its alignment. Adjust it until perfectly horizontal. Tighten all screws securely to keep the bracket stable.
Double-check the level after tightening. A crooked bracket can cause installation problems and uneven microwave placement.
Wiring And Venting Setup
Wiring and venting setup is crucial when replacing an over-range microwave. Proper connections ensure safety and efficient operation. Both electrical wiring and venting must match the new microwave’s requirements. Incorrect setup can cause damage or poor performance.
Matching Vent Configurations
Check the existing vent type before buying a new microwave. Most over-range microwaves use either recirculating or external venting. Recirculating vents filter air and release it back inside. External vents push air outside through ductwork.
Choose a microwave that fits your current vent style. If you switch vent types, you may need to install new ductwork. Measure vent size and direction to match the new unit. Proper vent alignment prevents smoke and odors from lingering.
Connecting Electrical Supply
Turn off power at the circuit breaker before starting any work. Locate the existing electrical outlet behind the microwave space. Most microwaves require a dedicated 120-volt outlet.
Use a voltage tester to confirm no power is present. Connect the microwave’s power cord to the outlet securely. Avoid using extension cords or power strips for safety. Check the new microwave’s electrical specifications to ensure compatibility.
When To Call A Professional
Call an electrician if your kitchen lacks a proper outlet. New wiring or circuit installation requires expert skills. Hire an HVAC technician if vent ductwork needs modification or replacement.
A professional ensures all connections meet local codes and safety standards. Avoid risks like electrical shocks or fire hazards. Call help if you feel unsure about the wiring or venting tasks.
Mounting The New Microwave
Mounting the new microwave is a critical step in replacing your over-the-range appliance. It requires careful handling and precise alignment to ensure safety and functionality. Follow these simple steps to mount your microwave correctly and securely.
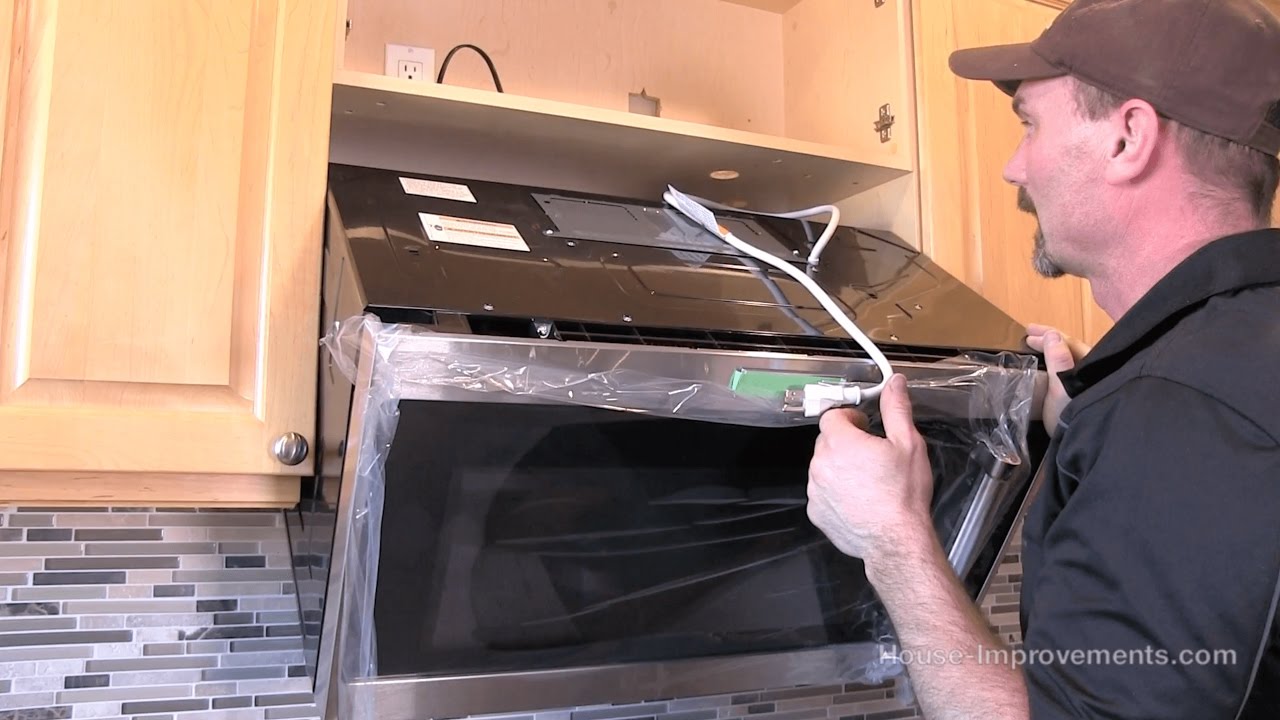
Lifting Safely With Assistance
Always ask for help when lifting the microwave. The appliance is heavy and bulky. Two people make the job safer and easier. Lift with your legs, not your back. Keep the microwave steady to avoid damage or injury.
Aligning With Bracket And Cabinets
First, position the microwave near the mounting bracket. Align the back of the microwave with the wall bracket. Make sure the sides fit under the cabinets correctly. Check that the microwave is level. Adjust as needed before securing it.
Securing With Screws
Use the screws that came with your microwave. Attach the top of the microwave to the cabinet bottom. Tighten screws evenly to keep the microwave stable. Do not overtighten to avoid damage. Double-check all screws are secure before finishing.
Final Adjustments And Testing
After installing your new over range microwave, final adjustments and testing are essential. These steps ensure the microwave fits securely and functions properly. Taking time to check stability and test all features helps avoid future problems. Follow these simple checks to confirm your installation is safe and effective.
Checking Stability
Start by gently shaking the microwave. It should feel solid and not move. Check if all screws and brackets are tight. Make sure the microwave is level from side to side. If it tilts, adjust the mounting brackets or screws. A stable microwave prevents accidents and damage.
Testing Electrical And Vent Functions
Plug in the microwave and turn it on. Test the light, fan, and microwave functions. Listen for unusual sounds from the vent fan. Check if the fan properly vents outside or through the cabinet. Use the microwave for a short time to confirm heating works well. All electrical parts must run smoothly.
Troubleshooting Common Issues
If the microwave does not turn on, verify the power connection. Check the circuit breaker or fuse box. If the fan is noisy or not working, inspect the vent for blockages. Tighten loose screws if there is vibration or rattling. For error codes or unusual smells, unplug and consult the manual. Most issues have simple fixes.
Tips For A Smooth Replacement
Replacing an over range microwave requires careful planning and some practical tips to ensure a smooth process. This section shares key advice to handle the appliance safely, maintain proper ventilation, and avoid frequent errors. These tips help save time and prevent damage during installation.
Handling Heavy Appliances
Over range microwaves are bulky and heavy. Use two or more people to lift and move the microwave safely. Avoid lifting alone to prevent injury or dropping the appliance. Support the microwave firmly from the bottom and sides. Clear the workspace to avoid tripping hazards. Use proper lifting techniques, bending your knees and keeping your back straight.
Ensuring Proper Ventilation
Ventilation is essential for microwave safety and performance. Check if your microwave vents to the outside or recirculates air inside. Make sure the vent ducts are clear and connected properly. Use the correct vent size recommended by the manufacturer. Keep vents clean to avoid smoke or heat buildup. Proper ventilation prevents moisture damage and maintains kitchen air quality.
Avoiding Common Mistakes
Measure the space before buying a new microwave to ensure it fits perfectly. Do not ignore the weight limits of your cabinets and wall studs. Use a stud finder to locate secure mounting points. Avoid forcing screws or using wrong hardware. Double check electrical connections for safety. Take your time with alignment to ensure the microwave is level and stable.
Frequently Asked Questions
Is Replacing An Over The Range Microwave Hard?
Replacing an over-the-range microwave is moderately easy with existing wiring and venting. It requires lifting, securing to studs, and possible cabinet adjustments. Seek professional help if new electrical or ductwork installation is needed. Always use two people and turn off power before starting.
How Much Does It Cost To Replace An Over The Range Microwave?
Replacing an over-the-range microwave costs between $150 and $500 for the appliance. Installation fees range from $100 to $300. Complex wiring or venting upgrades may increase total expenses.
Do All Over The Range Microwaves Install The Same?
Not all over-the-range microwaves install the same. Installation varies by model, venting type, mounting hardware, and electrical requirements. Always check compatibility with your existing setup and follow manufacturer instructions for proper installation.
Conclusion
Replacing an over-range microwave can save money and improve kitchen function. Take your time to follow each step carefully. Use a stud finder to mount the bracket securely. Always ask for help when lifting the heavy microwave. Double-check vent and electrical connections before finishing.
This simple project boosts your confidence and your kitchen’s look. Now, enjoy your new microwave with ease and safety.