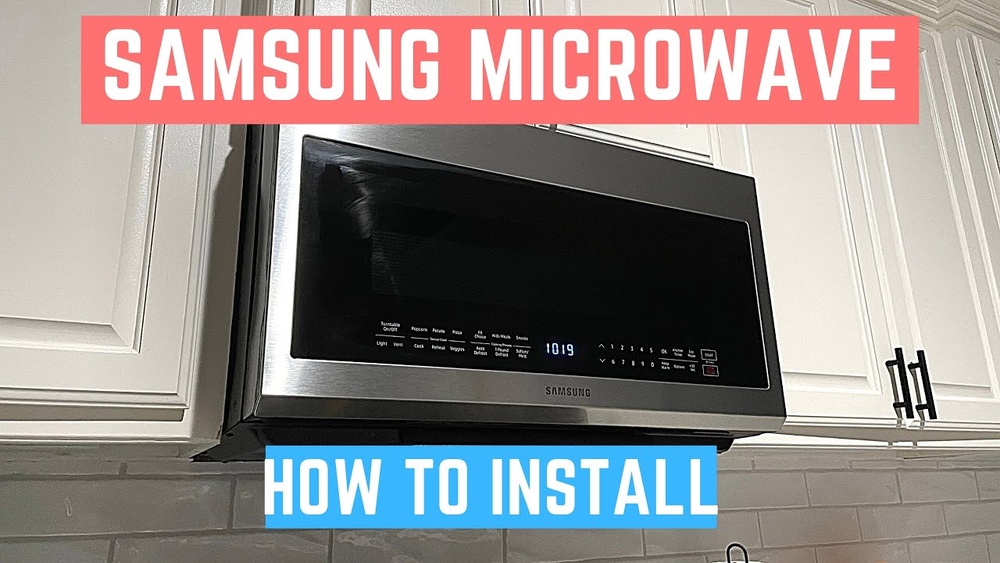
How to Install Samsung Microwave: Easy Step-by-Step Guide
Thinking about installing your new Samsung microwave by yourself? You’re in the right place.
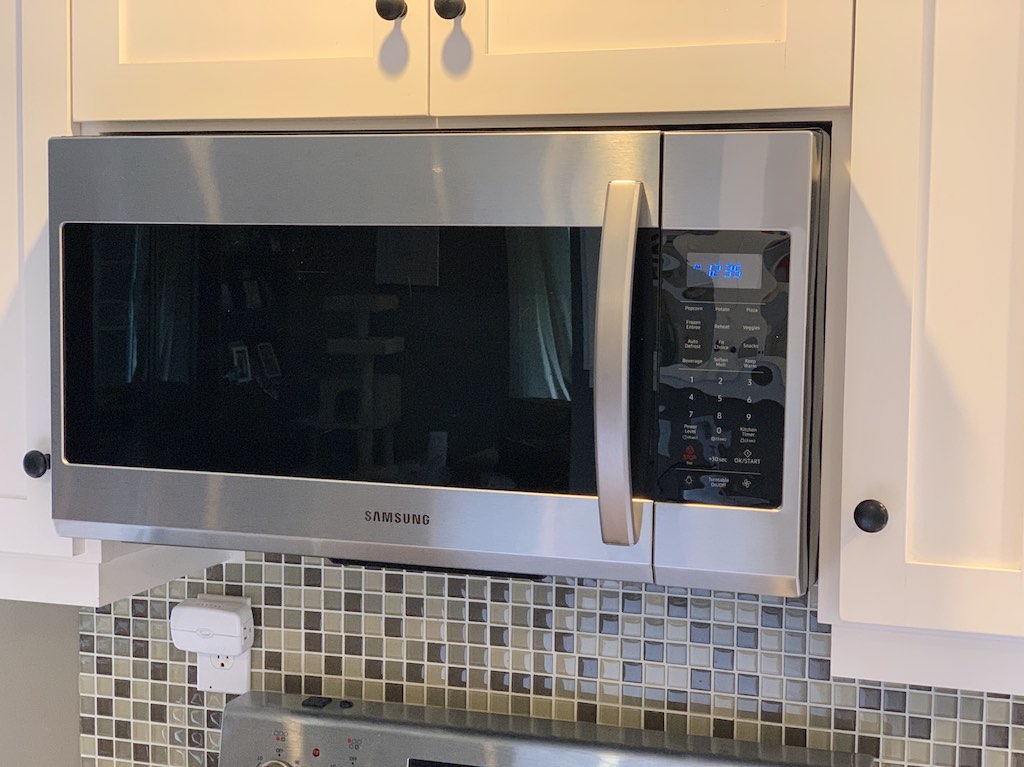
Installing an over-the-range microwave might seem tricky, but with the right steps and tools, you can handle it safely and confidently. In this guide, you’ll learn exactly how to remove your old microwave, set up the new bracket, connect ventilation, and secure your Samsung microwave perfectly.
Plus, you’ll discover when it’s best to call in a pro to avoid common pitfalls. Ready to save money and take control of your kitchen upgrade? Let’s get started!
Credit: blog.bestbuy.ca

Credit: www.youtube.com
Frequently Asked Questions
Can You Install A Microwave Yourself?
Yes, you can install a microwave yourself if you have basic tools and follow the manufacturer’s instructions carefully. Always turn off power and use a helper for safety. Complex built-in models or electrical work may require a professional.
How To Connect Samsung Microwave?
Turn off power at the breaker. Remove the old microwave and bracket. Install the new bracket into studs using the template. Mount the microwave, secure screws, connect venting, plug in, and test functions. Use a helper for safety and follow the manufacturer’s instructions.
Do Samsung Microwaves Come With Mounting Brackets?
Samsung microwaves typically include mounting brackets for over-the-range models. Always check the product details to confirm bracket inclusion.
Conclusion
Installing a Samsung microwave can be simple with careful steps. Always measure and prepare your tools before starting. Secure the bracket firmly to support the microwave’s weight. Enlist a helper to hold the unit safely while mounting. Connect ventilation and power properly to avoid issues.
Test the microwave after installation to confirm it works well. If unsure about electrical parts, consider professional help. Following these tips ensures a safe, smooth setup for your kitchen appliance.