How to Replace Over the Range Microwave: Easy Step-by-Step Guide
Thinking about replacing your over-the-range microwave? Whether your current one is outdated, malfunctioning, or just doesn’t match your kitchen style anymore, swapping it out might seem complicated.
But it doesn’t have to be. With the right steps, tools, and a little know-how, you can handle this upgrade yourself and save money while improving your kitchen’s look and function. In this guide, you’ll discover exactly how to measure your space, choose the right microwave, and install it safely and securely.
Ready to take control of your kitchen upgrade? Keep reading to learn how to replace your over-the-range microwave with confidence and ease.

Credit: www.premiumhomesource.com
Check Microwave Dimensions
Checking the microwave dimensions is an important step before replacing your over the range microwave. Accurate measurements prevent installation problems and ensure a proper fit. It helps you avoid buying a microwave that is too big or too small for the space. Follow these simple steps to verify the size and fit of your new microwave.
Measure Existing Space
Start by measuring the width, height, and depth of the current microwave space. Use a tape measure and write down each number. Measure from the cabinet edges and also note the distance from the countertop to the bottom of the cabinet. Double-check your measurements to avoid mistakes. Do not assume the space matches standard sizes.
Compare Product Specs
Look at the new microwave’s product specifications. Check the overall width, height, and depth listed by the manufacturer. Compare these to your measured space. Also, check the cutout dimensions if given. Make sure the new microwave will fit inside the cabinet opening and that no parts will stick out or be too tight.
Account For Cabinet And Clearances
Consider the cabinet structure around the microwave space. Allow extra space for ventilation and proper air flow. Most microwaves need a few inches of clearance on each side and above. Check the installation manual for exact clearance needs. Also, think about the mounting bracket and wiring space. Make sure the cabinet can support the new microwave’s weight and size.
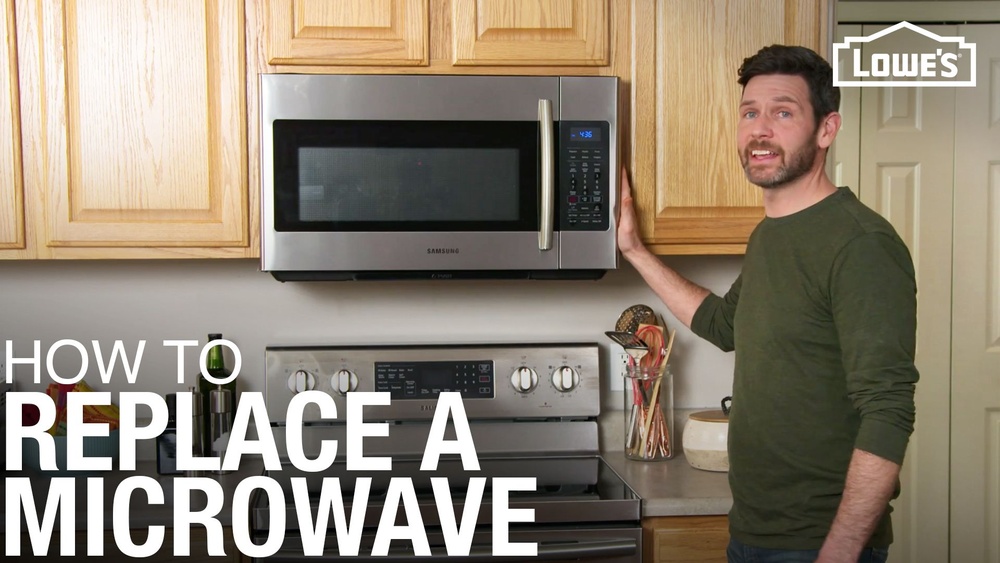
Credit: www.whirlpool.com
Gather Tools And Materials
Gathering the right tools and materials is the first step to replace an over-the-range microwave safely and efficiently. Preparation saves time and prevents damage. Having everything ready helps the installation go smoothly.
Essential Tools List
- Power drill with screwdriver bits
- Stud finder to locate wall studs
- Measuring tape for precise measurements
- Level to ensure proper alignment
- Adjustable wrench for bolts and nuts
- Utility knife to cut caulk or sealant
- Socket set for mounting hardware
- Step ladder for reaching high areas
Safety Equipment
- Safety goggles to protect your eyes
- Work gloves for hand protection
- Dust mask to avoid inhaling debris
- Non-slip shoes for stable footing
- Flashlight in case of poor lighting
Disconnect Power And Ventilation
Before removing your over-the-range microwave, disconnecting power and ventilation is essential. This step ensures safety and prevents damage to your kitchen. Always handle electrical and vent connections carefully to avoid accidents or costly repairs.
Turn Off Circuit Breaker
Locate the circuit breaker panel in your home. Switch off the breaker that powers the microwave. Confirm power is off by testing the microwave or using a voltage tester. This simple step avoids electric shock during removal.
Unplug Microwave
Find the microwave’s power cord behind or above the unit. Gently pull the plug from the outlet. Do not yank the cord to prevent damage. If the plug is hard to reach, wait until the unit is loosened for easier access.
Detach Vent Components
Identify the vent system connected to the microwave. Remove screws or clips holding the vent cover or duct. Carefully separate the vent parts without bending or breaking them. Set these components aside for reinstallation or replacement.
Remove Old Microwave
Removing the old over-the-range microwave is the first step in the replacement process. It requires care and attention to avoid damage or injury. Follow these simple steps to remove your microwave safely and efficiently.
Support Microwave Weight
Place one hand firmly under the microwave to hold its weight. The microwave is heavy and awkward to handle alone. Ask for help if needed. Supporting the weight prevents it from falling and causing injury or damage.
Unscrew Mounting Hardware
Use a screwdriver to remove all screws holding the microwave in place. Start with the screws on the mounting bracket and the cabinet above. Keep the screws in a safe place. Removing these screws frees the microwave from the wall and cabinet.
Carefully Lower Unit
Slowly and gently lower the microwave from its mounting bracket. Maintain a firm grip to keep it steady. Avoid sudden movements that could cause the microwave to drop. Once free, move the unit away from the wall and set it down on a safe surface.
Prepare Mounting Area
Preparing the mounting area is a vital step before installing your new over-the-range microwave. This process ensures the surface is secure and ready to hold the appliance safely. Taking time to inspect and repair the area will help avoid future problems.
Inspect And Repair Surface
Begin by examining the wall and cabinet space where the microwave will hang. Look for any damage, such as cracks, holes, or loose drywall. Check for water stains or mold, which could weaken the mounting surface. Repair any damaged drywall or wood to create a solid base.
Remove any old mounting hardware or debris left behind from the previous microwave. Clean the area thoroughly to remove dust and grease. Use a level to check that the surface is even. A flat surface is essential for a stable installation.
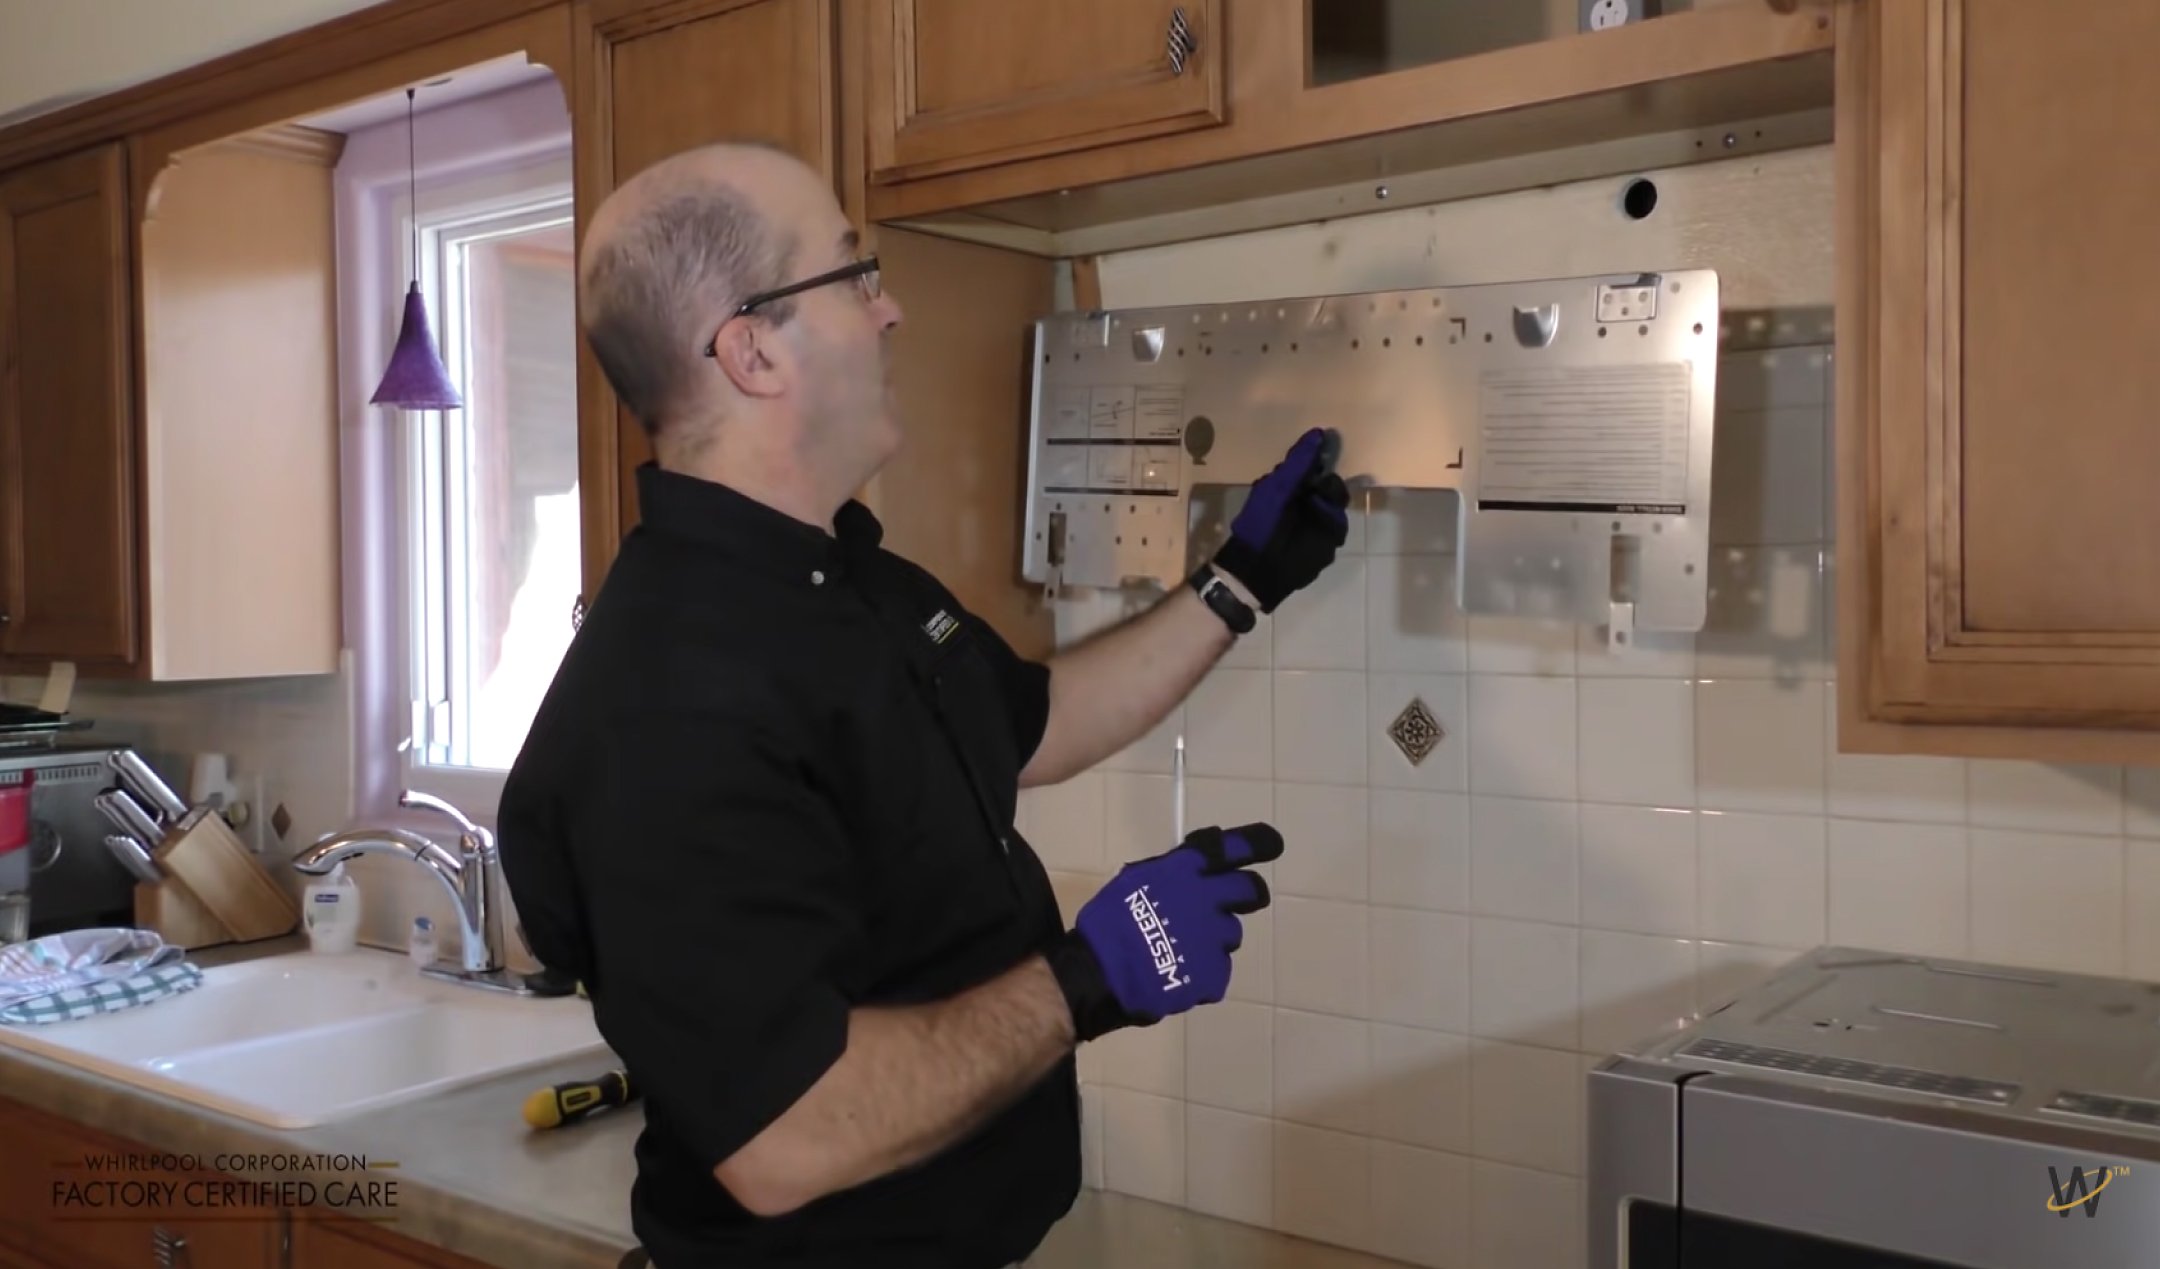
Install New Mounting Bracket
Most new microwaves come with a specific mounting bracket. Align the bracket with the designated spots on the wall or cabinet. Use a pencil to mark the screw holes clearly. Drill pilot holes to make installing screws easier and prevent splitting the wood.
Secure the bracket tightly with screws provided by the manufacturer. Ensure the bracket is level and firmly attached to support the microwave’s weight. Double-check the stability before proceeding to mount the appliance.
Credit: www.youtube.com
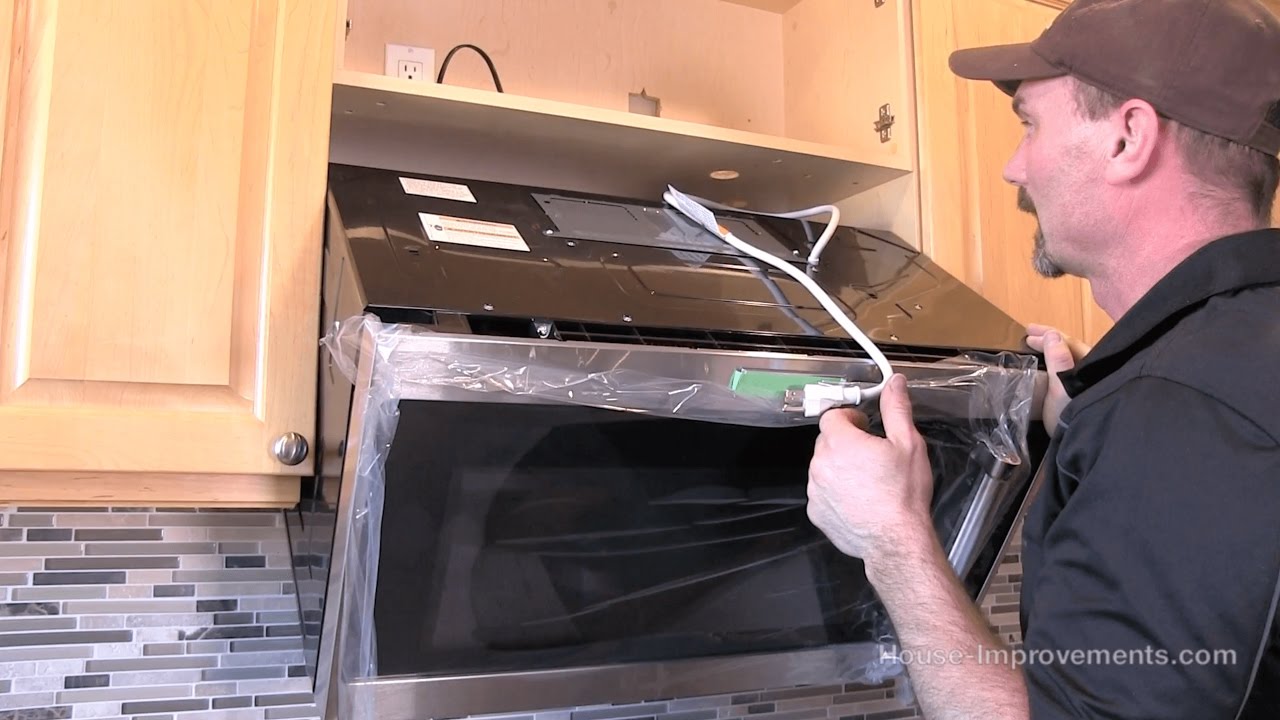
Install New Microwave
Installing a new over-the-range microwave requires care and precision. This step ensures your microwave fits securely and works properly. Follow each part closely to install your new microwave safely and effectively.
Lift And Secure Microwave
Lift the microwave carefully with help. Align it with the mounting bracket on the wall. Hook the microwave onto the bracket firmly. Use screws to secure it to the cabinet above. Make sure the microwave feels stable and does not move.
Connect Ventilation
Attach the microwave’s vent to your kitchen’s vent system. Match the vent opening on the microwave with the vent pipe. Use duct tape or clamps to seal the connection. Proper ventilation prevents smoke and steam build-up. Check that air flows freely through the vent.
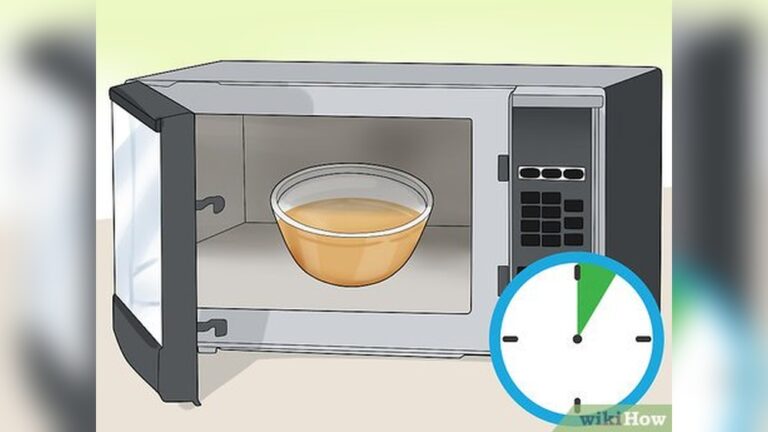
Plug In And Test Operation
Plug the microwave into the power outlet. Turn on the microwave and listen for normal sounds. Test all buttons and the light inside. Heat a cup of water to check if it warms correctly. If something feels wrong, unplug and recheck connections.
Adjust Settings And Features
After installing your new over-the-range microwave, adjusting its settings and features is key. This step ensures the appliance works smoothly and fits your kitchen habits. Proper adjustments improve your cooking experience and help the microwave run efficiently.
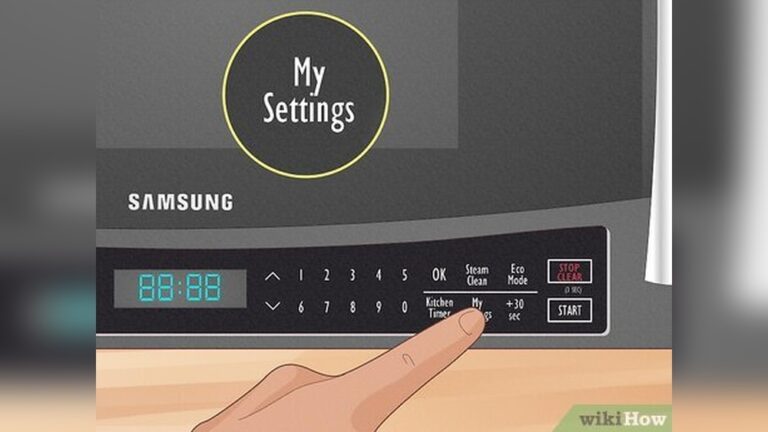
Set Clock And Timers
Start by setting the clock to the correct time. This helps with accurate cooking and timer functions. Use the microwave’s control panel to adjust the clock. Most models have simple buttons labeled “Clock” or “Time.” Press the button, then enter the current time using the number pad. Confirm the setting by pressing “Start” or “Enter.”
Next, test the timer function. Set a short countdown to make sure it counts down properly. Timers are useful for tracking cooking times without starting the microwave. This feature keeps your kitchen workflow smooth.
Test Lighting And Fan
Check the microwave’s light. It should turn on when you open the door. If the light does not come on, check the bulb or wiring. Good lighting helps you see inside the microwave while cooking.
Test the fan next. Turn on the fan using its control button. The fan clears smoke and steam from your stove area. Make sure the fan runs quietly and effectively at different speeds. This step ensures your kitchen stays fresh during cooking.
Customize Preferences
Explore your microwave’s settings to match your needs. Some models allow you to adjust sound volume or turn off beeps. Others offer power level settings for different cooking styles. Customize these preferences for comfort and convenience.
Set favorite cooking modes or quick-start buttons. This saves time when you use the microwave often. Personalizing your microwave makes daily cooking faster and easier.
Alternative Options To Otr Microwaves
Replacing an over-the-range (OTR) microwave opens a chance to explore different kitchen setups. You can keep the space functional and stylish without using another OTR microwave. There are practical alternatives that fit various needs and kitchen designs. These options can improve ventilation, storage, or ease of use. Consider these ideas to update your kitchen smartly.
Install Range Hood For Ventilation
Range hoods remove smoke, odors, and steam from cooking areas. They are effective at keeping kitchen air clean. Installing a range hood above your stove frees you from the microwave’s ventilation role. Many models offer powerful fans and lighting for better cooking comfort. Choose a range hood that fits your kitchen size and style. This setup allows for more flexible microwave placement elsewhere.
Add Open Shelving Or Decor
Removing the OTR microwave creates extra wall space. Use it to add open shelves for kitchen tools or decor. Open shelving makes your kitchen look larger and more open. Display items like spices, cookbooks, or plants to add personality. This choice helps organize your kitchen while keeping essentials close by. It also makes the space feel fresh and inviting.
Use Built-in Microwave Drawers
Microwave drawers fit neatly into lower cabinets or kitchen islands. They save counter space and keep microwaves out of sight. Built-in drawers offer easy access without bending or reaching high. This option gives your kitchen a modern, sleek look. It also separates the microwave from cooking fumes and heat above the stove. A microwave drawer is a smart, stylish alternative to OTR models.
Tips For Smooth Replacement
Replacing an over-the-range microwave can feel tricky. Preparing well makes the process easier. Follow these tips for a smooth, hassle-free replacement. Each step helps avoid common mistakes. You save time and effort by planning ahead.
Focus on important details. Use the right tools and parts. Check space rules carefully. Ask for help if unsure. These small actions lead to a successful installation.
Use New Hardware
Always use the new hardware that comes with your microwave. Old screws or brackets may not fit well. New parts match your microwave model perfectly. They ensure a secure and safe mount. This prevents damage and loosening over time.
Check Clearance Regulations
Measure the space before installation. Make sure there is enough clearance above the stove. Follow local safety rules for ventilation and height. Proper clearance avoids fire hazards. It also keeps the microwave working efficiently.
Seek Professional Help If Needed
Some steps need special skills. Electrical wiring and heavy lifting can be risky. Hire a professional if you feel unsure. They have tools and experience for safe installation. This protects your home and your new appliance.
Frequently Asked Questions
Do All Over Range Microwaves Fit The Same?
No, over-the-range microwaves do not all fit the same. Always measure your space and compare it with the microwave’s exact dimensions before buying.
What Can I Replace An Over The Range Microwave With?
You can replace an over-the-range microwave with a range hood for better ventilation or a countertop microwave for flexible placement.
How Much Does It Cost To Replace An Over The Range Microwave?
Lowe’s charges approximately $150 to $250 for over-the-range microwave installation. Prices vary by location and complexity.
Conclusion
Replacing an over-the-range microwave is simpler than it seems. Measure your space carefully and compare with new microwave specs. Use the new mounting bracket for safety and fit. Take your time to follow each step closely. This ensures your microwave works well and looks great.
A little effort saves money and adds convenience. Now, enjoy cooking with your new microwave in place!