How to Replace Over the Range Microwave Oven: Easy Step-by-Step Guide
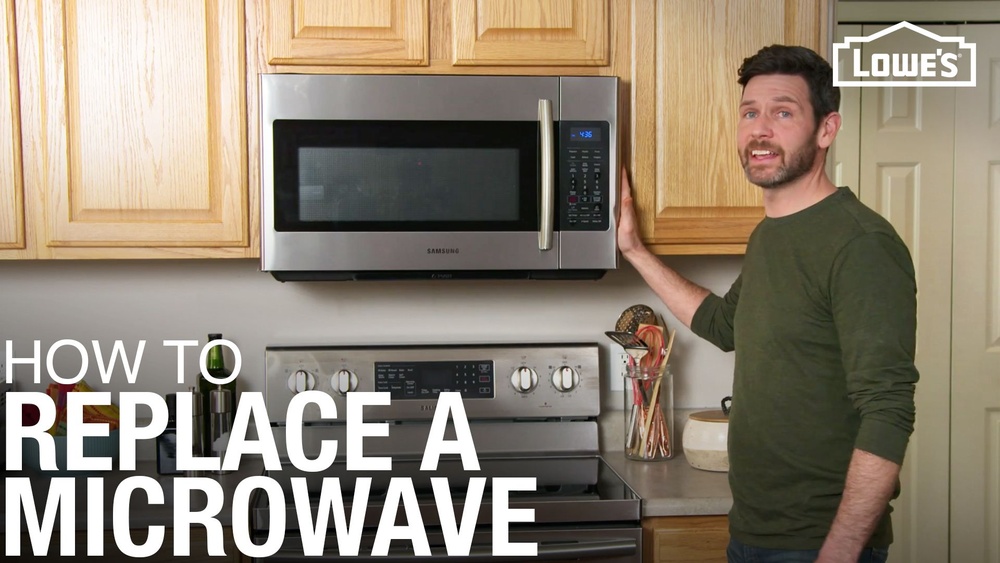
Thinking about replacing your over-the-range microwave oven? You’re probably wondering if it’s something you can handle yourself or if you’ll need to call in a pro.
The good news is, with the right tools and a little guidance, you can tackle this project confidently—and save money along the way. But before you start, it’s important to know the key steps and challenges involved. From safely lifting the heavy microwave to securely mounting it on your wall and cabinets, this guide will walk you through everything you need to know.
Ready to upgrade your kitchen and master this doable DIY task? Let’s dive in and make your microwave replacement smooth and stress-free.

Credit: www.youtube.com
Preparation And Tools
Before replacing an over the range microwave oven, proper preparation is key. Gathering the right tools and understanding safety steps help the process go smoothly. Knowing how to find wall studs ensures the microwave is securely mounted. This section guides you through these essential preparations.
Gathering Necessary Tools
Collect all tools before starting the project. You will need a drill, screwdriver, stud finder, measuring tape, and a level. A helper is useful for lifting the microwave safely. Have a flashlight handy for better visibility in dark spots. Keep all tools within reach to avoid delays.
Safety Precautions
Turn off power to the microwave at the circuit breaker. Unplug the microwave to avoid electric shock. Wear gloves to protect your hands from sharp edges. Use safety goggles to guard against dust or debris. Work carefully to prevent injury and damage to the wall or cabinets.
Finding Wall Studs
Wall studs provide strong support for the microwave. Use a stud finder to locate the studs behind the wall. Mark the stud locations with a pencil. Measure twice to ensure accuracy before drilling. Mounting the microwave on studs prevents it from falling or loosening over time.
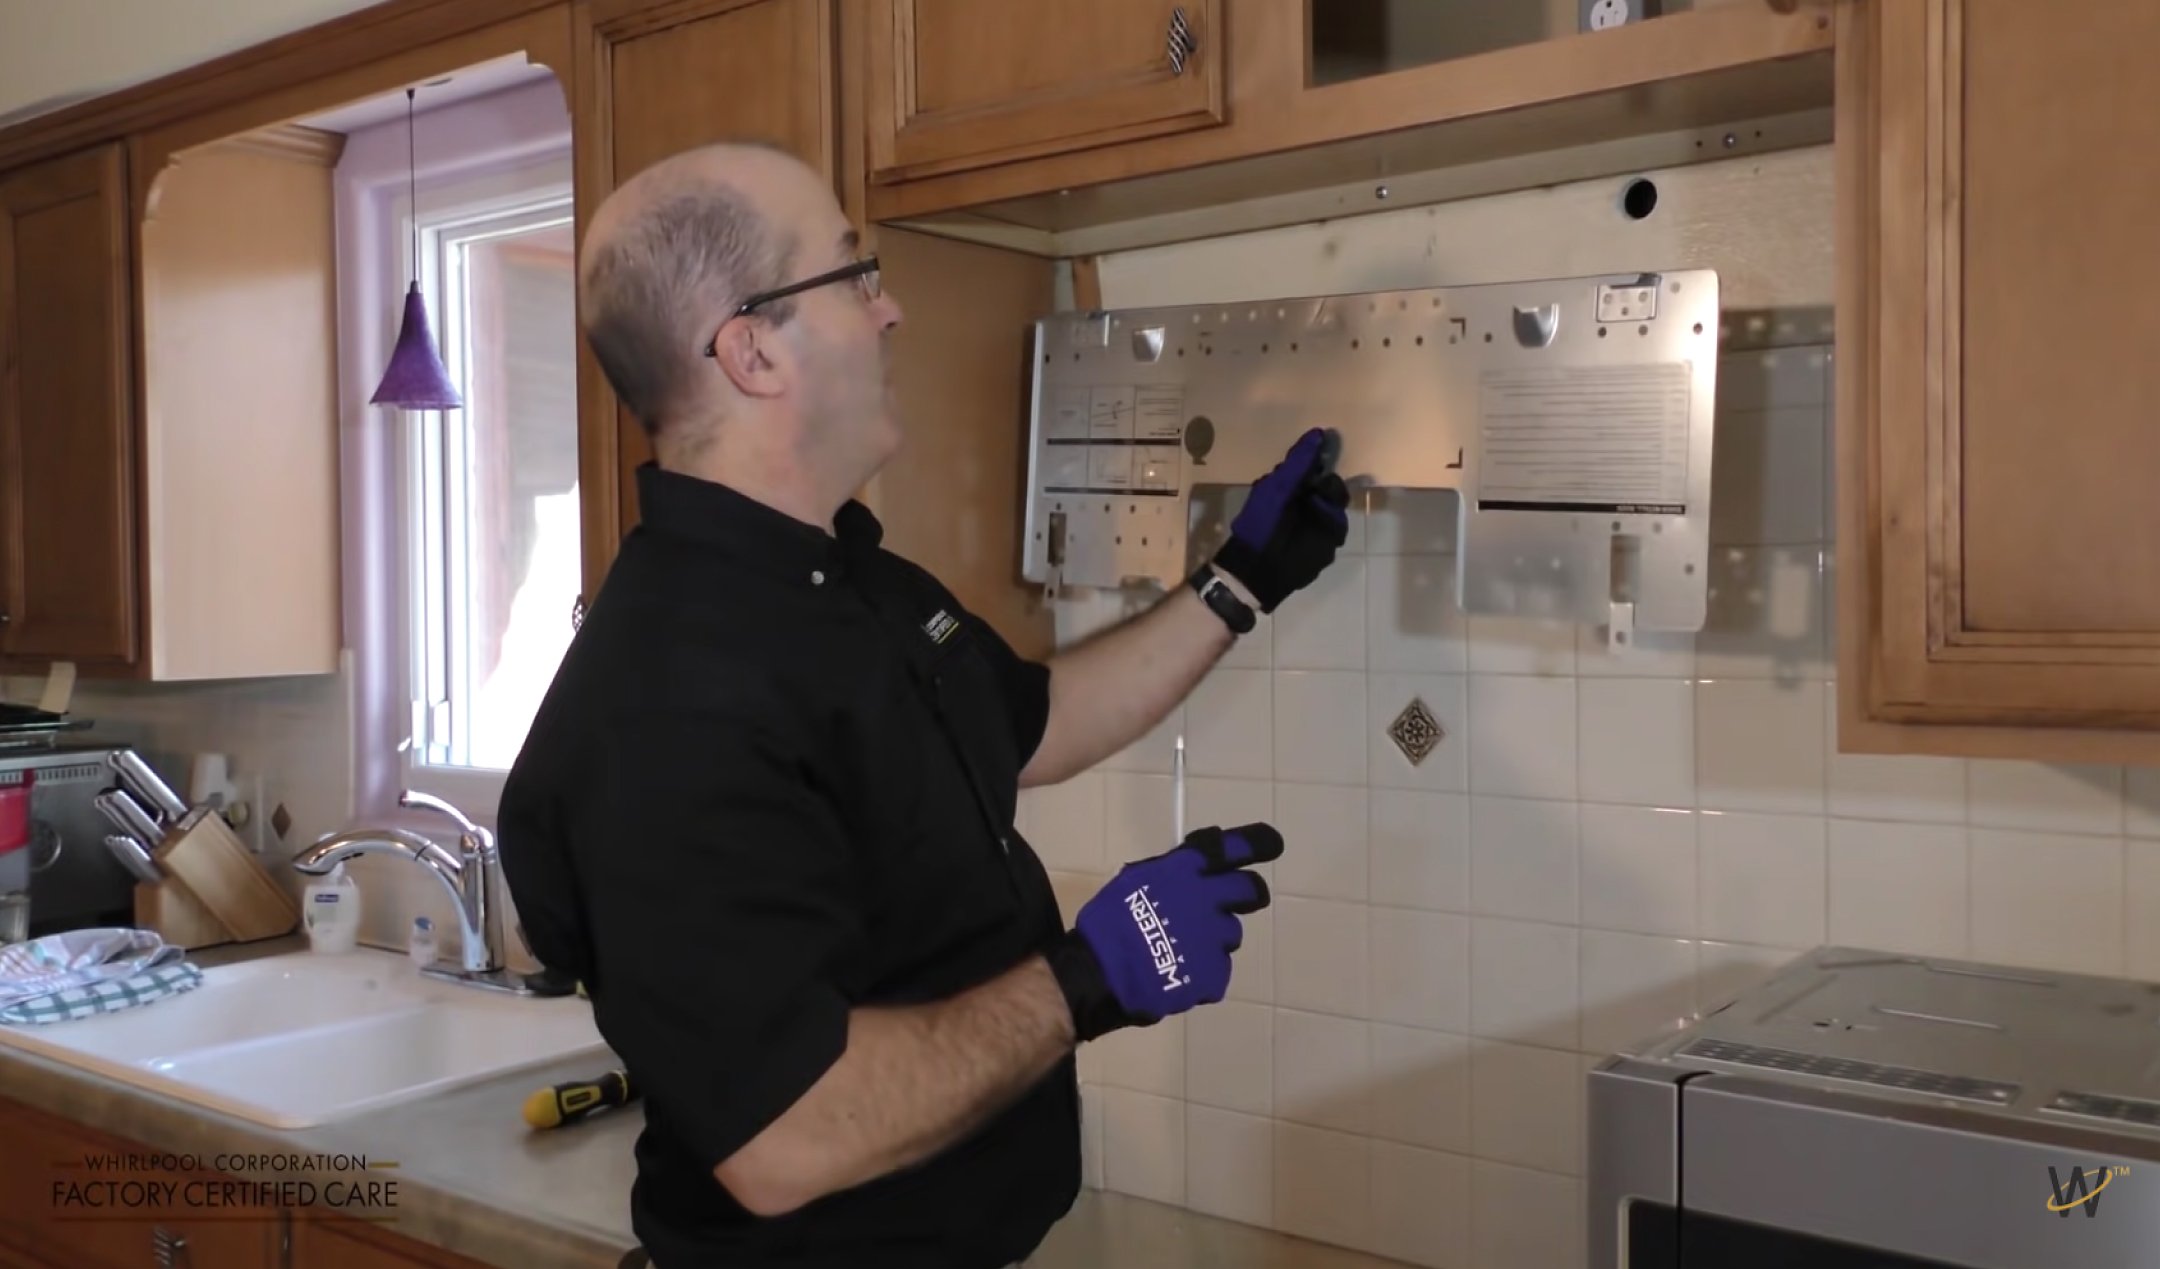
Credit: www.whirlpool.com
Removing The Old Microwave
Removing the old over-the-range microwave is the first step in replacing it. Safety and care are important throughout this process. The appliance is heavy and connected to power and ventilation. Follow a clear method to avoid damage or injury.
Turning Off Power And Ventilation
Start by turning off the microwave’s power at the circuit breaker. This stops any risk of electric shock. Next, disconnect the microwave from the ventilation system. This may include removing screws or clips that attach the vent cover. Make sure all power and air flow connections are safely off before proceeding.
Detaching From Cabinets And Wall
Locate the screws that hold the microwave to the cabinets and wall. These are usually found inside the microwave door frame and on the mounting bracket. Use a screwdriver to carefully remove all screws. Support the microwave with one hand while loosening screws to prevent it from falling.
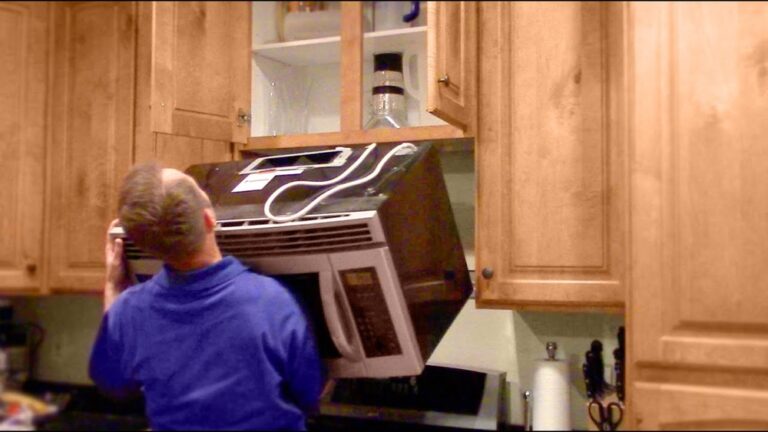
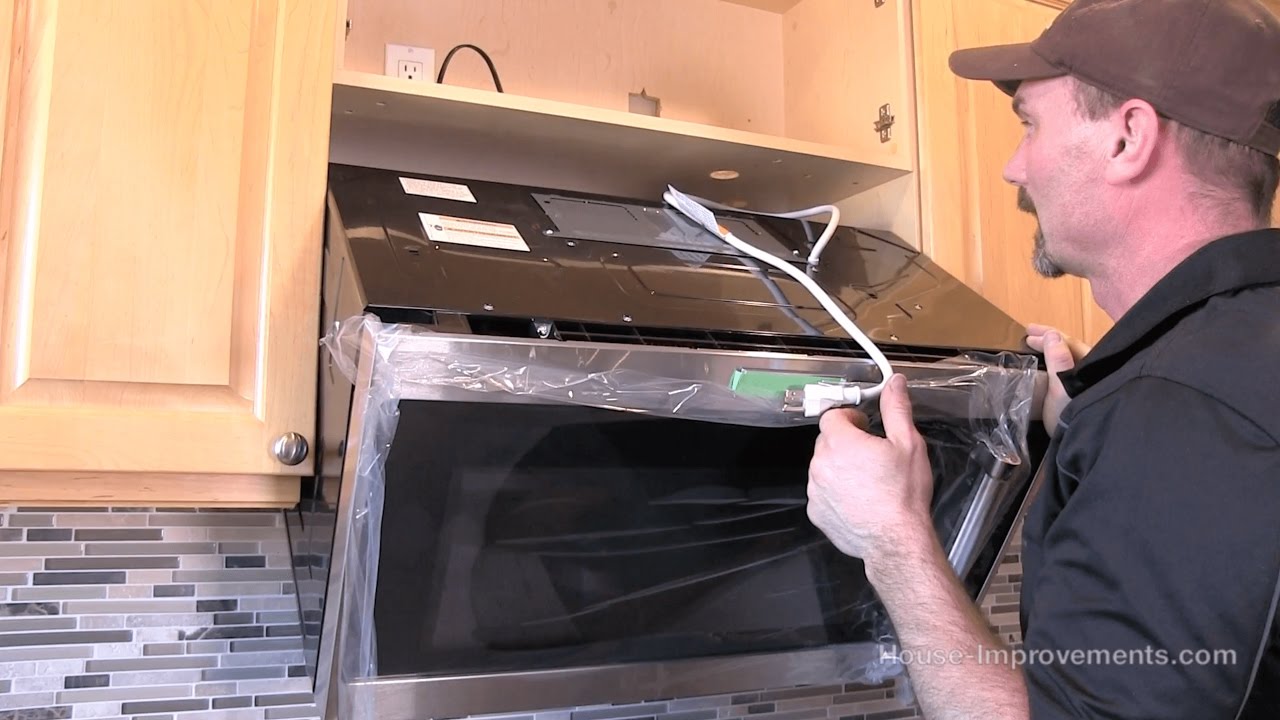
Handling The Heavy Appliance
The microwave can be heavy and bulky. It is best to have a helper during removal. Lift the microwave straight down and away from the wall slowly. Avoid twisting or sudden movements to prevent injury. Place the appliance on a sturdy surface to prepare for disposal or recycling.
Inspecting Existing Setup
Replacing an over the range microwave often comes with challenges. Troubleshooting common issues helps avoid delays and mistakes. Understanding potential problems prepares you for a smooth installation. This section covers common hurdles and practical solutions.
Dealing With Non-standard Cabinets
Many kitchens have cabinets that do not fit standard microwave sizes. These cabinets may be too shallow or oddly shaped. Measure the space carefully before buying your new microwave. If the new model is larger, you might need to remove or modify cabinets. Use a jigsaw or hand saw to trim cabinet edges safely. Always wear protective gear when cutting wood. If cabinet walls are very thin, add wood reinforcements for extra support.
Modifying Backsplash Or Wall
Sometimes the backsplash or wall behind the microwave blocks installation. Tiles or textured walls can prevent a flush fit. Mark the areas that need adjustment with a pencil. Use a chisel or rotary tool to remove small sections of tile or drywall. Be cautious not to damage electrical wiring or plumbing inside the wall. Sand rough edges smooth to ensure the microwave sits evenly. Clean the area thoroughly before mounting the new appliance.
Handling Vent Compatibility
Vent systems vary and may not match your new microwave’s venting options. Check if your microwave vents externally or recirculates air inside. External vents require ductwork that aligns with the microwave outlet. Measure duct size and shape before installation. If ducts do not match, use adapters or flexible ducting for connection. For recirculating models, install charcoal filters as instructed. Make sure vents are not blocked to keep air flowing properly.
Credit: www.youtube.com
Frequently Asked Questions
Is Replacing An Over The Range Microwave Hard?
Replacing an over-the-range microwave is moderately easy with existing wiring and venting. It requires lifting the heavy unit and securing it to studs. New electrical or ductwork installations make the task harder and may need professional help. Always turn off power before starting.
Is It Worth Fixing An Over The Range Microwave?
Fixing an over-the-range microwave is worth it if repair costs are low and the unit is relatively new. Otherwise, replacement saves money and effort.
How Much Does It Cost To Replace An Over The Range Microwave?
Replacing an over-the-range microwave typically costs between $150 and $500. Installation fees range from $100 to $200. Complex electrical or venting work can increase the price. DIY installation saves money but requires proper tools and safety precautions. Always budget for the microwave unit and labor costs.
Conclusion
Replacing an over-the-range microwave can improve your kitchen’s function. Take time to measure and prepare before starting. Use a stud finder to secure the mounting bracket properly. Enlist help to lift and hold the microwave safely. Follow all electrical and venting guidelines to avoid issues.
Simple tools and careful steps make the job easier. With patience, you can complete this upgrade yourself. Enjoy your new microwave and a refreshed kitchen space.