How to Install a Samsung Over the Range Microwave Oven: Step-by-Step Guide
Looking to upgrade your kitchen with a sleek Samsung over-the-range microwave oven? Installing it yourself might seem tricky, but with the right guidance, you can do it confidently and save on costly installation fees.
This step-by-step guide is designed just for you—whether you’re a seasoned DIYer or trying this for the first time. You’ll learn how to safely mount your microwave, connect the venting options, and secure everything perfectly in place. By the end, you’ll not only have a stylish, space-saving appliance ready to use but also the satisfaction of a job well done.
Keep reading to discover how simple and rewarding installing your Samsung over-the-range microwave oven can be!

Credit: www.samsung.com
Preparation
Preparing for your Samsung over the range microwave oven installation is key. Proper preparation saves time and avoids mistakes. It ensures a smooth, safe, and secure setup. Follow each step carefully to get ready.
Check Included Parts
Start by unpacking the microwave box. Look for the mounting bracket, screws, and hardware. Check the user manual for a parts list. Confirm all parts are present and undamaged. Missing parts delay installation and cause frustration.
Gather Required Tools
Collect all tools before you begin. You will need a drill, screwdriver, tape measure, pencil, and level. A stud finder helps locate wall studs. Safety gear like gloves and goggles is useful. Having tools ready makes the process faster and safer.
Measure And Mark Placement
Measure the space above your range carefully. Ensure the microwave fits without blocking cabinets or vents. Mark the wall where the bracket and screws will go. Use a level to keep marks straight and even. Accurate marks prevent misalignment during installation.

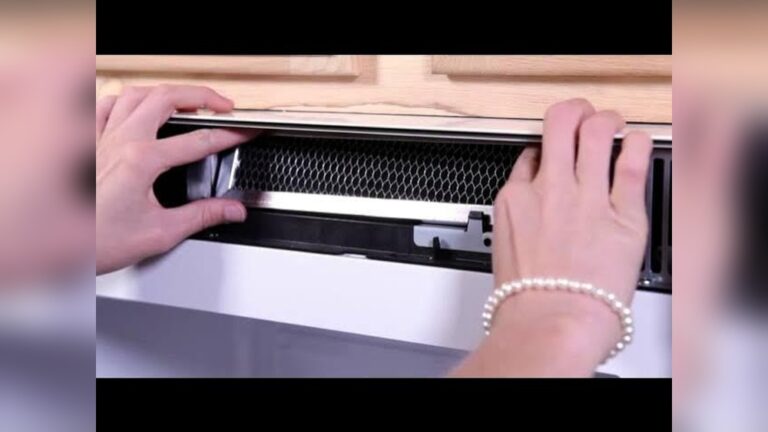
Credit: www.youtube.com
Remove Old Microwave
Removing the old microwave is the first step before installing your new Samsung over the range microwave. This process requires care to avoid damage and ensure safety. Follow the steps below to remove the old unit properly.
Disconnect Power
Start by unplugging the microwave from the power outlet. If the plug is hard to reach, turn off the circuit breaker that powers the microwave. This prevents any electric shock during removal. Never attempt to remove the microwave while it is still connected to power.
Detach From Wall And Cabinet
Locate the mounting screws that attach the microwave to the wall and cabinet. Use a screwdriver to remove these screws carefully. Support the microwave with one hand while loosening the screws to prevent it from falling. After all screws are removed, gently pull the microwave away from the wall.
Remove Venting Components
Check for any venting parts connected to the microwave. These include ducts or filters that help exhaust air outside. Detach these components by unscrewing or unclipping them. Keep these parts if you plan to reuse or replace them with compatible venting for your new microwave.
Install Mounting Bracket
Installing the mounting bracket is a crucial step for your Samsung over the range microwave oven. This bracket holds the microwave securely on the wall. Proper installation ensures safety and stability. Follow these clear steps to install the mounting bracket correctly.
Locate Wall Studs
Start by finding the wall studs behind your installation area. Use a stud finder for accuracy. Studs provide the strongest support for the bracket. Mark the stud locations with a pencil. Avoid mounting only on drywall to prevent accidents.
Use Template For Drilling
Your Samsung microwave comes with a drilling template. Tape the template to the wall aligning it with your stud marks. This guides where to drill the holes. Drill pilot holes through the template marks. Keep the drill level for even mounting.
Secure Bracket To Wall
Align the mounting bracket with the drilled holes. Use heavy-duty screws to attach the bracket to the studs. Tighten screws firmly but avoid overtightening. Check that the bracket is level and stable. This bracket will support the weight of the microwave oven safely.
Prepare Ventilation Options
Preparing ventilation options is essential before installing your Samsung over the range microwave oven. Proper ventilation ensures efficient air flow and removes cooking odors and steam from your kitchen. Choose the right venting method based on your kitchen setup and preferences. Each option requires specific steps to install and connect the ductwork securely. Plan carefully to avoid future problems and improve your microwave’s performance.
Outside Top Exhaust Setup
This setup vents air outside through a vertical duct. It is ideal for kitchens with direct access to the roof or attic. Locate the duct opening above the microwave. Attach the duct pipe securely to the microwave’s vent outlet. Use metal screws to hold the duct in place. Ensure the duct runs straight to avoid airflow blockages. Finish by sealing around the duct with foil tape to prevent leaks.
Recirculating Vent Installation
This option does not require external ductwork. The microwave filters and recirculates air back into the kitchen. Install a charcoal filter inside the microwave’s vent housing. Replace the original vent cover with the recirculating vent kit provided. Check that the air flows freely through the filter. This setup suits apartments or homes without roof access. Clean or replace filters regularly for best performance.
Seal And Connect Ductwork
Proper sealing of ductwork prevents air leaks and maintains ventilation efficiency. Use foil tape, not duct tape, to seal all joints and seams. Wrap the tape tightly around the connections. Check that the duct is firmly attached to the microwave and the external vent. Avoid sharp bends or crushed sections in the duct. Secure the duct with metal straps if needed. A well-sealed ductwork system improves air flow and reduces noise.
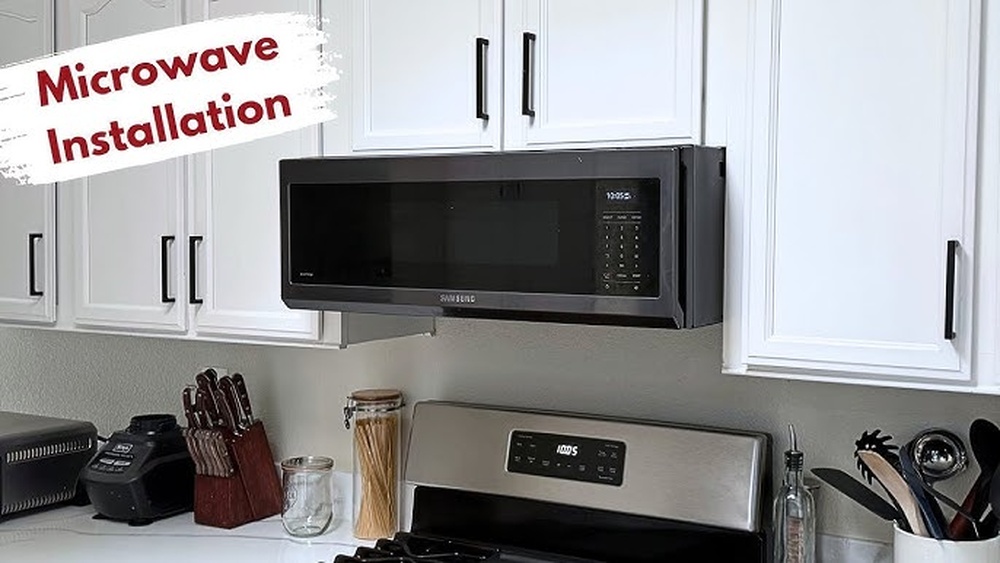
Mount Microwave
Mounting your Samsung over-the-range microwave is a key step in installation. This process ensures the microwave stays secure and functions properly. Follow each step carefully to position the microwave correctly above your stove.
Use the mounting bracket provided with your microwave. It supports the unit’s weight and fixes it to the wall safely. Proper mounting prevents accidents and keeps your kitchen looking neat.
Lift Microwave Onto Bracket
First, hold the microwave firmly. Lift it up slowly and align the back of the microwave with the mounting bracket. Make sure the bracket slots fit into the microwave’s hooks. This step may need two people to avoid dropping or damaging the unit.
Secure To Cabinet Above
Next, open the cabinet above the microwave. Use screws to fasten the microwave to the cabinet’s bottom. The screws go through the microwave’s top holes into the wood. Tighten them well to keep the microwave from moving.
Check Stability And Level
Check that the microwave is stable and does not wobble. Use a level tool to ensure it sits perfectly horizontal. Adjust if needed by loosening the screws slightly and repositioning the unit. A level microwave looks better and works more efficiently.
Connect Power And Finalize
Connecting power and finalizing your Samsung over the range microwave oven is a critical last step. This phase ensures your microwave operates safely and efficiently. It also wraps up the installation process, leaving your kitchen clean and ready for use.
Plug In Microwave
Locate the power cord at the back of the microwave. Carefully plug it into the dedicated outlet. Ensure the outlet is grounded and complies with local electrical codes. Avoid using extension cords or power strips for safety reasons. Secure the cord so it does not hang or get pinched.
Test Functionality
Turn on the microwave and test basic functions. Try heating a cup of water to check the heating element. Listen for unusual noises or vibrations. Use the control panel to check all buttons and settings. Confirm the light and turntable operate correctly.
Clean Installation Area
Remove all tools and packaging materials from the countertop and stovetop. Wipe down the microwave exterior and surrounding surfaces with a damp cloth. Check for dust or debris inside the vent and filters. Proper cleaning prevents odors and maintains appliance appearance. Ensure the area is dry to avoid electrical hazards.
Troubleshooting Tips
Troubleshooting during the installation of a Samsung over-the-range microwave oven saves time and stress. Common issues often arise from missing parts, venting problems, or alignment errors. Quick fixes help keep your project on track and your kitchen safe. Below are key tips to handle these common challenges effectively.
Handling Missing Parts
Check the box carefully before starting installation. Missing parts delay progress and cause frustration. Contact Samsung support if any hardware or brackets are absent. Use the model number to get the correct replacements. Avoid using substitute parts as they may not fit or work properly.
Dealing With Venting Issues
Confirm the type of venting your microwave requires. Samsung models support outside top exhaust or recirculating venting. Ensure duct connections are tight and sealed to prevent leaks. Clean or replace old ducts before installation. Poor venting reduces microwave efficiency and can cause smoke or odor buildup.
Ensuring Proper Alignment
Align the microwave bracket exactly with the cabinet mounting points. Use a level to check horizontal and vertical placement. Improper alignment leads to uneven weight distribution and possible damage. Tighten all screws securely without over-tightening. Test the door opening and closing smoothly after installation.
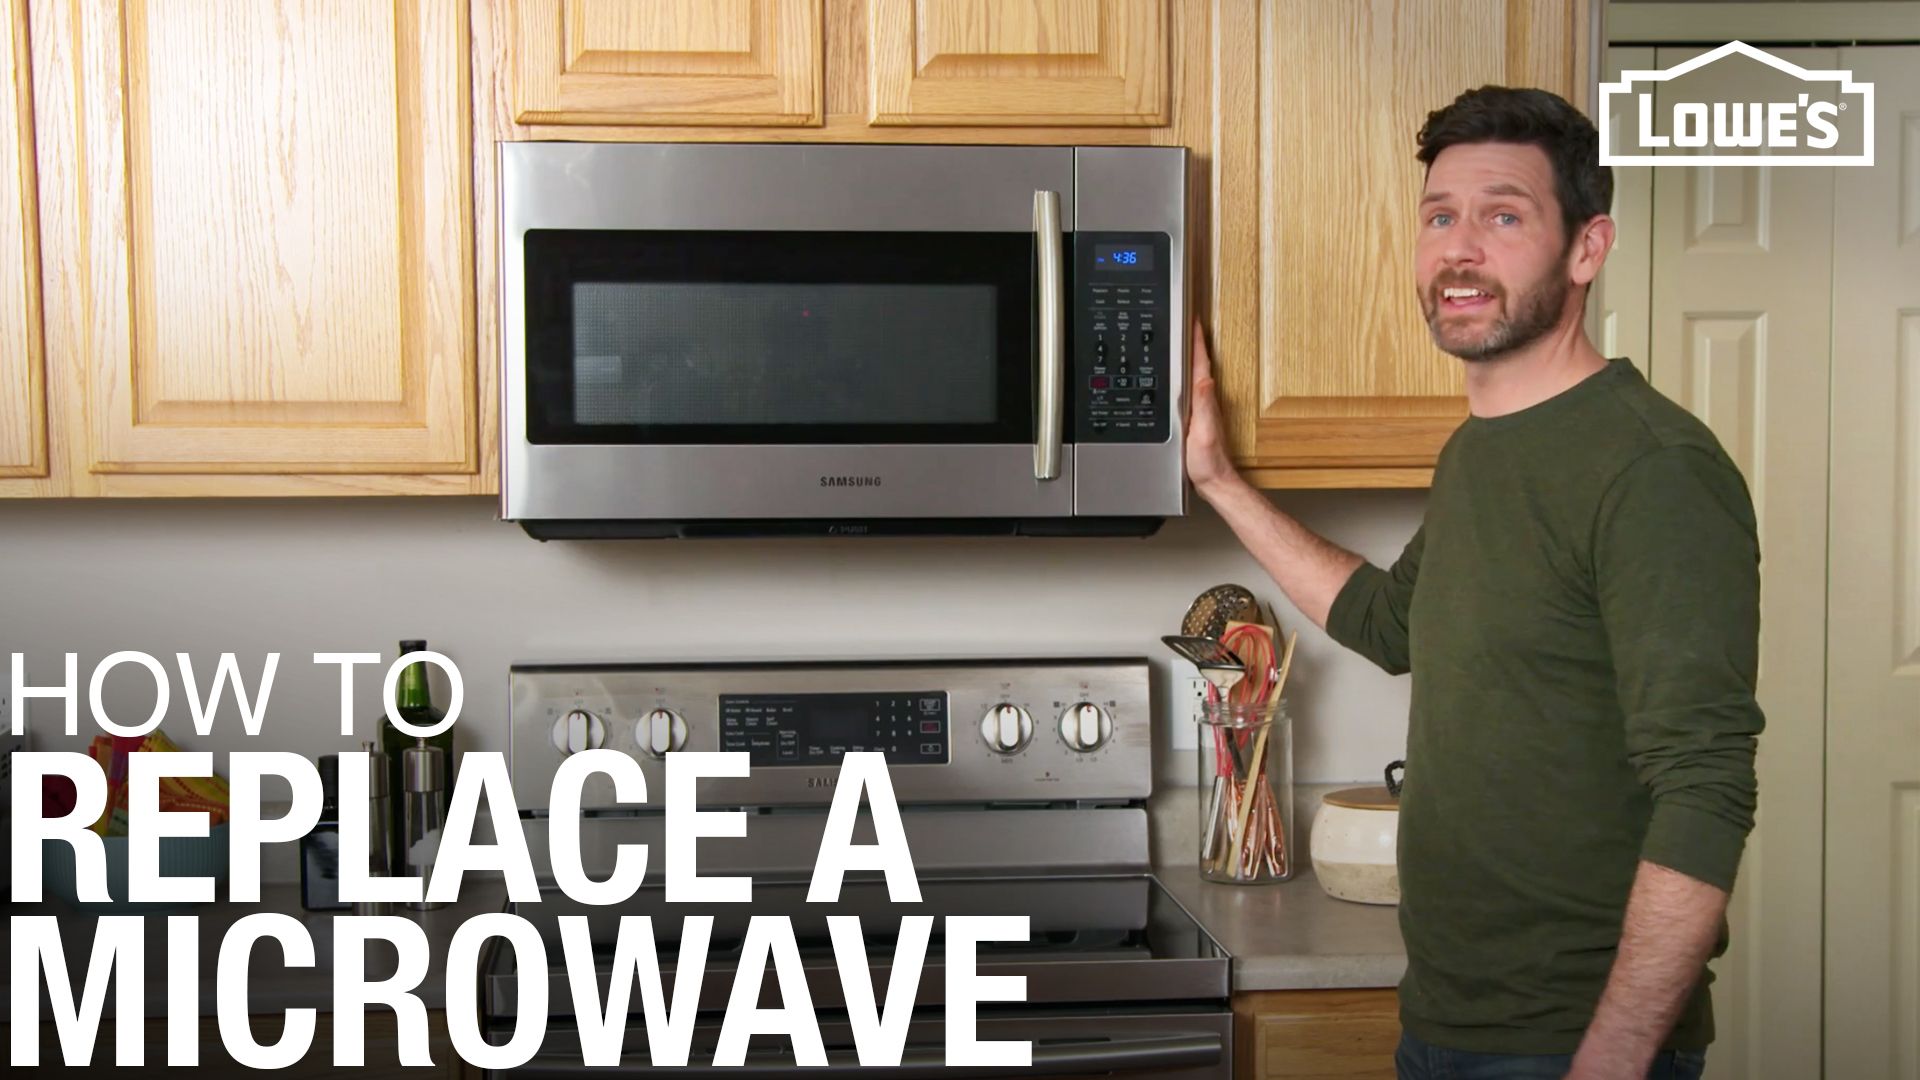
Credit: www.lowes.com
Frequently Asked Questions
Can I Install An Over The Range Microwave Myself?
Yes, you can install an over-the-range microwave yourself by following the manufacturer’s instructions carefully. Use the included mounting bracket and hardware. Ensure proper venting and electrical connections for safety. Watch installation tutorials for guidance.
Can A Samsung Over The Range Microwave Be Vented Outside?
Yes, a Samsung over-the-range microwave can be vented outside using a top or rear exhaust duct. Follow Samsung’s installation instructions for proper venting.
How To Install Samsung Bespoke Microwave Over The Range?
To install a Samsung Bespoke over-the-range microwave, first mount the bracket on the wall using the included template. Lift and secure the microwave onto the bracket, then attach it to the cabinet above. Connect the vent duct if applicable, and finally, plug in the microwave to power it on.
Conclusion
Installing a Samsung over the range microwave oven is simple with clear steps. Secure the mounting bracket firmly to the wall. Lift the microwave carefully and hook it onto the bracket. Connect the power and ventilation as needed for your kitchen setup.
Double-check all screws and connections for safety. Take your time to follow each step closely. This ensures your microwave works well and stays stable. Enjoy the convenience of your new microwave in no time.