How to Set the Clock on Ge Microwave Oven: Quick & Easy Steps

Have you ever glanced at your GE microwave only to realize the clock is wrong? It might seem like a small detail, but having the correct time on your microwave can make your kitchen routine smoother and more efficient.
If you’ve been wondering how to set the clock on your GE microwave oven, you’re in the right place. This simple task can sometimes be confusing, especially if you’re not familiar with your model’s buttons and settings. In this guide, you’ll discover quick and easy steps to get your microwave clock showing the right time—so you can stop guessing and start cooking with confidence.
Keep reading, and you’ll have it set in no time.
Locate Clock Button
Finding the clock button is the first step to set the time on your GE microwave. The clock button lets you access the clock settings quickly. Without it, you cannot change the time displayed on the microwave.
Most GE microwaves have a dedicated clock button labeled “Clock” or “Clock/Timer.” This button usually sits on the control panel, near the number keypad or the start button. Its location can vary depending on the model.
Some models combine the clock function with the timer, so the button might be labeled “Clock/Timer.” Pressing this button allows you to switch between setting the clock and the timer. Look carefully for this button on your microwave’s control panel.
Check The Control Panel
Look closely at the microwave’s control panel. The clock button often appears as a small button with the word “Clock.” It may be near the top or middle of the panel. The button might be white, black, or match the panel color.
Look Near The Number Pad
Many GE microwaves place the clock button close to the number pad. This design makes it easier to enter the time using the keypad. Check the buttons around the numbers for the clock label.
Refer To Your Microwave’s Manual
If you cannot find the clock button, check the user manual. The manual shows the exact location of the clock button for your model. You can download the manual online if you do not have a physical copy.
Use The Touchpad Or Digital Display
Some newer GE microwaves use a touchpad or digital display. The clock button might be part of a touch screen or a menu system. Touch the clock icon or follow the on-screen prompts to set the time.
Credit: www.stasukelisappliance.com
Enter Clock Setting Mode
Entering the clock setting mode on your GE microwave oven is the first step to set the correct time. This mode allows you to adjust the clock display easily.
Knowing how to enter this mode saves time and helps avoid confusion. Follow simple steps to activate the clock setting mode.
Locate The Clock Or Timer Button
Find the button labeled “Clock” or “Timer” on your microwave control panel. This button often controls the clock settings.
Press The Clock Button Twice
Press the “Clock” button two times in quick succession. The colon (:) on the display will start blinking, showing the clock setting mode is active.
Prepare To Enter The Time
Once the colon blinks, you can enter the current time using the number keypad. The blinking colon means the microwave is ready for time input.
Input Current Time
Inputting the current time on your GE microwave is simple and quick. This step ensures the clock shows the correct time. A properly set clock helps you use the microwave’s timer and other timed functions accurately.
Follow the steps below to enter the current time precisely using the microwave’s controls.
Use Number Keypad
Start by pressing the Clock button on your GE microwave. The display will begin blinking. Use the number keypad to type the current time. For example, type 1 2 3 0 for 12:30. Make sure to enter the time without spaces or extra digits. The numbers will show clearly on the screen as you press the keys.
Select Am Or Pm
After entering the numbers, check the AM or PM setting. Some GE microwaves have a separate button to switch between AM and PM. Press this button to choose the correct part of the day. The clock display will update to show your choice. Confirm the time is correct before finishing. Press the Clock button again to save the time and stop the blinking.

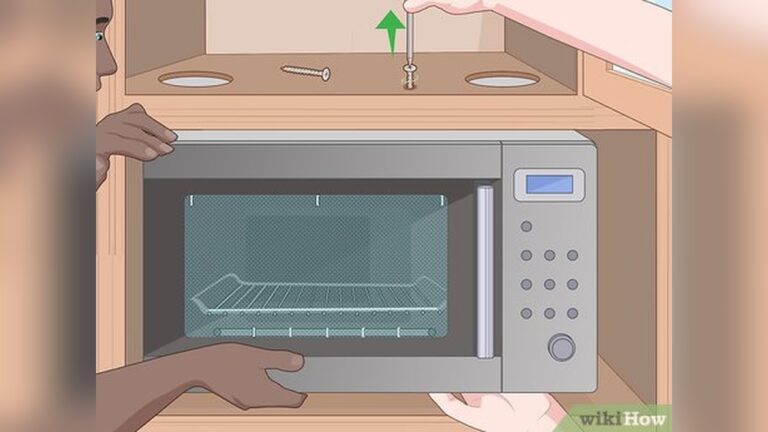
Credit: www.youtube.com
Confirm Time Setting
After entering the correct time on your GE microwave oven, it is important to confirm the setting. This step ensures the clock shows the accurate time. Proper confirmation prevents errors and keeps your microwave running smoothly.
Press Start Button
Locate the Start button on your microwave’s control panel. Pressing this button saves the time you entered. It signals the microwave to accept the new clock setting.
Wait For Blinking To Stop
The colon or numbers on the display will blink while setting the time. Wait patiently until the blinking stops. This confirms the microwave has locked in the correct time. Once blinking ends, your clock is set and ready to use.
Adjust Clock Without Clock Button
Some GE microwave models do not have a dedicated clock button. This can make setting the clock seem tricky. Fortunately, there are simple ways to adjust the clock without using a clock button. These methods use other buttons on the microwave to set the time quickly and easily.
Use Timer Or Delay Start Buttons
Many GE microwaves let you set the clock using the Timer or Delay Start buttons. First, press the Timer or Delay Start button once. The clock digits will start blinking, showing they are ready to be set. Then, enter the correct time using the number pad. After entering the time, press the Timer or Delay Start button again to save it. The blinking will stop, and the clock will show the new time.
Alternate Button Combinations
Some models require pressing a combination of buttons to adjust the clock. Try pressing and holding the Start or Stop/Clear button for a few seconds. Watch the clock display; it should start blinking. Next, use the number pad to enter the correct time. Finally, press the Start or Stop/Clear button again to confirm the setting. This method works well on models without a clear clock button.
Reset Microwave Clock
Resetting the microwave clock can fix timing errors and restore default settings. It helps when the clock shows the wrong time or stops working. Resetting also clears any custom settings that may cause issues.
Follow simple steps to reset the clock on your GE microwave. This guide covers the factory reset and unlocking the control panel to ensure smooth operation.
Factory Reset Steps
Start by unplugging the microwave from the power source. Wait for at least one minute before plugging it back in.
Press and hold the “Clear/Off” button for about 3 seconds. This action resets the microwave to its factory settings.
The clock will reset, and all stored settings will erase. Now, you can set the clock again with fresh settings.
Unlock Control Panel
Locate the “Control Lock” or “Child Lock” button on the microwave panel. Press and hold this button for 3 to 5 seconds.
The control panel will unlock, allowing you to set the clock and use other functions.
If the panel stays locked, unplug the microwave and try the process again after a minute.
Tips For Different Ge Models
Setting the clock on your GE microwave oven is simple but varies slightly by model. Understanding these differences helps you adjust the time quickly. Here are some tips for popular GE models.
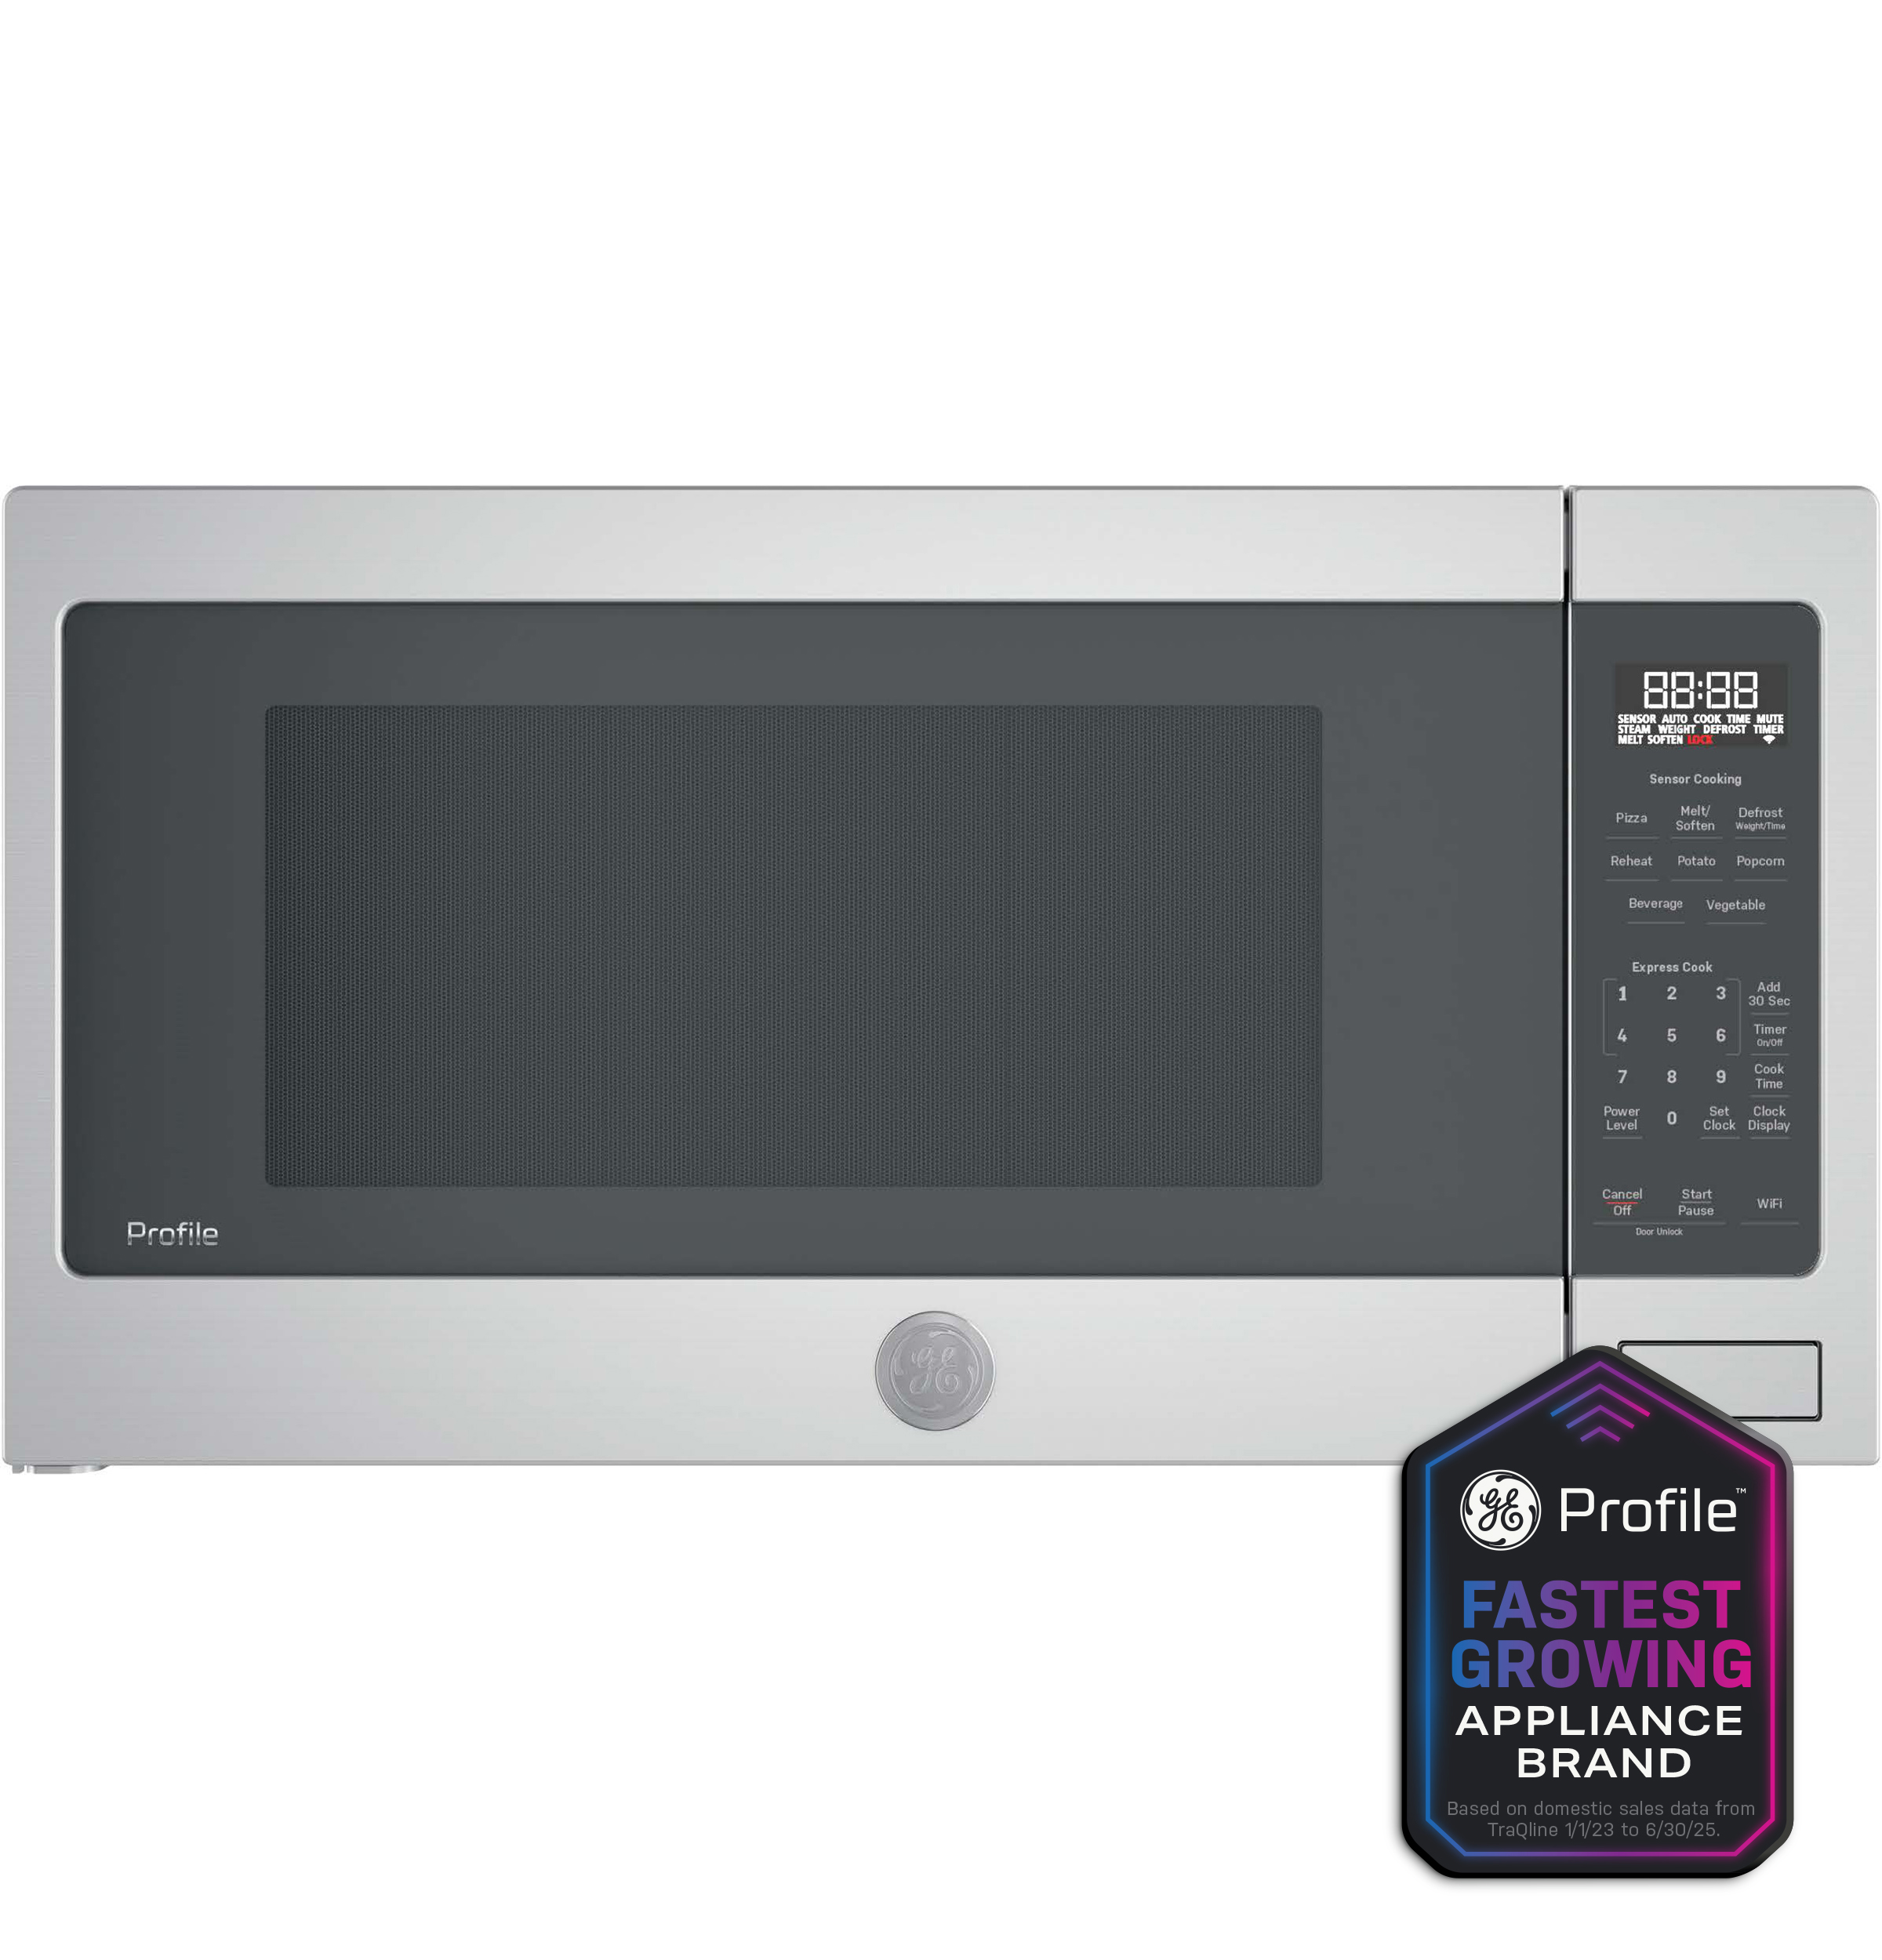
Profile And Cafe Series
The Profile and Cafe Series microwaves have a sleek touch control panel. To set the clock, press the “Clock” button once. The display will blink, signaling you to enter the time.
Use the number pad to input the current hour and minutes. After entering the time, press the “Clock” button again to save it. The blinking colon will stop, confirming the clock is set.
These models may also allow 12-hour or 24-hour formats. Check your user manual to switch between formats if needed.
Over-the-range Models
Over-the-range GE microwaves usually have physical buttons for clock settings. First, press the “Clock/Timer” button twice. The time digits will flash on the display.
Use the number keys to type the current time. Then, press “Clock/Timer” once more to confirm the setting. The flashing will stop, and the clock will display the correct time.
Some over-the-range models require you to press “Start” after entering the time. This step ensures the clock saves properly.
Troubleshooting Clock Issues
Sometimes the clock on your GE microwave oven may not work as expected. Troubleshooting these clock issues helps keep your microwave running smoothly. Understanding common problems makes fixing easier. Below are common clock issues and simple solutions.
Clock Not Responding
The clock may not respond due to a power issue. Check if the microwave is plugged in securely. A power outage or reset can cause the clock to stop. Try unplugging the microwave for a few minutes and then plug it back in. This resets the system and may fix the clock.
Sometimes the control panel buttons become unresponsive. Clean the keypad gently with a soft, dry cloth. Avoid pressing buttons too hard. If the problem continues, the control board might need inspection by a technician.
Display Errors
Display errors can show as blinking numbers or strange symbols. This often means a system glitch. Press the “Clear” or “Stop” button to reset the display. If blinking continues, unplug the microwave for 30 seconds and plug it back in.
Faulty display panels may cause persistent errors. If resetting does not help, the display or control board may require repair. Contact GE customer support or a professional technician for assistance.
Frequently Asked Questions
How Do You Set The Clock On A Ge Microwave Oven?
Press the “Clock” or “Clock/Timer” button twice. Enter the current time using the number pad. Press “Clock” again to confirm. The blinking colon will stop, indicating the clock is set.
How To Set The Clock On The Microwave?
Press the Clock or Clock/Timer button twice until the colon blinks. Enter the current time using the number pad. Press Clock or Start to save the setting.
How Do I Set The Clock On My Ge Oven Without A Clock Button?
Press the “Timer” or “Start” button until the clock display blinks. Use number pads to enter the time. Press “Start” or “Timer” again to save.
Conclusion
Setting the clock on your GE microwave is simple and quick. Just follow the easy steps outlined here. A correctly set clock helps keep your kitchen on schedule. You avoid confusion during cooking and timing tasks. Regularly check the time to ensure accuracy.
Now, enjoy using your microwave with the right time displayed. Small tasks like this make kitchen life smoother. Keep this guide handy for future reference. Simple steps, better results—no hassle at all.