How to Clean Microwave Vent: Easy Steps for a Sparkling Kitchen
Your microwave vent works hard to keep your kitchen air fresh while you cook, but over time, grease and dust build up can block its airflow and reduce its efficiency. If you’ve noticed your microwave vent looking grimy or your kitchen smelling less than fresh, it’s time to give it a good clean.
Cleaning your microwave vent isn’t as tricky as it sounds—you just need the right steps and a little know-how. In this guide, you’ll learn simple, effective ways to clean your microwave vent, protect your appliance, and keep your kitchen smelling clean.
Ready to breathe new life into your microwave vent? Let’s get started!
Safety Tips
Cleaning your microwave vent can improve kitchen air quality and appliance efficiency. Safety is important during this task. Follow key safety tips to protect yourself and your microwave.
These tips help avoid electric shock, damage, and injury. Handle parts gently to keep them intact. A careful approach ensures a safe and effective cleaning process.
Unplug Microwave
Always unplug the microwave before cleaning. This stops electric current and reduces shock risk. Never clean while the microwave is plugged in. Safety starts by cutting off power.
Wait a few minutes after unplugging. This allows the microwave to cool down. Hot surfaces can burn your skin during cleaning. Cooling makes the process safer.
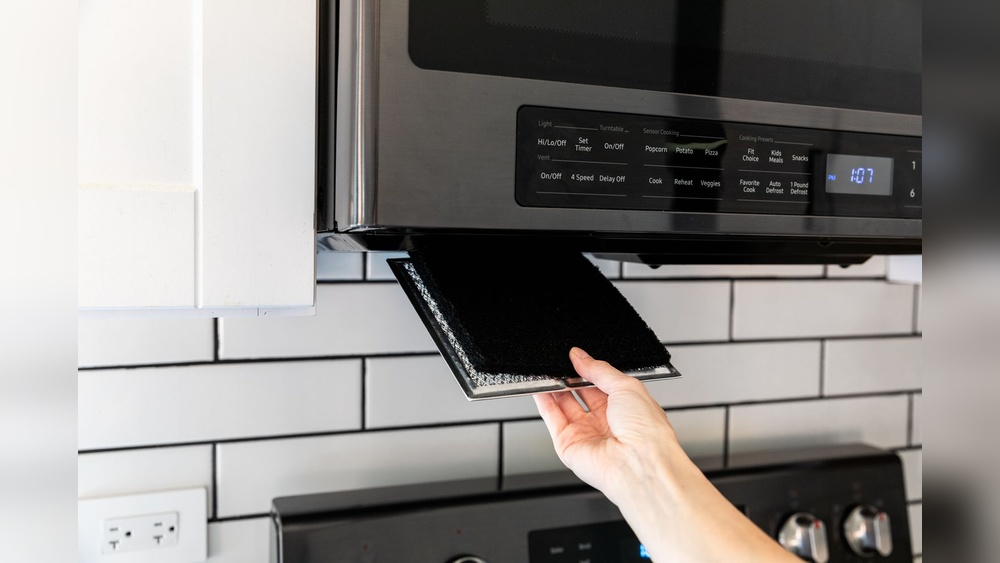
Handle Filters Carefully
Microwave vent filters are fragile and greasy. Remove them gently to avoid damage. Use a soft cloth or sponge for cleaning filters. Avoid harsh scrubbing that can tear or bend filters.
Soak filters in warm, soapy water to loosen dirt. Handle them with care during rinsing and drying. Dry filters completely before reinstalling to prevent mold. Careful handling extends filter life and maintains microwave function.
Credit: www.youtube.com
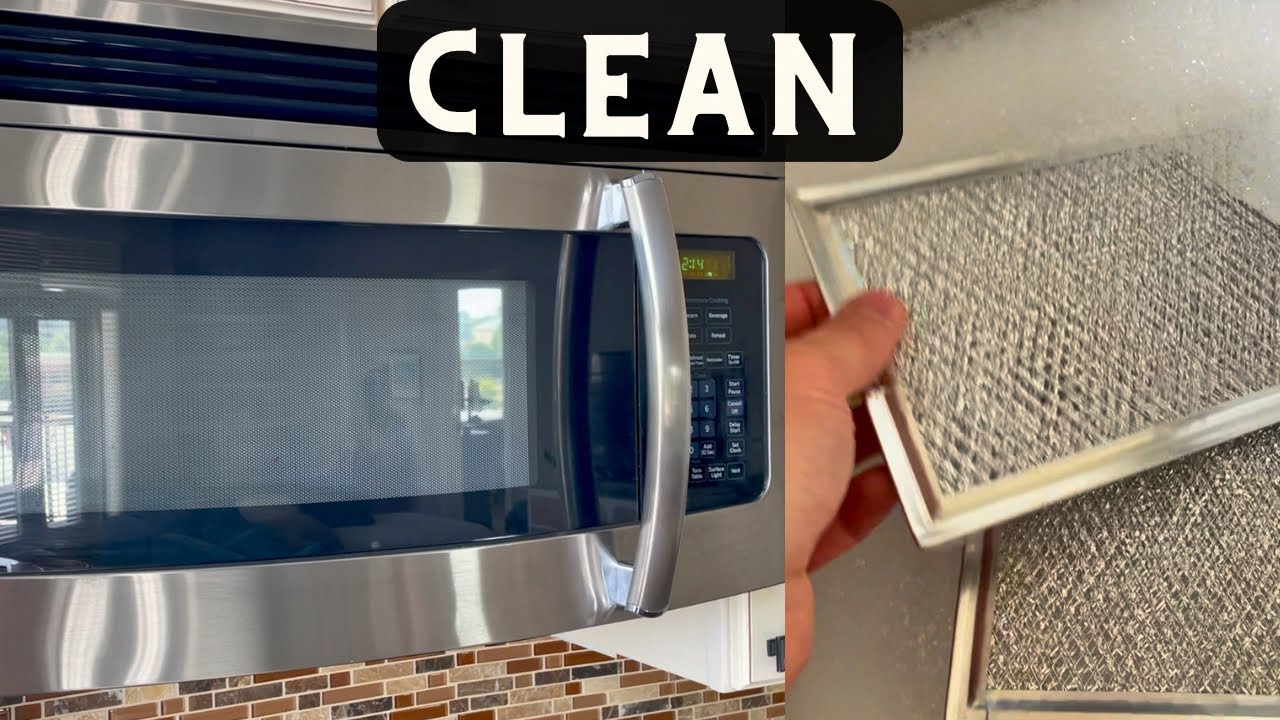
Removing Grease Filters
Removing grease filters is an important step in cleaning your microwave vent. These filters catch grease and dust, preventing buildup inside the vent. Regular cleaning keeps your microwave working well and your kitchen air fresh.
Grease filters can be tricky to remove without the right method. Knowing how to take them out carefully helps avoid damage. Let’s look at the steps to remove these filters properly.
Unscrew Or Unclip Filter
First, check how the grease filter is attached. Most filters are held by screws or clips. Use a screwdriver to remove screws gently. If clips hold the filter, press or slide them to release.
Be careful not to force the filter. It can break or bend if pulled roughly. Keep screws safe for reattaching later. After loosening, pull the filter out slowly.
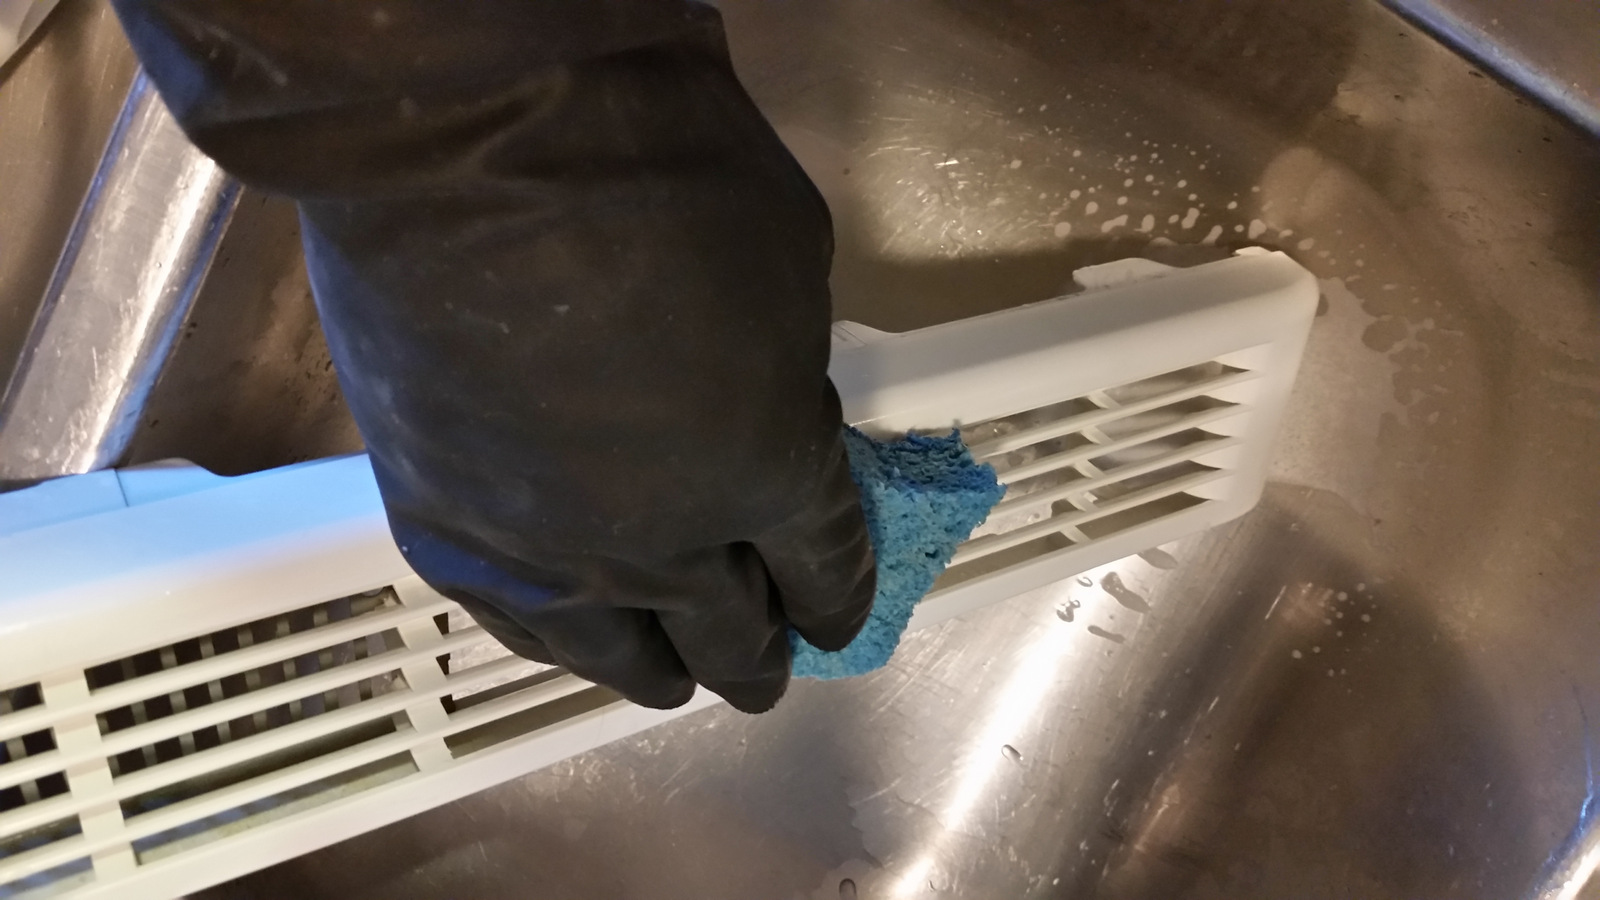
Separate Plastic Grill
Some grease filters include a plastic grill cover. This grill can be separated from the metal filter. Look for small tabs or clips around the grill edges. Press or pull these to detach the plastic grill.
Removing the grill allows better cleaning of each part. Wash plastic and metal pieces separately with warm soapy water. Dry them well before putting back together.
Cleaning Removable Filters
Cleaning removable filters from your microwave vent keeps the air fresh and the appliance working well. These filters catch grease and dirt from cooking. Regular cleaning stops buildup that can block airflow and cause odors. Removing the filters is easy and lets you clean them deeply. Follow simple steps to make filters like new.
Soak In Soapy Water
Fill a basin with warm water and mild dish soap. Submerge the filters fully and let them soak for 15 to 30 minutes. Soaking loosens grease and grime. Avoid using hot water if the filter has plastic parts. This step softens dirt for easier cleaning.
Use Vinegar Or Baking Soda
Add half a cup of white vinegar or two tablespoons of baking soda to the soapy water. These natural cleaners break down tough grease. Vinegar also helps remove odors. Stir the mixture gently to mix it well. Let the filters soak a bit more in this solution for better results.
Scrub Stubborn Grease
Use a soft brush or sponge to scrub the filters. Focus on areas with heavy grease. Avoid harsh scrubbing to prevent damage. For very stubborn spots, sprinkle a little baking soda directly on the filter before scrubbing. This creates gentle abrasion that lifts dirt effectively.
Rinse And Dry Thoroughly
Rinse the filters under running water to remove soap and residue. Check that all grease and cleaner are washed off. Shake off excess water and dry with a clean towel. Let the filters air dry fully before placing them back. Dry filters prevent mold and keep your microwave vent clean longer.
Cleaning Inner Vents
The inner vents of your microwave collect dust, grease, and food particles. This buildup can block airflow and reduce efficiency. Cleaning these vents regularly keeps your microwave working well and your kitchen air fresh.
Use gentle tools and safe cleaners to avoid damage. Follow these simple steps to clean inner vents quickly and effectively.
Remove Dust And Debris
Start by unplugging the microwave for safety. Use a soft brush or a vacuum with a brush attachment. Gently remove dust and loose debris from the vent openings. This clears the way for deeper cleaning.
Wipe With Vinegar Solution
Mix equal parts water and white vinegar in a bowl. Dampen a soft cloth with the solution. Wipe the inner vents carefully to break down grease and grime. Vinegar cleans without harsh chemicals and leaves no residue.
Scrub Tough Spots With Toothbrush
For stubborn grime, use a soft toothbrush dipped in the vinegar solution. Scrub gently in small circular motions. Focus on corners and crevices where dirt hides. Wipe again with a clean, damp cloth to remove loosened dirt.
Dealing With Persistent Grease
Persistent grease on your microwave vent can block airflow and cause odors. This buildup needs careful cleaning to keep your kitchen fresh. Grease hardens over time, making it tough to remove with simple wipes. Use safe, effective methods to break down and lift the grease without damaging the vent surface.
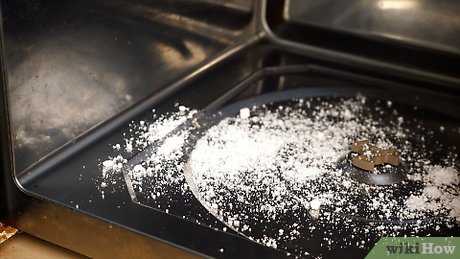
Use Baking Soda Paste
Mix baking soda with a little water to form a thick paste. Spread the paste over greasy areas on the vent. Let it sit for 15-20 minutes to loosen the grime. Baking soda gently breaks down grease without harsh chemicals. Wipe the paste away using a damp cloth or sponge. Repeat if grease remains stubborn.
Apply Gentle Scrapers
Use plastic scrapers or old credit cards to lift stuck-on grease. Avoid metal tools to prevent scratching the vent surface. Gently scrape the softened grease after applying baking soda paste. Work in small sections for better control. Follow with a clean, damp cloth to remove residue and keep the vent clean.
Credit: www.thurstontalk.com
Frequency Of Cleaning
Cleaning your microwave vent regularly keeps it working well and your kitchen air fresh. Dirt and grease build up fast, especially if you cook often. Setting a cleaning schedule prevents clogs and bad smells. Knowing how often to clean depends on your microwave use and vent condition.
Monthly Maintenance
Clean the microwave vent at least once a month. This routine removes grease and dust from the filter and vent area. Start by unplugging the microwave. Take out the vent filter or grill carefully. Soak it in hot, soapy water mixed with vinegar or baking soda. Scrub gently to remove stuck grease. Rinse and dry the filter before putting it back. Wipe the inner vent with a damp cloth or toothbrush. This simple monthly step keeps the vent clear and working well.
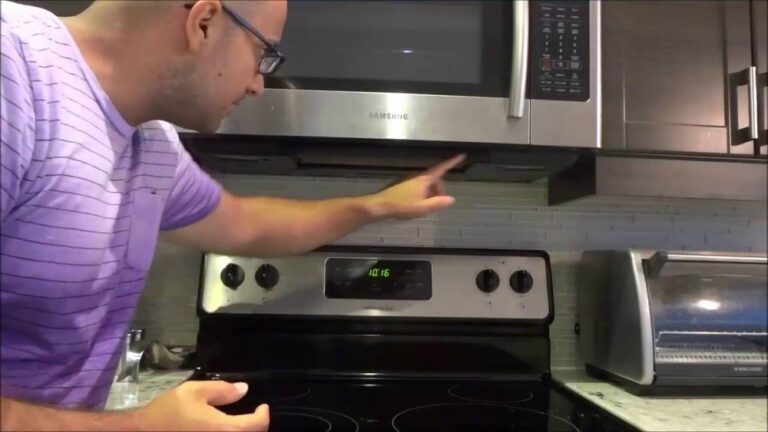
Signs Of Clogged Vents
Watch for signs that the vent needs cleaning. Cooking smells staying in the kitchen longer than usual is one sign. Another is a fan that sounds louder or weaker than normal. You may notice smoke or steam not clearing away quickly. The microwave might also get hotter on the outside. These signs mean grease or dust is blocking airflow. Clean the vent immediately to avoid damage and keep air fresh.
Natural Cleaning Alternatives
Natural cleaning alternatives offer a safe and effective way to clean your microwave vent. These methods avoid harsh chemicals and use simple household ingredients. They help remove grease and odors while being gentle on surfaces. Natural options also reduce exposure to toxins, making your kitchen healthier.
Lemon Steam Method
Cut a lemon in half and squeeze the juice into a microwave-safe bowl. Add the lemon halves and fill the bowl halfway with water. Place the bowl inside the microwave and run it on high for five minutes. The steam loosens grease and dirt inside the vent. Let it sit for a few minutes before wiping with a clean cloth. This method leaves a fresh, natural scent and brightens the vent.
Vinegar Steam Method
Mix equal parts white vinegar and water in a microwave-safe bowl. Heat the mixture in the microwave for five minutes on high. The vinegar steam breaks down grease and grime effectively. After steaming, carefully remove the bowl and wipe the vent with a soft cloth or sponge. This method cleans deeply and neutralizes odors without strong chemical smells.
Drying And Reassembling
Drying and reassembling the microwave vent is the final step in the cleaning process. Proper drying prevents moisture buildup, which can cause mold or damage. Careful reassembly ensures the vent functions correctly and safely. Take your time to handle each part gently and check for complete dryness before putting everything back together.
Ensure Filters Are Dry
After washing, let the filters air dry completely. Use a clean towel to pat off excess water. Avoid using the vent or heat to dry filters as it may damage them. Check every corner and surface for moisture. Only reinstall filters when they feel dry and light to the touch. This step stops mold growth and keeps your microwave fresh.
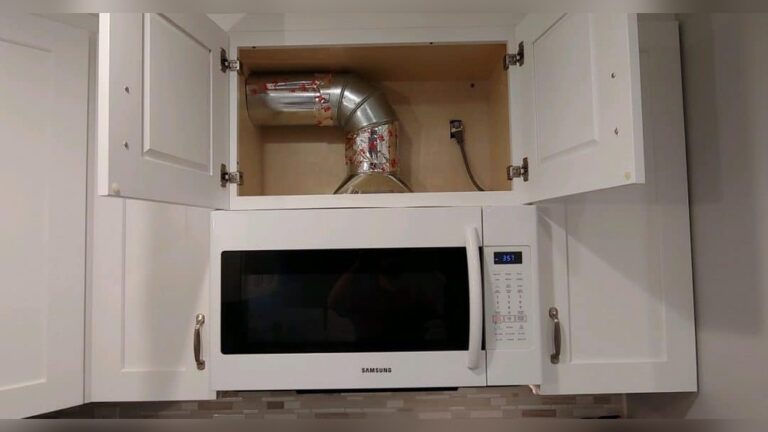
Proper Reinstallation
Fit the filters back into their slots carefully. Align the grooves or tabs as they were before removal. Secure screws or clips tightly but avoid overtightening. Make sure the vent cover sits flush against the microwave. Test the vent by turning on the fan briefly. A correctly reinstalled vent improves air flow and prevents grease buildup inside.
Preventive Care
Preventive care helps keep your microwave vent clean and working well. Regular attention stops grease and dust from building up. This keeps air flowing and your kitchen fresh. Small habits can make a big difference. Follow these simple steps to maintain your microwave vent.
Regular Wiping
Wipe the microwave vent surface often with a damp cloth. This removes dust and light grease before it hardens. Use mild soap and water for better cleaning. Dry the vent with a clean cloth to avoid moisture damage. Regular wiping saves time and effort later.
Avoiding Excess Grease Build-up
Cook with lids on pots to reduce steam and grease in the air. Clean spills inside the microwave quickly to prevent grease from reaching the vent. Avoid frying foods that create heavy smoke without proper ventilation. Keeping grease low helps the vent work well and last longer.

Credit: www.youtube.com
Frequently Asked Questions
How To Clean The Inside Of A Microwave Vent?
Unplug the microwave and remove the vent filter or grill. Soak it in hot soapy water with vinegar or baking soda. Scrub stubborn spots with a brush, rinse, dry completely, then reinstall. Clean the inner vent with a damp cloth or toothbrush using a vinegar-water solution.
How Do You Clean A Microwave Vent Filter?
Unplug the microwave and remove the vent filter. Soak it in hot, soapy water with vinegar or baking soda. Scrub gently, rinse well, dry completely, then reinstall. Wipe the inner vent with a damp cloth and vinegar solution to remove dust and grease.
How Often Should You Clean Microwave Vents?
Clean microwave vents monthly to prevent grease buildup and ensure proper airflow. Remove filters, soak in hot soapy water, scrub, rinse, dry, and reinstall. Regular cleaning keeps vents efficient and your kitchen air fresh.
Is It Better To Clean The Microwave With Lemon Or Vinegar?
Both lemon and vinegar effectively clean microwaves. Lemon leaves a fresh scent and removes stains naturally. Vinegar excels at cutting grease and disinfecting. Choose lemon for a pleasant aroma; pick vinegar for stronger degreasing power. Both steam-clean well and make scrubbing easier.
Conclusion
Cleaning your microwave vent keeps your kitchen fresh and safe. Regular care stops grease buildup and bad smells. Use simple tools like vinegar, baking soda, and a brush. Remember to unplug the microwave before starting. Clean the filter and inner vent gently but well.
Dry all parts before putting them back. Doing this once a month helps your microwave work better. A clean vent means better air flow and fewer kitchen odors. Easy steps can save you from costly repairs later. Keep your microwave vent clean for a healthier home.