How to Clean Filter on Samsung Microwave: Easy Steps for Sparkling Results
If you own a Samsung microwave, keeping its filter clean is key to ensuring your appliance works efficiently and lasts longer. You might have noticed a filter light or some lingering odors after cooking—these are signs your microwave filter needs attention.
But don’t worry, cleaning the filter is easier than you think. In this guide, you’ll learn exactly where your Samsung microwave’s filter is, how to remove it safely, and the best way to clean it without damage. By the end, your microwave will be fresh, odor-free, and running smoothly again.
Ready to get started? Let’s dive in!
Microwave Filter Types
Samsung microwaves use different filter types to keep the air clean and the appliance working well. Filters catch grease, smoke, and odors from cooking. Knowing the filter types helps you clean or replace them correctly. This keeps your microwave fresh and efficient.
Grease Filters
Grease filters trap oil and grease from cooking steam. They are usually made of metal mesh. These filters stop grease from reaching the microwave fan and vent. Cleaning grease filters often involves soaking them in warm soapy water. Light scrubbing removes stuck-on grease. Regular cleaning prevents bad smells and fire hazards.
Charcoal Filters
Charcoal filters absorb cooking odors and smoke. They use activated carbon to trap smells. These filters do not wash well. Replace charcoal filters every few months or as the manual suggests. They help keep kitchen air fresh, especially when the microwave vents indoors. Charcoal filters are common in ductless microwave models.
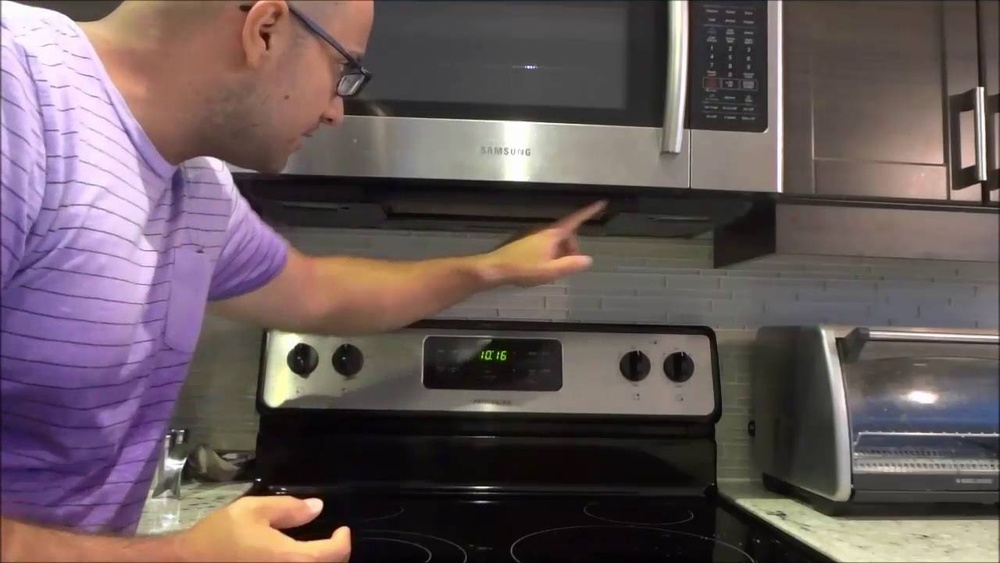
Filter Locations
Grease filters are usually under the microwave, above the stove. They pop out easily for cleaning. Charcoal filters sit behind the top vent grill or inside the microwave hood. Access may require removing screws or panels. Check your Samsung microwave manual for exact filter locations. Proper access makes cleaning or replacement simple and safe.

Credit: www.youtube.com
Tools Needed
Before starting to clean your Samsung microwave filter, gather the right tools. Having these ready makes the job faster and easier. Proper tools protect the filter and ensure a thorough clean. Use gentle supplies to avoid damage to the filter surface. Replacement filters may be needed if the old one is too dirty or damaged. Keep these tools handy for regular maintenance.
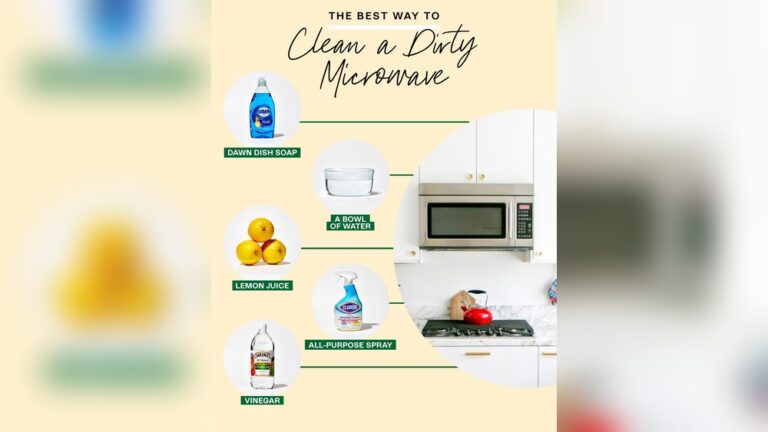
Basic Cleaning Supplies
Soft sponge or cloth to wipe the filter gently.
Mild dish soap for removing grease and dirt.
Warm water to soak and rinse the filter effectively.
Old toothbrush for scrubbing hard-to-reach spots carefully.
Paper towels or a dry cloth to pat the filter dry after cleaning.
Replacement Filters
Check your microwave model for the correct filter type.
Buy filters designed specifically for Samsung microwaves.
Have a spare filter ready for quick replacement.
Replace filters if they show signs of wear or damage.
Use original Samsung parts for best fit and performance.
Safety First
Cleaning the filter on your Samsung microwave is important. Safety is the first step. Taking precautions prevents accidents and damage. Follow these simple safety tips before starting the cleaning process.
Unplugging Microwave
Always unplug the microwave before cleaning the filter. This stops electrical power and keeps you safe. Do not clean the filter while the microwave is plugged in. Pull the plug gently from the socket. Check that the microwave is completely off before you start.
Handling Filters Carefully
Remove filters with care to avoid damage. Filters can be delicate and bend easily. Hold the filter by its edges, not the mesh. Avoid using sharp tools that could tear the filter. Place the filter on a soft surface while cleaning. Handle it gently to keep it in good shape.
Removing Grease Filter
Removing the grease filter from your Samsung microwave is essential for maintaining its performance. Grease can build up quickly and block airflow. This can cause bad smells and reduce the microwave’s efficiency. Cleaning the filter keeps your microwave working well and your kitchen fresh.
The process is simple and does not need special tools. Follow the steps below to remove the grease filter safely and easily.
Locating The Filter
The grease filter is under the microwave, above the cooktop. Look for a metal or mesh panel. It covers the vent where air comes out. This panel usually blends with the microwave’s bottom surface.
Some models have a handle or small tab on the filter. This helps to pull it out. Make sure the microwave is off and cool before you start.
Popping Out The Filter
Hold the filter gently by the edges or the tab. Pull it down or outwards carefully. It should come out without force. If it feels stuck, check for clips or small latches.
Do not use sharp tools to pry it open. This can damage the filter or microwave. Place the filter on a flat surface for cleaning. Now it is ready to be washed and reused.
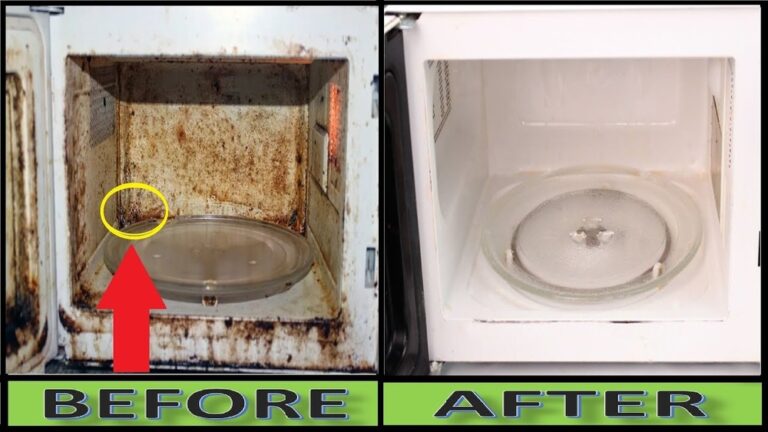
Cleaning Grease Filter
Cleaning the grease filter on your Samsung microwave is essential for maintaining proper airflow and reducing odors. The grease filter traps cooking grease and particles, preventing buildup inside your microwave. Regular cleaning keeps your microwave working efficiently and extends its lifespan.
Follow simple steps to clean the grease filter thoroughly. These steps remove grease and grime without damaging the filter.
Soaking In Warm Soapy Water
Remove the grease filter carefully from your microwave. Fill a sink or basin with warm water and add a few drops of mild dish soap. Submerge the filter fully and let it soak for 10 to 15 minutes. Soaking loosens grease and dirt for easier cleaning.
Scrubbing With Soft Brush
After soaking, use a soft brush to scrub the filter gently. Focus on areas with stubborn grease or food particles. Avoid using hard or metal brushes to prevent damage. Rinse the filter under running water to remove soap and loosened grime.
Drying Completely
Shake off excess water and place the filter on a clean towel. Let it air dry completely before reinstalling it. A dry filter prevents mold and ensures your microwave works properly. Never use the microwave without the filter in place.
Removing Charcoal Filter
Removing the charcoal filter from your Samsung microwave is an important step for maintaining its performance. The charcoal filter traps odors and smoke, so cleaning or replacing it keeps your kitchen fresh. This process is simple and requires no special tools. Follow these steps carefully to access and remove the filter safely.
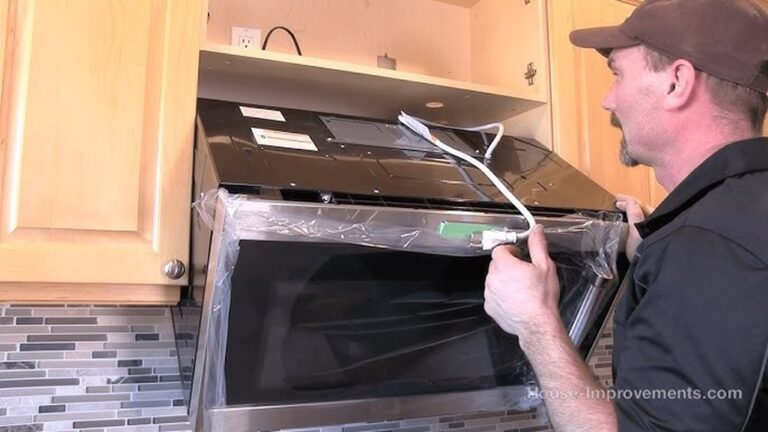
Accessing Top Vent Panel
Start by locating the top vent panel on your microwave. This panel covers the charcoal filter. It sits above the microwave door, near the top. Make sure the microwave is off and cool before you begin. Gently lift or slide the panel to expose screws or clips holding it in place.
Unscrewing And Removing Panel
Use a screwdriver to remove the screws securing the top vent panel. Keep the screws safe for reassembly. After unscrewing, carefully pull the panel away from the microwave. Avoid forcing it to prevent damage. Set the panel aside on a soft surface.
Taking Out Charcoal Filter
With the panel removed, the charcoal filter is visible. It usually fits snugly in a slot behind the panel. Grasp the filter gently and pull it out. Inspect the filter for dirt or damage. Replace the filter if it looks worn or clogged. Clean or replace the filter to restore your microwave’s efficiency.
Cleaning And Replacing Charcoal Filter
The charcoal filter in your Samsung microwave helps remove odors and smoke during cooking. Cleaning and replacing this filter keeps your microwave fresh and working well. Regular care of the charcoal filter improves air quality and extends the microwave’s life.
When To Clean Or Replace
Check the charcoal filter every three months. Replace it if the filter smells bad or looks dirty. Clean it lightly only if the filter is reusable. Disposable filters need full replacement. Follow your microwave manual for the exact schedule.
Installing New Filter
Turn off the microwave and unplug it first. Remove the old charcoal filter carefully from its slot. Place the new filter in the same position. Make sure it fits tightly and correctly. Avoid forcing the filter to prevent damage.
Reattaching Vent Panel
After installing the filter, reattach the vent panel. Align the panel with the microwave base. Push gently until it clicks in place. Secure any screws or clips that hold the panel. Check if the panel is firm and stable before use.
:max_bytes(150000):strip_icc()/SPR-how-to-how-to-clean-a-microwave-filter-7565609-hero-01-de0ebc1318074aa2a919d63651e222c4.jpg)
Credit: www.thespruce.com
Resetting Filter Light
The filter light on your Samsung microwave signals when the filter needs cleaning. Resetting this light after cleaning keeps your microwave running smoothly. It also reminds you of the next cleaning time. Resetting is simple and does not take much time.
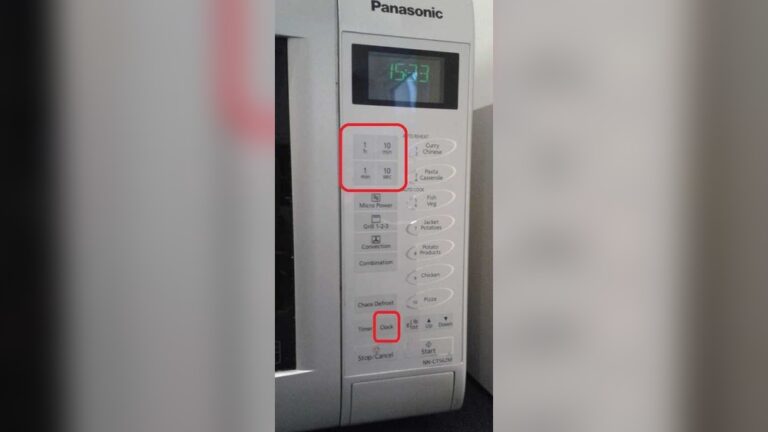
Finding Reset Button
Look for the control panel on your microwave. The reset button is often combined with the number zero (0) key. Sometimes, it may be labeled as “Filter Reset.” Check your microwave’s user manual for exact details. Knowing the button location saves time.
Step-by-step Reset
First, ensure the filter is clean and dry. Press and hold the reset button or zero key for about 3 to 5 seconds. The filter light should turn off. If it stays on, try the step again. Resetting confirms that the microwave recognizes the filter is clean. This step helps maintain good air flow and prevents odors.
Maintenance Tips
Maintaining the filter in your Samsung microwave is essential for its long life and best performance. Proper care keeps the microwave clean and prevents bad smells. Follow simple maintenance tips to keep the filter working well and your microwave safe.
Regular Cleaning Schedule
Set a cleaning routine for your microwave filter. Clean it every one to two months, depending on how often you cook. This helps remove grease and dust buildup. Regular cleaning improves air flow and stops odors from forming. Use warm water and mild soap to wash the filter gently. Let it dry completely before putting it back.
Avoiding Filter Damage
Handle the filter with care to avoid damage. Do not use sharp tools or rough scrubbers that can bend or tear the filter. Avoid harsh chemicals or bleach as they can weaken the filter material. Always follow the manufacturer’s instructions for cleaning. Store the filter safely if you remove it for a long time. Gentle care keeps the filter intact and working well for a long time.

Credit: www.samsung.com
Frequently Asked Questions
How Do I Clear The Filter Alert On My Samsung Microwave?
Press and hold the “0” (zero) button for 3 seconds to reset and clear the filter alert on your Samsung microwave.
Where Is The Microwave Filter On A Samsung?
The Samsung microwave grease filter sits underneath the unit above the cooktop. Charcoal filters hide behind the top vent panel. Remove the panel to access charcoal filters. Always unplug the microwave before cleaning or replacing filters. Check your model’s manual for exact filter location.
How Do You Clean A Microwave Filter?
Remove the microwave filter carefully. Soak it in warm, soapy water for 10-15 minutes. Gently scrub with a soft brush. Rinse thoroughly and let it dry completely before reinstalling.
Where Do I Find The Microwave Filter?
Find the microwave filter under the over-the-range model’s bottom panel; grease filters pop out easily. Charcoal filters hide behind the top vent grill, secured by screws. Check your manual for exact locations and always unplug the microwave before accessing filters.
Conclusion
Keeping your Samsung microwave filter clean helps it work better and last longer. Regular cleaning removes grease and odors, improving air flow. Use gentle scrubbing and mild soap for the best results. Remember to check your filter often and clean it when needed.
A clean filter keeps your kitchen fresh and your microwave safe. Following these simple steps saves time and prevents damage. Easy maintenance makes cooking more enjoyable every day.